“`html
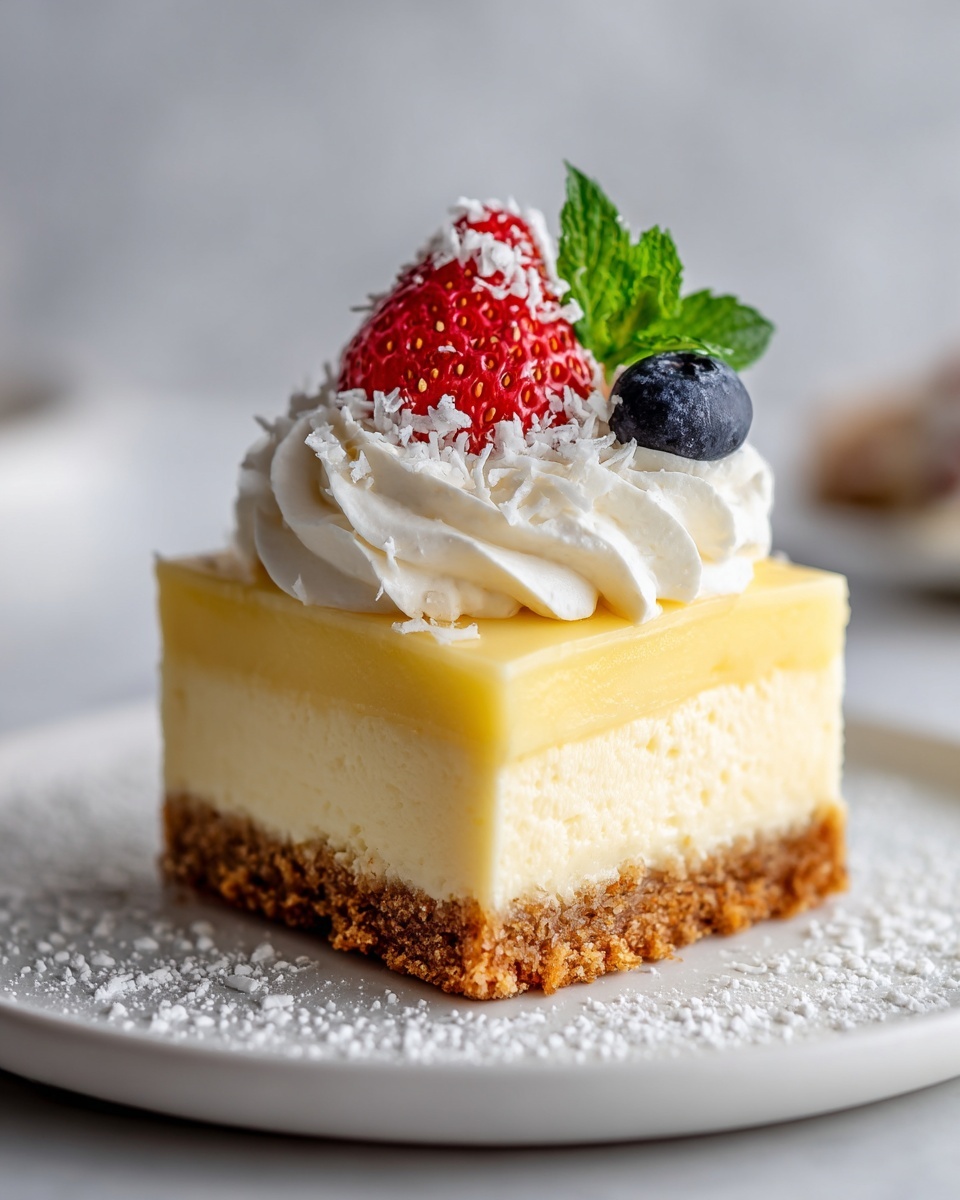
If you are craving a dessert that feels like a warm hug and tastes like a nostalgic bakery treat, the Vanilla Custard Cream Squares Recipe is your new best friend. This luscious dessert boasts a delicate, buttery crust paired with a velvety vanilla custard filling, all crowned with fluffy whipped cream. Each bite melts in your mouth, delivering creamy sweetness balanced by a subtle vanilla aroma that will have everyone asking for seconds. It’s simple enough to whip up for a family gathering yet elegant enough to impress guests at any occasion.
Ingredients You’ll Need
The ingredients for this Vanilla Custard Cream Squares Recipe may be simple, but each plays an essential role in creating that perfect harmony of texture and flavor. From the buttery base to the creamy filling and the light whipped topping, these staples come together beautifully without any fuss.
- All-purpose flour: The foundation for the crust, giving it that tender yet sturdy texture.
- Powdered sugar: Used in both the crust and whipped cream to provide a smooth sweetness that dissolves effortlessly.
- Unsalted butter: Adds richness and helps create the crumbly, melt-in-your-mouth crust—make sure it’s cold and cubed for best results.
- Whole milk: Essential for a creamy, full-bodied custard with just the right smoothness.
- Granulated sugar: Sweetens the custard and balances the vanilla flavor perfectly.
- Cornstarch: Thickens the custard, ensuring it sets beautifully without being runny.
- Egg yolks: The star ingredient for that rich custard texture and intense creaminess.
- Vanilla extract: Infuses the custard with that signature comforting aroma and flavor that defines this recipe.
- Heavy whipping cream: Whipped to fluffy perfection to top off the squares with a cloud-like finish.
- Powdered sugar (for whipped cream): Sweetens the whipped cream gently without overpowering the custard beneath.
How to Make Vanilla Custard Cream Squares Recipe
Step 1: Prepare the Crust
Start by preheating your oven to 350°F (175°C) and greasing or lining a 9×9-inch baking pan with parchment paper for easy removal later. In a food processor, combine the all-purpose flour and powdered sugar. Add the cold, cubed butter and pulse the mixture until it resembles coarse crumbs—this creates the flaky texture we love in the base. Press this mixture evenly into the prepared pan and bake until it’s lightly golden, about 18 to 20 minutes. Once done, let the crust cool completely; this step ensures the custard won’t slide around.
Step 2: Craft the Creamy Custard Filling
While the crust is cooling, whisk the granulated sugar and cornstarch together in a medium saucepan. In a separate bowl, combine the egg yolks with the whole milk, whisking until smooth. Slowly pour the egg and milk mixture into the sugar and cornstarch mixture in the saucepan, whisking constantly to avoid lumps. Cook this over medium heat, stirring continuously until the custard thickens and comes to a gentle boil—this process takes patience but yields that decadent texture. Remove the saucepan from heat and stir in the vanilla extract to infuse the custard with its classic flavor.
Step 3: Assemble and Chill
Pour the luscious vanilla custard over the completely cooled crust, smoothing the top with a spatula for an even layer. Cover the pan and refrigerate for at least four hours, allowing the custard to fully set and develop its creamy consistency.
Step 4: Whip the Cream and Garnish
Right before serving, whip the heavy cream and powdered sugar together until stiff peaks form—this fluffy topping adds a light, airy contrast to the rich custard below. Spread the whipped cream evenly over the set custard layer. Finally, cut into neat squares and serve chilled for the ultimate treat.
How to Serve Vanilla Custard Cream Squares Recipe
Garnishes
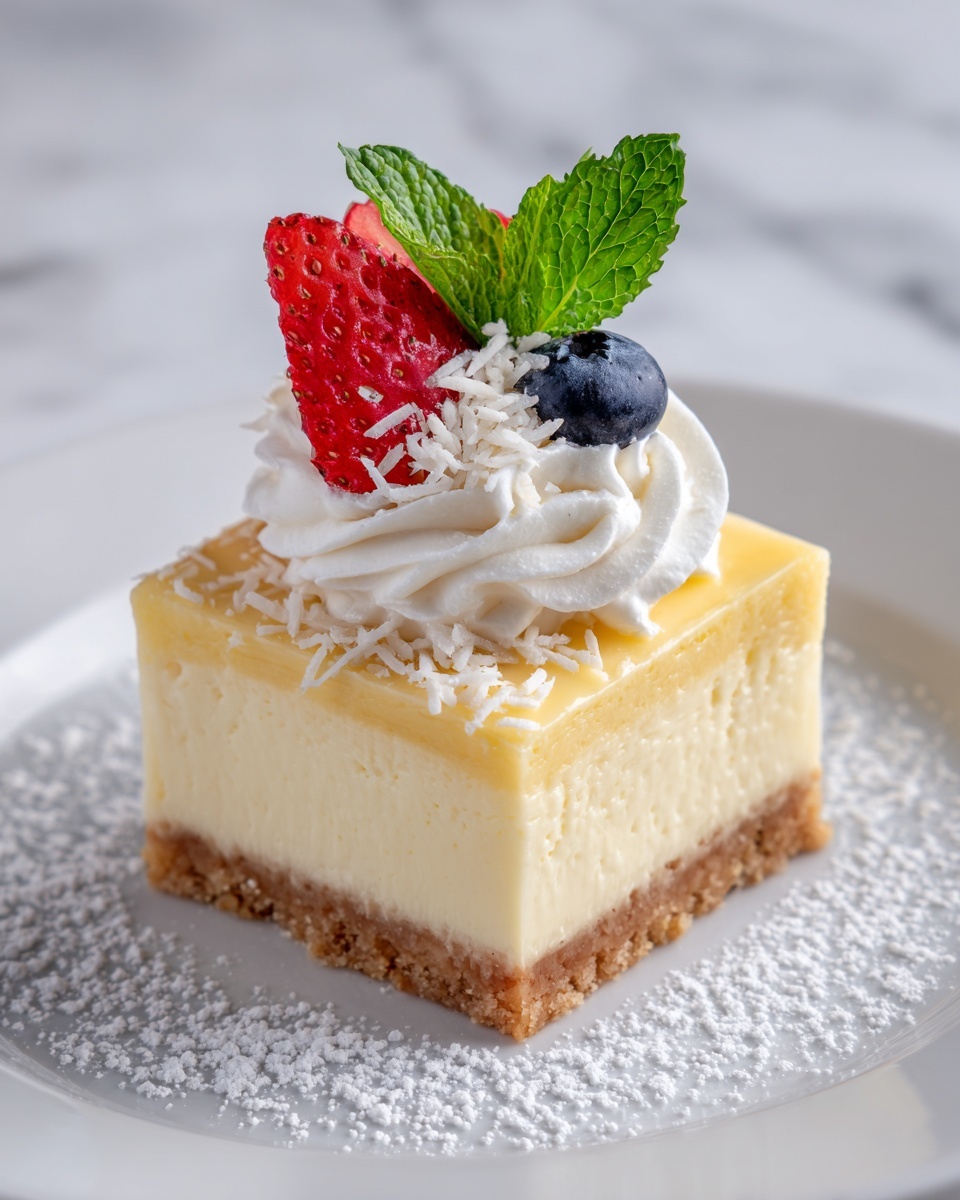
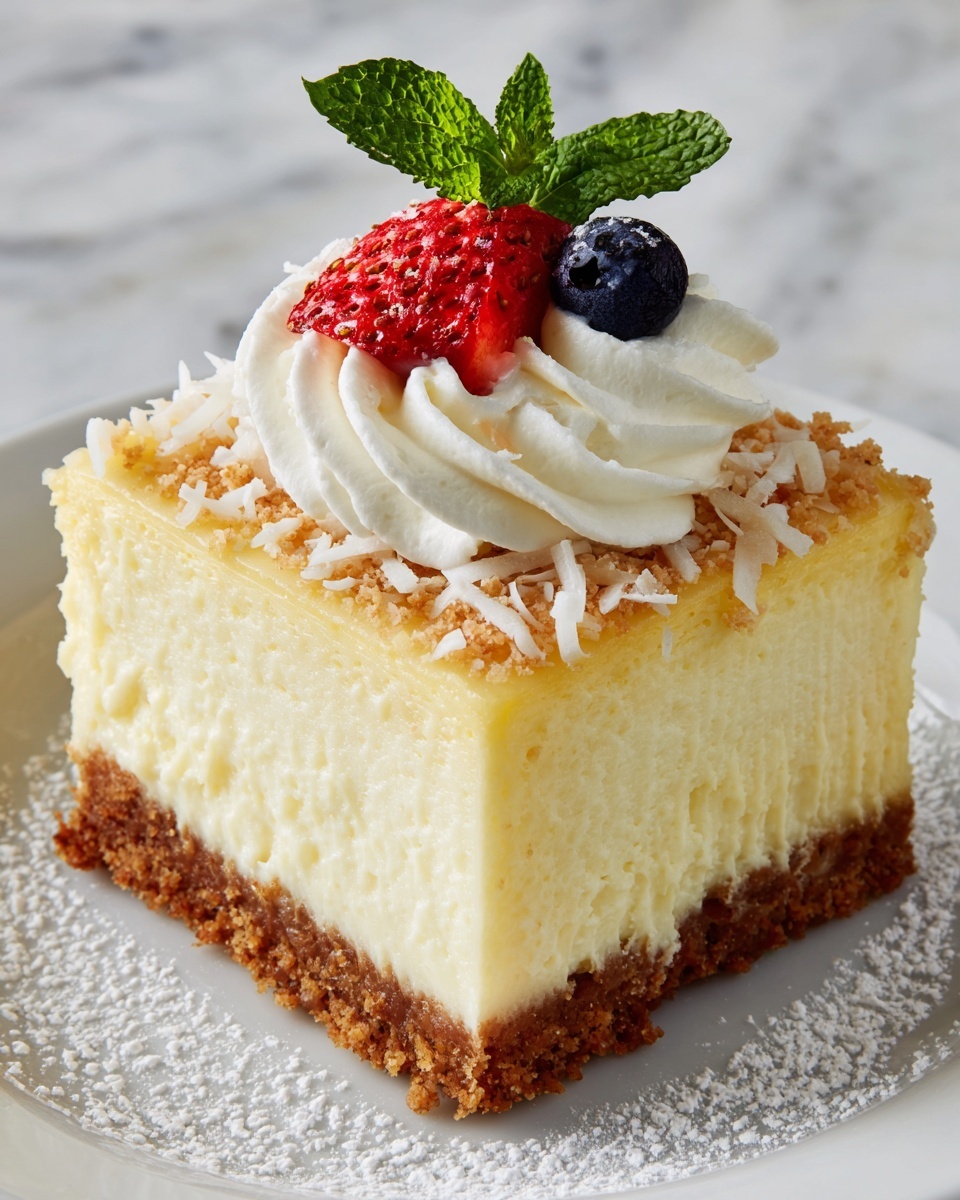
A simple dusting of powdered sugar or a few fresh berries on top can elevate the appearance and add a pop of color to your Vanilla Custard Cream Squares Recipe. Toasted coconut flakes or a drizzle of caramel make fantastic options for adding a touch of texture and flavor contrast.
Side Dishes
This dessert pairs beautifully with a cup of freshly brewed coffee or a light herbal tea that balances the custard’s richness. For a more indulgent experience, consider serving alongside a scoop of vanilla bean ice cream or fresh fruit salad to lighten each bite.
Creative Ways to Present
For an extra-special touch, present the squares on a rustic wooden platter lined with doilies. You can also cut them into mini squares and serve as bite-sized desserts on cocktail picks at parties. For celebrations, layering these squares in individual clear cups with extra whipped cream and berry compote creates a charming parfait-style treat.
Make Ahead and Storage
Storing Leftovers
Leftover Vanilla Custard Cream Squares Recipe can be stored in an airtight container in the refrigerator for up to 3 days. Keep them chilled to maintain the custard’s firmness and the whipped cream’s fluffiness; avoid leaving them out at room temperature for extended periods.
Freezing
While freezing is possible, the delicate texture of the custard and whipped cream might be compromised. If you choose to freeze, wrap individual squares tightly in plastic wrap and then place them in a freezer-safe container. Consume within one month, and thaw overnight in the fridge before serving.
Reheating
This dessert is best enjoyed cold and does not require reheating. If you prefer it slightly less chilled, let it sit at room temperature for 10 to 15 minutes before serving to soften the custard just a touch.
FAQs
Can I use low-fat milk instead of whole milk?
Whole milk creates the richest and creamiest custard, but you can use low-fat milk in a pinch. Just keep in mind the texture may be less luscious and slightly thinner.
Is it necessary to chill the dessert overnight?
Chilling for at least four hours is important for the custard to set properly and develop the perfect firmness, but overnight chilling enhances the flavor and texture even more.
Can I prepare the crust ahead of time?
Absolutely! The crust can be baked a day in advance and kept covered at room temperature or refrigerated. This makes assembly on the day much quicker and easier.
What can I substitute for cornstarch?
If you don’t have cornstarch, you can use arrowroot powder or tapioca starch in the same quantity to thicken the custard successfully.
How do I get the whipped cream to form stiff peaks?
Ensure your heavy cream is very cold before whipping, and use chilled utensils if possible. Whip the cream at medium-high speed until it holds firm peaks but be careful not to overbeat and turn it into butter!
Final Thoughts
I can’t recommend the Vanilla Custard Cream Squares Recipe enough—it’s one of those timeless desserts that manage to feel both comforting and special. Whether you’re making it to impress guests, delight kids, or simply treat yourself, it’s guaranteed to be a crowd-pleaser. Give this recipe a try, and I promise it will soon become a beloved staple in your dessert rotation.
“`
Print
Vanilla Custard Cream Squares Recipe
- Prep Time: 20 minutes
- Cook Time: 20 minutes
- Total Time: 4 hours 45 minutes
- Yield: 16 servings
- Category: Dessert
- Method: Baking
- Cuisine: American
Description
Vanilla Custard Cream Squares are a delightful dessert featuring a buttery baked crust topped with a smooth, creamy vanilla custard and a light whipped cream layer. This no-bake custard topping sets beautifully in the fridge for several hours, making it perfect for parties or a refreshing treat on a warm day.
Ingredients
For the Crust
- 1 1/2 cups all-purpose flour
- 1/2 cup powdered sugar
- 3/4 cup unsalted butter, cold and cubed
For the Custard
- 2 cups whole milk
- 3/4 cup granulated sugar
- 1/4 cup cornstarch
- 4 large egg yolks
- 2 tsp vanilla extract
For the Whipped Cream Topping
- 1 cup heavy whipping cream
- 2 tbsp powdered sugar
Instructions
- Preheat and prepare pan: Preheat your oven to 350°F (175°C). Grease or line a 9×9-inch baking pan with parchment paper to prevent sticking.
- Make the crust mixture: In a food processor, combine the all-purpose flour and powdered sugar. Add the cold, cubed unsalted butter and pulse until the mixture resembles coarse crumbs.
- Press and bake crust: Press the crumb mixture evenly into the bottom of the prepared pan. Bake for 18-20 minutes until the crust turns lightly golden. Remove from oven and let it cool completely.
- Prepare the custard base: In a medium saucepan, whisk together granulated sugar and cornstarch until combined. In a separate bowl, whisk the egg yolks with whole milk until smooth.
- Cook the custard: Slowly pour the egg yolk and milk mixture into the saucepan with sugar and cornstarch, whisking constantly to prevent lumps. Cook over medium heat, stirring constantly until the custard thickens and comes to a gentle boil.
- Add vanilla and cool: Remove the custard from heat and stir in the vanilla extract. Pour the custard evenly over the cooled crust and smooth the surface.
- Chill the custard: Cover the pan and refrigerate for at least 4 hours, or until the custard is fully set and firm.
- Whip the cream: Before serving, whip the heavy cream with the powdered sugar until stiff peaks form, creating a light and airy topping.
- Assemble and serve: Spread the whipped cream evenly over the chilled custard layer. Cut into 16 squares and serve chilled for a refreshing dessert.
Notes
- Make sure the butter is very cold before pulsing for the crust to achieve a flaky texture.
- Whisk constantly during custard cooking to prevent lumps and avoid burning on the bottom of the pan.
- The custard needs sufficient chilling time to set well — do not rush this step for the best texture.
- You can garnish with fresh berries or a dusting of cocoa powder for extra flair.
- Store leftovers covered in the refrigerator for up to 3 days.

