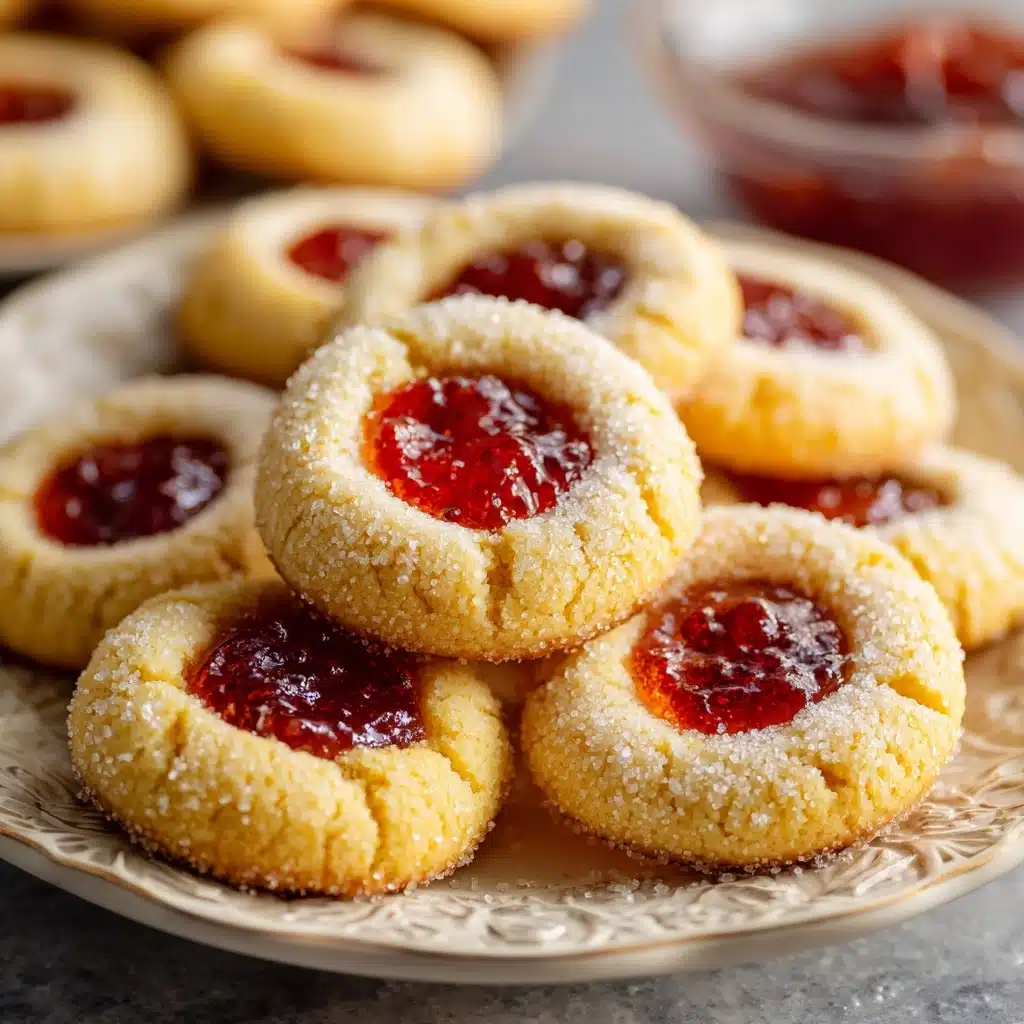
Buttery, tender, and brimming with sweet fruity flavor, Thumbprint Cookies are a timeless treat that never fail to delight. These adorable little cookies—each with a jewel-like center of jam—are the perfect balance of melt-in-your-mouth texture and nostalgic comfort. Whether you’re looking to add a pop of color to a holiday cookie tray or simply want to share a homemade gift with family, this recipe for Thumbprint Cookies is easy, endlessly customizable, and irresistibly delicious.
Ingredients You’ll Need
The beauty of Thumbprint Cookies lies in their simple ingredient list, where each component pulls its weight. With just a few pantry staples and a dollop of your favorite jam, these cookies come together in a snap—but every element really makes a difference in taste, texture, and eye appeal.
- All-purpose flour: The sturdy base of the cookie, giving structure and a melt-in-your-mouth crumb.
- Salt: Just a pinch enhances all the flavors and keeps the cookies from tasting too sweet.
- Unsalted butter (softened): Essential for richness and that perfectly tender, shortbread-like texture.
- Granulated sugar: Sweetens the dough and helps it brown just right in the oven.
- Egg yolk: Adds a touch of richness and helps bind the dough for perfect shaping.
- Pure vanilla extract: Rounds out the flavor and brings wonderful warmth to every bite.
- Almond extract (optional): Just a little turns the flavor up a notch with nutty, aromatic notes.
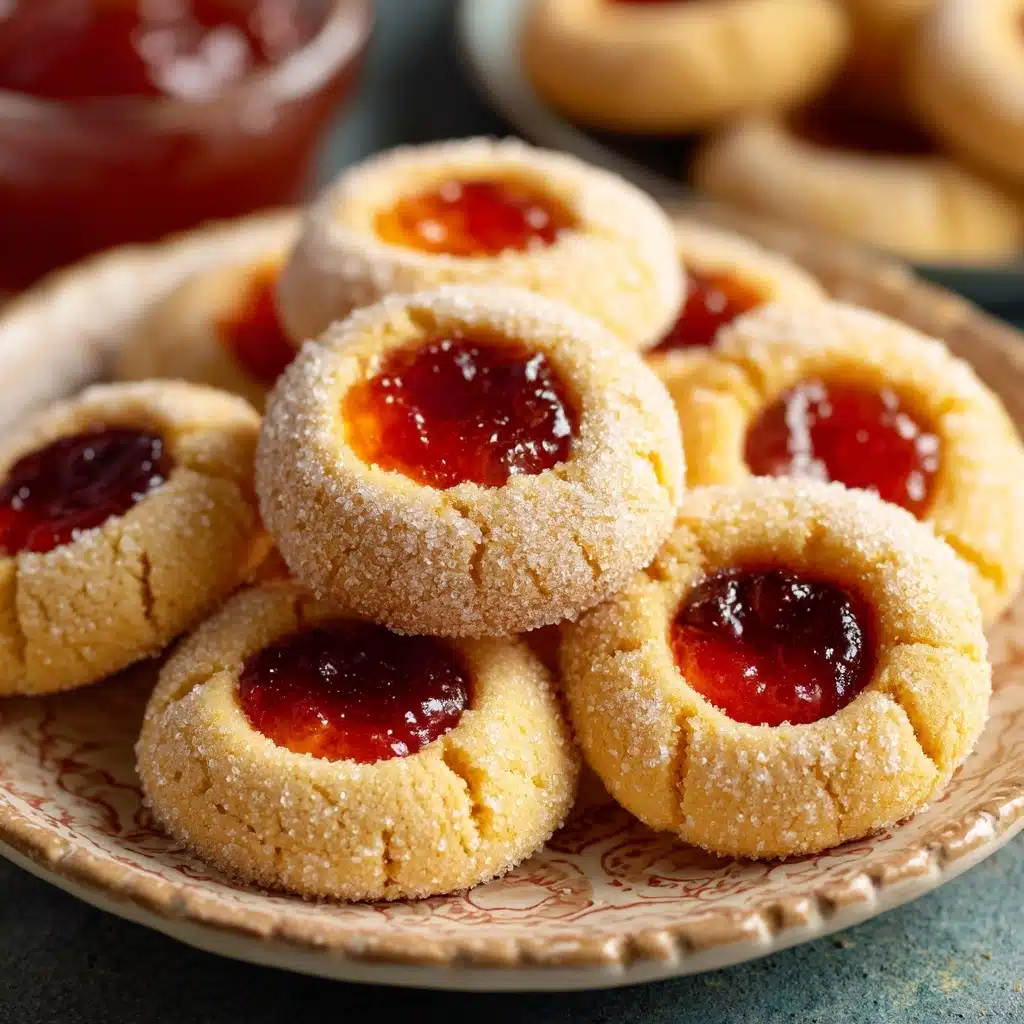
- Fruit jam or preserves: Raspberry, strawberry, or apricot jams bring a pop of gorgeous color and bright sweetness to the center of every cookie.
- Powdered sugar (optional): A finishing flourish for a bakery-worthy look and an extra touch of sweetness.
How to Make Thumbprint Cookies
Step 1: Prepare Your Baking Station
Preheat your oven to 350°F (175°C) and line two baking sheets with parchment paper. Having everything set up from the start makes the whole process smooth and satisfying—no frantic searching for trays when your hands are buttery!
Step 2: Mix the Dry Ingredients
In a medium bowl, whisk together the flour and salt. Taking the moment to do this helps ensure the seasoning is distributed evenly, giving every cookie just the right flavor in every bite.
Step 3: Cream Butter and Sugar
In a large mixing bowl, cream the softened butter and sugar until it’s light, fluffy, and pale—this step is key to that irresistible, delicate crumb that makes Thumbprint Cookies so special. Don’t rush it; fluffier is better here.
Step 4: Add the Egg Yolk and Extracts
Beat in the egg yolk, vanilla extract, and almond extract if you’re using it. The yolk makes the dough rich and vibrant, while the extracts infuse every mouthful with warmth and depth.
Step 5: Bring the Dough Together
Gradually add the flour mixture into your wet ingredients, stirring until you form a soft, pliable dough. It should just barely come together—don’t overmix or your cookies might end up tough instead of tender.
Step 6: Shape and Fill
Roll the dough into 1-inch balls, spacing them about 2 inches apart on your prepared baking sheets. Here comes the fun part: use your thumb, or the back of a spoon, to press a gentle indentation into each ball, creating the signature nest for the jam. Fill each with about 1/2 teaspoon of your chosen preserves—enough for a colorful, fruity center but not so much that it bursts out during baking.
Step 7: Bake and Cool
Bake your Thumbprint Cookies for 12–14 minutes, just until the edges are lightly golden and the centers are set. Let them cool on the baking sheets for five minutes, then move them to a wire rack to cool completely. For a snowy finish, dust with powdered sugar once cooled—if you can resist diving right in!
How to Serve Thumbprint Cookies
Garnishes
For a touch of elegance, dust your Thumbprint Cookies with a little powdered sugar just before serving. You can also sprinkle a tiny bit of finely chopped nuts or toasted coconut for added texture and charm—perfect for a festive spread.
Side Dishes
Pair these sweet cookies with a cozy cup of coffee or aromatic herbal tea for a lovely afternoon treat. They also work beautifully alongside fresh fruit or a scoop of vanilla ice cream, especially when you want a quick dessert that feels extra special.
Creative Ways to Present
Layer Thumbprint Cookies in clear gift boxes or arrange them on a holiday platter for a stunning edible centerpiece. Mix and match jam flavors for a colorful variety, or tie a stack with ribbon for a homemade gift straight from the heart.
Make Ahead and Storage
Storing Leftovers
These cookies keep beautifully in an airtight container at room temperature for up to five days. Stack them with a sheet of parchment between layers to keep the jam from sticking—a simple tip that preserves both beauty and texture.
Freezing
If you’d like to make Thumbprint Cookies ahead, they freeze wonderfully! Bake and cool completely, then arrange in a single layer in a freezer-safe container, separating layers with parchment paper. They’ll stay fresh and delicious for up to two months.
Reheating
To enjoy that just-baked aroma, bring the cookies to room temperature and pop them into a preheated 300°F oven for a few minutes. This refreshes their texture without compromising the jam—just let them cool before handling so the centers aren’t too hot.
FAQs
What type Dessert
Firm, seedless jams or preserves—like raspberry, strawberry, or apricot—work best, as they hold their shape and color during baking without oozing or burning.
Can I make Thumbprint Cookies gluten-free?
Absolutely! Substitute your favorite cup-for-cup gluten-free all-purpose flour blend and follow the rest of the recipe as written for cookies everyone can enjoy.
How do I prevent the cookies from cracking when making the indentation?
Be sure your dough is soft and your hands are just slightly damp, then press gently. If a few cracks appear, simply pinch and shape them back together for picture-perfect cookies.
Can I prepare the dough in advance?
Yes! You can make the dough up to two days ahead, wrap it tightly, and store it in the fridge. When ready to bake, let it soften slightly and proceed with shaping and filling as usual.
Why did my jam spread or disappear during baking?
This often happens if the jam is too thin or watery. Use a thicker, quality preserve and avoid overfilling the indentations to keep those centers bright and beautiful.
Final Thoughts
There’s something magical about the simplicity and joy of baking Thumbprint Cookies—especially when you see the smiles they inspire. Whether you stick with classic raspberry or experiment with your own favorite fillings, give this recipe a try and let it become a cherished part of your baking tradition.