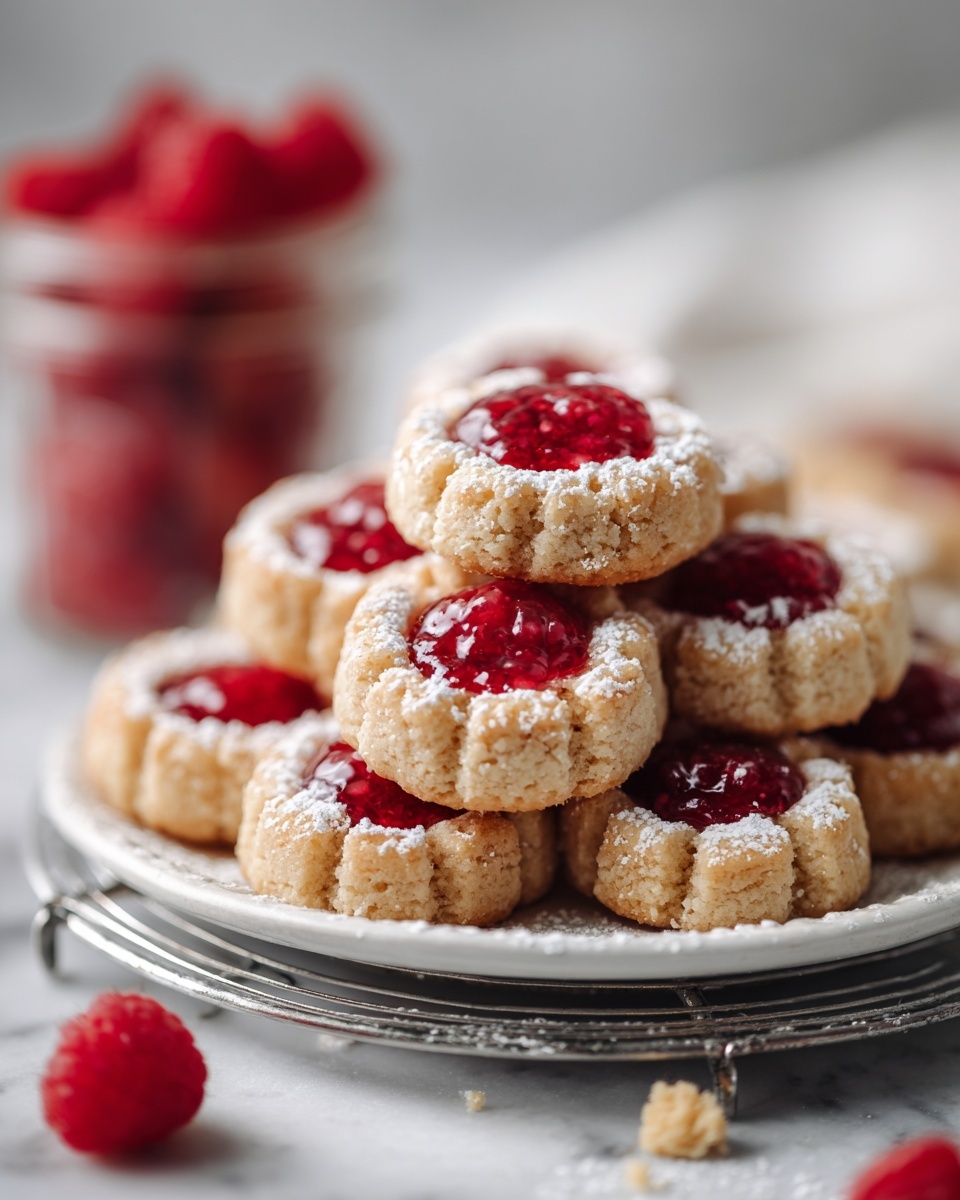
If you’ve been searching for a delightful, easy-to-make treat that brings a burst of fruity sweetness with every bite, look no further than this Raspberry Thumbprint Cookies Recipe. These charming little cookies combine a buttery, tender base with a jammy raspberry center that’s both nostalgic and irresistible. Perfect for sharing with friends or adding a splash of color to your dessert table, they’re a guaranteed crowd-pleaser and such a joy to bake.
Ingredients You’ll Need
Trust me when I say the magic of this Raspberry Thumbprint Cookies Recipe lies in its simple, straightforward ingredients. Each one plays a crucial role, creating that perfect harmony of rich texture and vibrant flavor everyone loves.
- 1 cup unsalted butter, softened: This gives the cookies their melt-in-your-mouth buttery richness.
- 1/2 cup granulated sugar: Adds just the right amount of sweetness without overpowering the raspberry.
- 1 large egg: Helps bind the dough and gives the cookies a soft, chewy texture.
- 1 teaspoon vanilla extract: Introduces a fragrant warmth that complements the fruit filling beautifully.
- 2 cups all-purpose flour: The foundation that makes the dough sturdy but tender.
- 1/4 teaspoon salt: Balances the sweetness and enhances overall flavor.
- 1/2 cup raspberry jam (or your favorite fruit jam): The star of the show, providing that colorful jammy pop in every cookie.
- Optional: powdered sugar for dusting: For an elegant finishing touch that’s pretty and adds a slight sweetness.
How to Make Raspberry Thumbprint Cookies Recipe
Step 1: Prep Your Workspace
Begin by preheating your oven to 350°F (175°C) and lining a baking sheet with parchment paper. This simple step ensures your cookies bake evenly and come off cleanly without sticking.
Step 2: Cream the Butter and Sugar
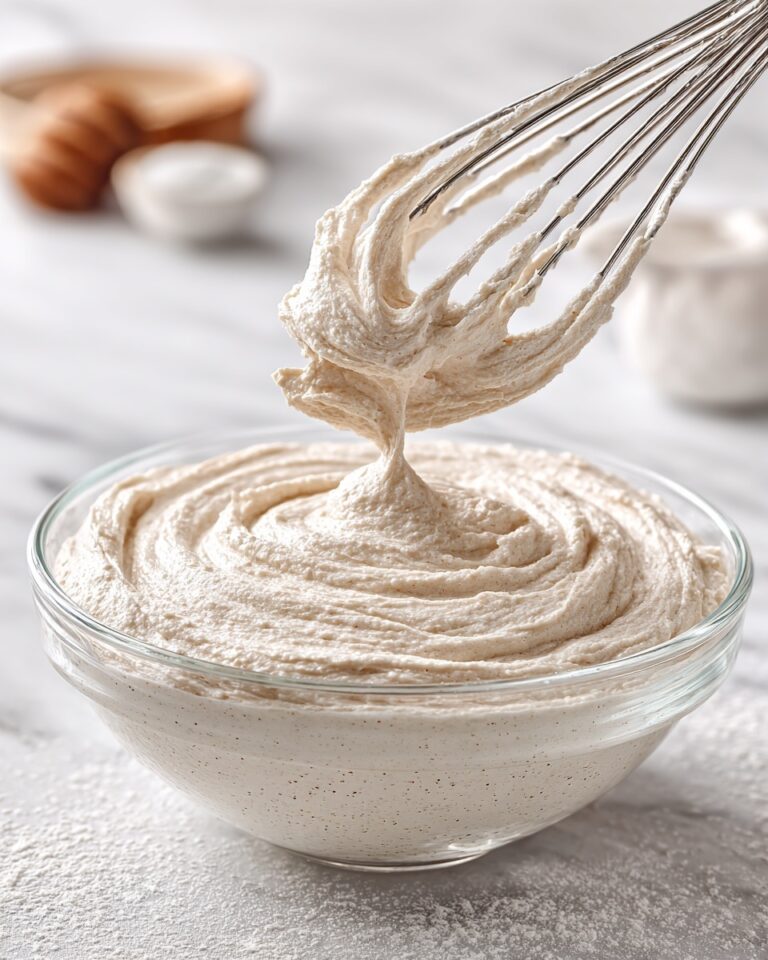
In a large bowl, beat the softened butter and granulated sugar together until the mixture is light and fluffy. This is key for creating that tender texture and slight rise in the cookies.
Step 3: Add Egg and Vanilla
Mix in the egg and vanilla extract until smooth. These ingredients provide moisture and flavor, binding everything together seamlessly.
Step 4: Combine Dry Ingredients
Gradually add the all-purpose flour and salt to the wet mixture, stirring just until the dough comes together. Avoid overmixing to keep the cookies light and tender.
Step 5: Shape the Dough
Roll the dough into 1-inch balls and arrange them about 2 inches apart on your prepared baking sheet. This spacing allows room for gentle spreading as they bake.
Step 6: Create the Thumbprint Indentations
Using your thumb or the back of a spoon, press firmly into the center of each dough ball to form a small well. This is where your jam will go, so make sure it’s deep enough to hold about a teaspoon.
Step 7: Fill with Raspberry Jam
Carefully spoon about 1 teaspoon of raspberry jam into each indentation. Be mindful not to overfill, as the jam can bubble over while baking.
Step 8: Bake to Perfection
Bake the cookies for 12 to 15 minutes, or until the edges turn lightly golden and you see the jam bubbling happily. The scent wafting from your oven will be irresistible.
Step 9: Cool and Optional Dusting
Allow the cookies to cool on the baking sheet for a few minutes before transferring them to a wire rack to cool completely. Once cooled, dust with powdered sugar if you want to add a festive snowy look and an extra hint of sweetness.
How to Serve Raspberry Thumbprint Cookies Recipe
Garnishes
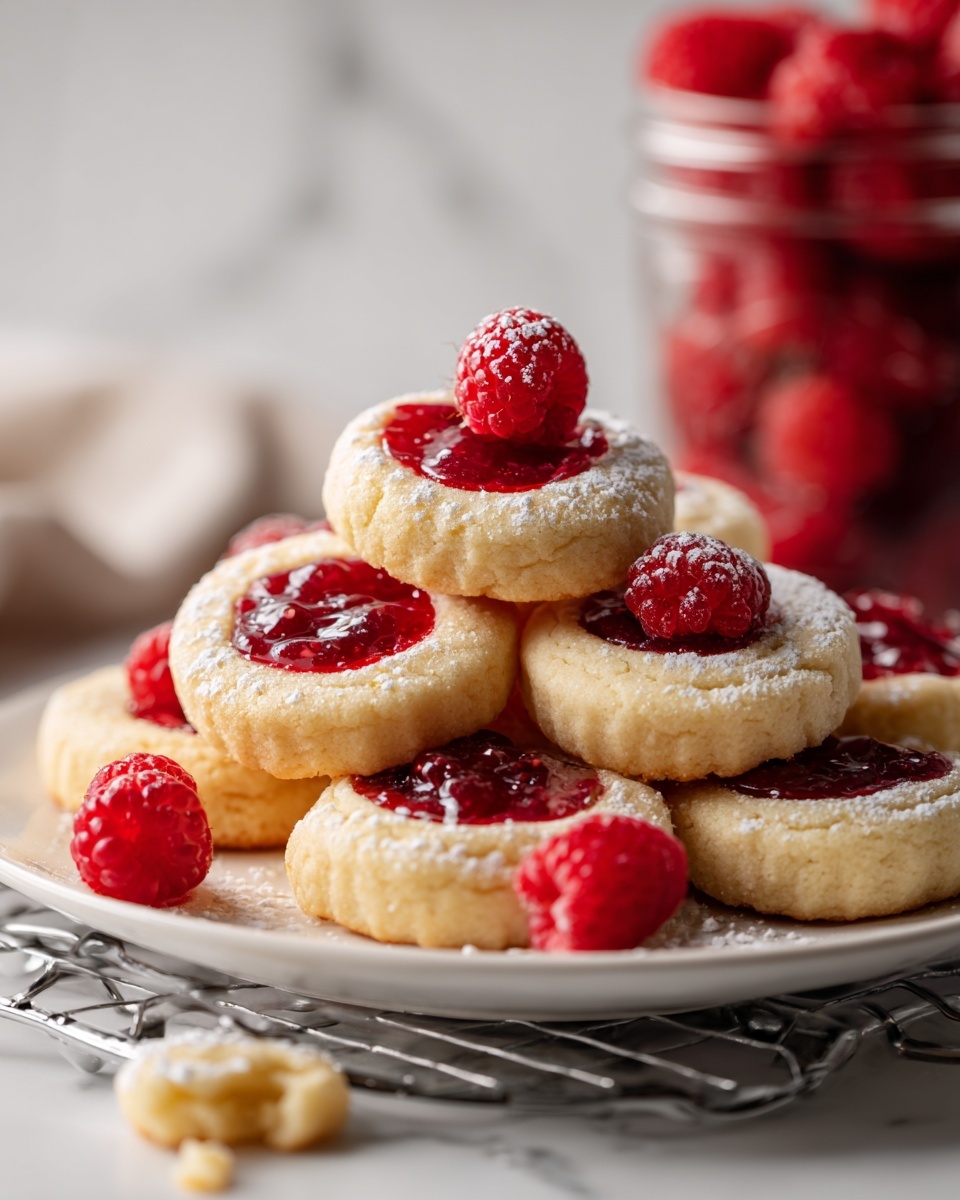
For a delightful presentation, sprinkle a little powdered sugar over your cookies before serving. Fresh raspberries placed alongside make a lovely, colorful garnish that enhances the fruity theme.
Side Dishes
These cookies pair wonderfully with a cup of tea or coffee, making them a perfect afternoon pick-me-up. Alternatively, serve them with vanilla ice cream or a dollop of whipped cream for a sweet dessert twist.
Creative Ways to Present
Consider arranging your Raspberry Thumbprint Cookies Recipe on a tiered platter for a charming look at holiday parties or family gatherings. Gift boxes or cellophane bags tied with a ribbon transform these beauties into heartfelt homemade gifts.
Make Ahead and Storage
Storing Leftovers
Store any uneaten cookies in an airtight container at room temperature for up to one week. This helps maintain their soft texture and keeps the jam flavorful and fresh.
Freezing
You can freeze baked thumbprint cookies for up to three months. Place them in a single layer on a baking sheet to freeze first, then transfer to a freezer-safe container to avoid sticking.
Reheating
To enjoy the cookies warm, simply reheat them briefly in a preheated oven at 300°F (150°C) for about 5 minutes. This revives that fresh-baked smell and soft texture beautifully.
FAQs
Can I use other jams besides raspberry?
Absolutely! Feel free to swap in strawberry, apricot, or blackberry jam. Each variety brings a unique flavor twist to this classic recipe.
Can I make the dough ahead of time?
Yes, you can prepare the dough and refrigerate it for up to 24 hours. Just cover it well to prevent it from drying out.
What if I don’t have unsalted butter?
You can use salted butter instead but reduce or omit the additional salt in the recipe to avoid over-seasoning your cookies.
How do I prevent the jam from spilling over?
Use just about a teaspoon of jam per indentation and ensure your wells aren’t too shallow. If the jam bubbles over, it can burn on the baking sheet.
Are these cookies suitable for freezing before baking?
Yes! You can shape and fill the cookies, then freeze them on the baking sheet before transferring to a container. When ready, bake them straight from frozen with an extra minute or two added to the baking time.
Final Thoughts
There’s something truly comforting about the joy these Raspberry Thumbprint Cookies Recipe brings to any kitchen. Whether baking for family, friends, or simply to satisfy your own sweet tooth, these little gems blend ease and elegance in every bite. So grab your ingredients, invite a loved one to join you, and bake up a batch that’s sure to become a beloved favorite.
Print
Raspberry Thumbprint Cookies Recipe
- Prep Time: 15 minutes
- Cook Time: 15 minutes
- Total Time: 30 minutes
- Yield: 24 cookies
- Category: Dessert
- Method: Baking
- Cuisine: American
Description
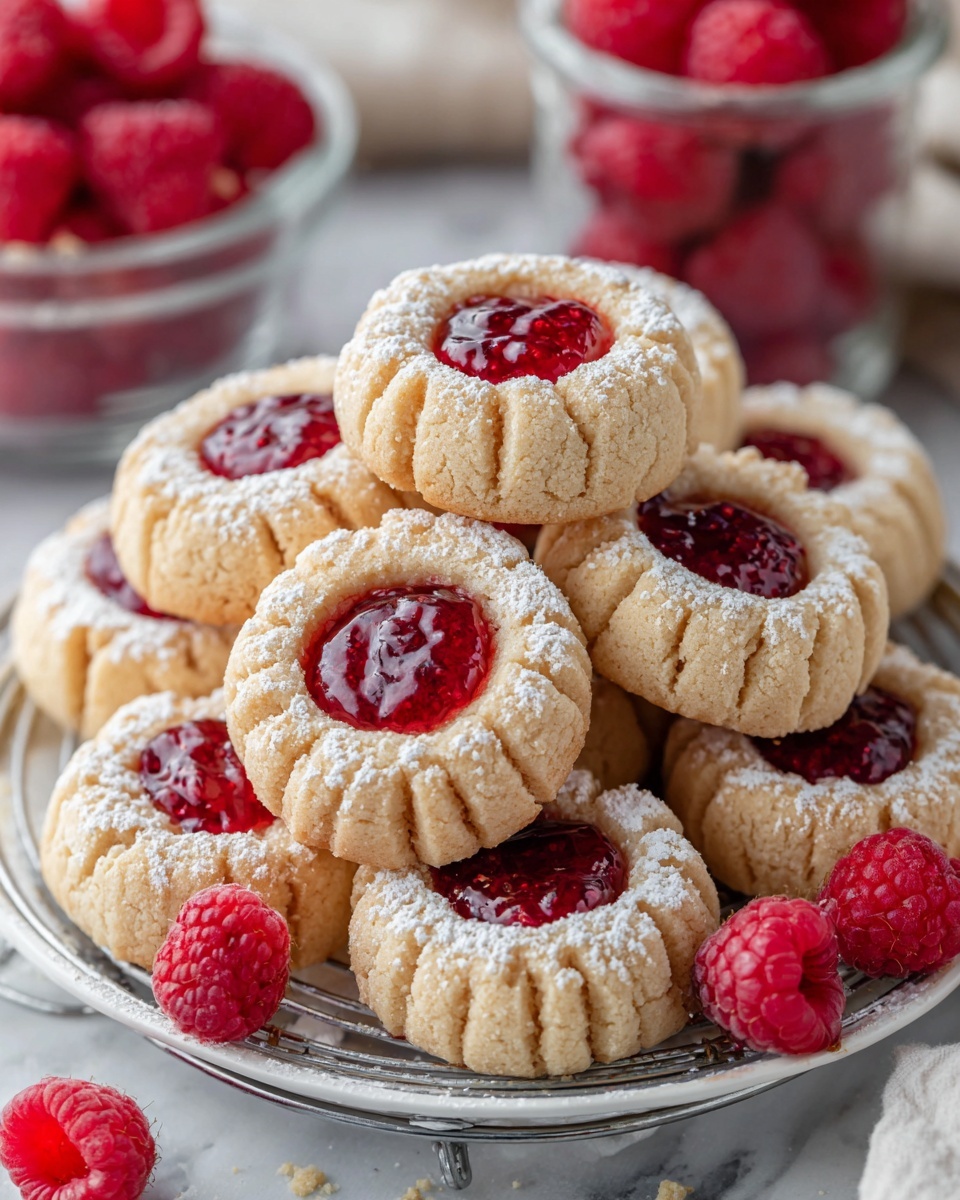
Delight in these classic Raspberry Thumbprint Cookies, featuring a buttery, tender base filled with sweet and tangy raspberry jam. Perfect for holiday baking or anytime treat, these cookies combine simple ingredients and straightforward steps to create a delicious, crowd-pleasing dessert.
Ingredients
Cookie Dough
- 1 cup unsalted butter, softened
- 1/2 cup granulated sugar
- 1 large egg
- 1 teaspoon vanilla extract
- 2 cups all-purpose flour
- 1/4 teaspoon salt
Filling
- 1/2 cup raspberry jam (or your favorite fruit jam)
Optional
- Powdered sugar for dusting
Instructions
- Preheat Oven: Preheat your oven to 350°F (175°C) and line a baking sheet with parchment paper to prevent sticking and ensure easy cleanup.
- Cream Butter and Sugar: In a large bowl, use a mixer to cream the softened butter and granulated sugar until the mixture turns light and fluffy, which helps create a tender cookie texture.
- Add Egg and Vanilla: Incorporate the egg and vanilla extract into the butter-sugar mixture, mixing thoroughly until smooth and fully combined.
- Combine Dry Ingredients: Gradually add the all-purpose flour and salt to the wet ingredients. Mix gently until just combined to avoid overworking the dough, which could toughen the cookies.
- Shape Dough Balls: Using your hands, roll the dough into 1-inch balls. Place them on the prepared baking sheet, spacing them about 2 inches apart to allow room for spreading.
- Create Indentations: Press your thumb or the back of a spoon into the center of each dough ball to create a small well for the jam filling.
- Fill with Jam: Spoon approximately 1 teaspoon of raspberry jam into each indentation carefully, avoiding overfilling to prevent the jam from spilling during baking.
- Bake Cookies: Place the baking sheet in the preheated oven and bake for 12 to 15 minutes, until the cookie edges are lightly golden and the jam is bubbling.
- Cool Cookies: Allow the cookies to cool on the baking sheet for a few minutes before transferring them to a wire rack to cool completely, which helps them set properly.
- Optional Finishing Touch: Once cooled, dust the cookies lightly with powdered sugar to add a festive, elegant look.
Notes
- Use room temperature butter for easier creaming and better texture.
- You can substitute raspberry jam with other fruit jams like strawberry or apricot for variety.
- Make sure not to overfill the thumbprint indentations with jam to avoid spillover.
- Store cookies in an airtight container at room temperature for up to 5 days.
- For a gluten-free option, substitute all-purpose flour with a gluten-free baking blend.


