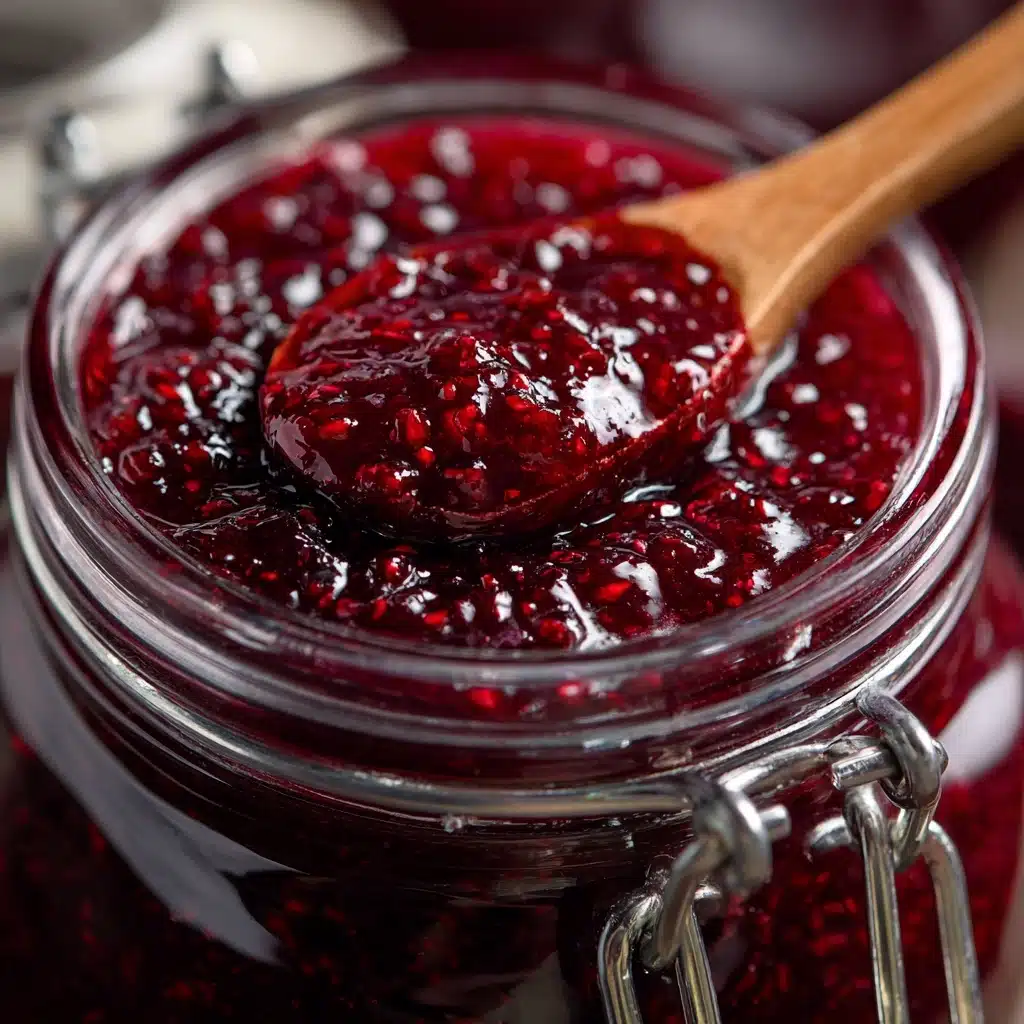
There’s nothing quite like the magic of making your own Quick Homemade Strawberry Jam—especially when the berries are bursting with flavor, your kitchen fills with their sweet fragrance, and you know exactly what’s in your jar. This jam is delightfully simple, perfectly spreadable, and comes together in under 30 minutes, making it ideal for breakfast, gifts, or a spontaneous treat. Whether you’re a seasoned jam-maker or a newbie searching for an easy win, this recipe is designed to add a pop of ruby-red joy to your table with minimal fuss and plenty of reward.
Ingredients You’ll Need
Making great jam is all about starting with the right basics. This recipe skips any complicated steps or mysterious additives—every ingredient truly matters, coming together for bright flavor, gorgeous color, and the just-right set you crave from homemade preserves.
- Fresh strawberries: Look for ripe, juicy berries for the fullest flavor and deepest natural color.
- Granulated sugar: Sweetens the jam and helps it set; don’t skimp or swap out, as this part is essential for texture.
- Lemon juice: Adds tang and brightness, plus helps preserve the jam’s gorgeous color.
- Lemon zest (optional): For an extra citrusy punch—just a half teaspoon makes the berries sing!
- Pinch of salt: A tiny addition that highlights the strawberry flavor and balances the sweetness.
How to Make Quick Homemade Strawberry Jam
Step 1: Mix and Macerate
Start by combining your chopped strawberries with sugar, lemon juice, lemon zest (if you’re using it), and a pinch of salt directly in a medium saucepan. Give it all a good stir to coat the berries evenly. Pause here for about 10 minutes—this letting-it-sit stage allows the sugar to draw out the strawberries’ juices, almost like nature’s own magic, and sets up that signature Quick Homemade Strawberry Jam texture.
Step 2: Simmer and Mash
Place the pan over medium heat. Bring the mixture up to a gentle simmer while stirring frequently. As things start to bubble and the strawberries soften, use a potato masher or wooden spoon to mash the fruit to your desired consistency—chunky for rustic, smooth for silky. The mixture will look syrupy at first, but keep the faith: as it simmers, the jam thickens and you can really smell those vibrant berries.
Step 3: Cook to Jammy Perfection
Let your jam simmer away for 15 to 20 minutes, stirring every so often to prevent sticking or scorching. You’ll notice it reducing and deepening in color. The mixture is done when it thickly coats the back of your spoon—if you drag your finger through the jam on the spoon and the line holds, you’re ready! Remember, your Quick Homemade Strawberry Jam will continue to thicken further as it cools.
Step 4: Cool and Store
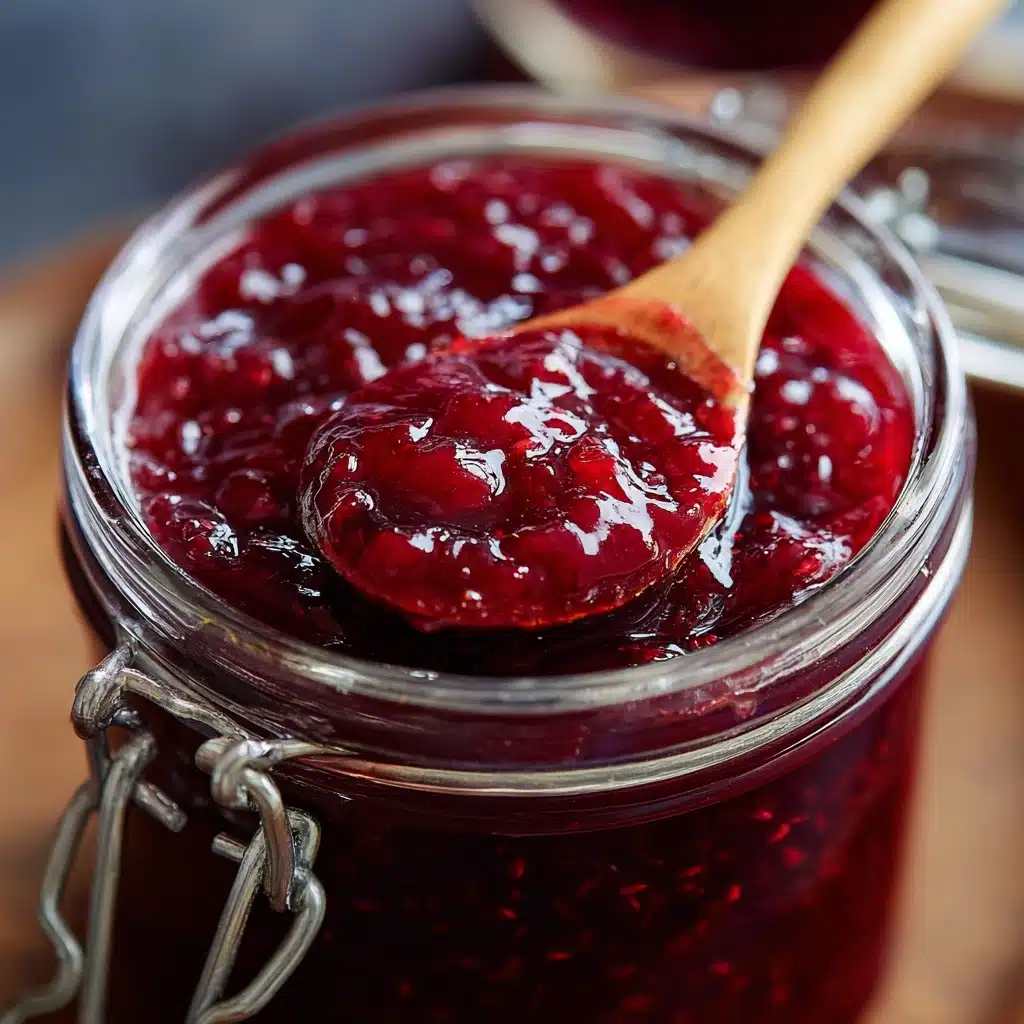
Remove the pan from heat and let the jam cool slightly. Then, carefully transfer it to a clean jar or airtight container. If you prefer a totally smooth jam, you can blend it before storing, but honestly, those soft strawberry gems are part of what makes this recipe so lovely. Pop your jar in the refrigerator; it’ll finish setting up as it chills, ready for all your toast, yogurt, or dessert adventures.
How to Serve Quick Homemade Strawberry Jam
Garnishes
A spoonful of Quick Homemade Strawberry Jam is extra charming with a few fresh strawberry slices, a mint sprig, or even a curl of lemon zest perched on top. For a dressed-up dessert or special breakfast, a scattering of toasted nuts (like almonds or pistachios) adds crunch and extra glamour.
Side Dishes
This jam is a dream spread over warm toast, bagels, croissants, or English muffins. It’s also right at home swirling through Greek yogurt, dolloping on pancakes, or cozied up with peanut butter for the world’s happiest PB&J. For an afternoon treat, try it alongside a wedge of sharp cheese and crackers—a perfect sweet-tangy counterpoint.
Creative Ways to Present
Take your Quick Homemade Strawberry Jam beyond the basics by spooning it over cheesecake, mixing into overnight oats, or stirring into sparkling lemonade for a party-ready drink. If you’re gifting, pour it into small jars, add a hand-written label, and tie with twine—the homemade touch is truly irresistible.
Make Ahead and Storage
Storing Leftovers
You’ll want to keep any leftover jam in a clean, airtight jar or container in the fridge. Thanks to its sugar and citrus, this Quick Homemade Strawberry Jam will stay delicious for up to 2 weeks—just use a clean spoon each time to keep things fresh.
Freezing
If you’d like to save some jam for later (or made a double batch!), pour chilled jam into freezer-safe containers, leaving a little space at the top for expansion. It will keep beautifully in the freezer for up to 3 months. Thaw overnight in the fridge before using, and give it a good stir to restore that silky texture.
Reheating
While you don’t need to reheat this jam for everyday use, if you’d like to serve it warm—for drizzling over pancakes or ice cream—simply spoon the amount you want into a small saucepan and gently warm it over low heat, stirring often. Alternatively, microwave it in short bursts, stirring in between, until just warmed through.
FAQs
Why did my jam turn out runny?
If your Quick Homemade Strawberry Jam is runnier than you’d like, it may have needed a few more minutes of simmering to reach the right thickness. Remember, the jam will thicken further as it cools and chills in the refrigerator, so try giving it a little extra time before you worry!
Can I double the recipe for a bigger batch?
Absolutely! Just double all the ingredients and cook in a larger saucepan. Keep an eye on the simmering time—it might take a few minutes longer to thicken, but otherwise, the process is exactly the same.
What if I only have frozen strawberries?
No worries! Thaw frozen strawberries fully and drain off excess liquid before starting. The jam will be just as flavorful—frozen berries are often picked at peak ripeness, making them a great alternative year-round.
Is there a way to make this jam less sweet?
You can reduce the sugar slightly, but keep in mind that sugar not only sweetens but helps the jam set and preserves its color. For a tarter jam, adjust sugar conservatively and add a touch more lemon juice if you like.
Do I need pectin for Quick Homemade Strawberry Jam?
No extra pectin required! Strawberries have enough natural pectin, especially when combined with sugar and lemon juice. The cooking process alone gives you the perfect soft-set texture—no special additives necessary.
Final Thoughts
If you’ve never tried making jam before, Quick Homemade Strawberry Jam is the recipe you didn’t know you needed—fast, foolproof, and beautifully rewarding. Grab some fresh berries and make a batch; I promise, every spoonful will taste like summer sunshine. Give it a whirl and let your kitchen (and taste buds) fall in love!