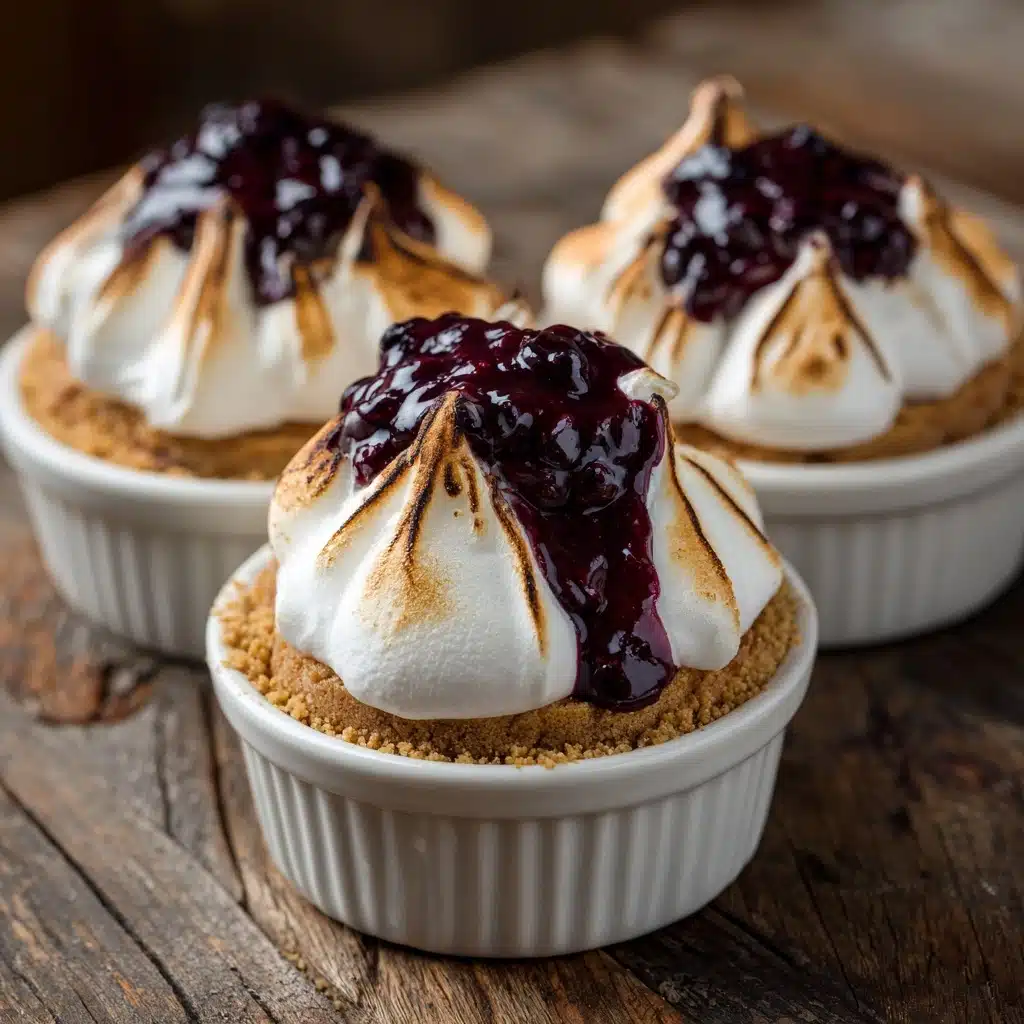
If you’re looking for a dessert that manages to be elegant, fun, and totally stress-free, look no further than these Plum Meringue Pots. They’re fruity, creamy, and just the right amount of sweet, with vibrant jammy plums and clouds of whipped cream layered over crunchy meringue. This is the kind of dessert that feels both nostalgic and fresh in every spoonful, and it comes together so quickly you’ll find yourself making it all summer long.
Ingredients You’ll Need
-
Plum Compote:
- 4 ripe plums (pitted and chopped)
- 2 tablespoons granulated sugar
- 1/2 teaspoon vanilla extract
- 1/2 teaspoon lemon juice
Whipped Cream:
- 1/2 cup heavy cream
- 1/4 cup Greek yogurt (plain or vanilla)
- 2 tablespoons powdered sugar
- 1/2 teaspoon almond extract (optional)
Additional:
- 4 small store-bought meringue nests (crushed)
How to Make Plum Meringue Pots
Step 1: Cook the Plums
Start by combining your pitted and chopped plums, granulated sugar, lemon juice, and vanilla extract in a small saucepan. Bring everything to a gentle simmer over medium heat. Stir now and then—after about 8 to 10 minutes, the plums will surrender to the heat, breaking down into a glossy, jam-like compote. Once that beautiful magenta color has filled your kitchen, set the pot aside to cool completely. This step can be done in advance, and letting the compote chill just intensifies the flavor.
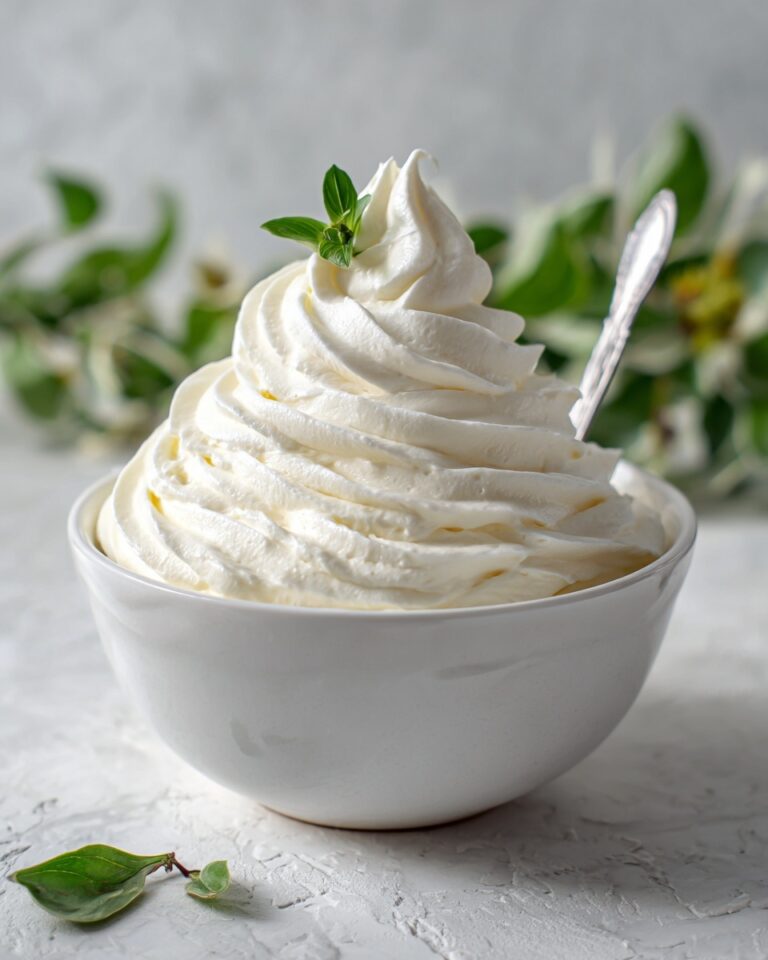
Step 2: Whip the Cream Mixture
In a medium mixing bowl, pour in the heavy cream, powdered sugar, and almond extract if you’re using it. Grab your whisk (or a hand mixer) and whip just until soft peaks form—think pillowy but not stiff. Gently fold in the Greek yogurt so you keep that lovely airy texture while adding a subtle tang and creaminess. This mixture should look lush and absolutely irresistible.
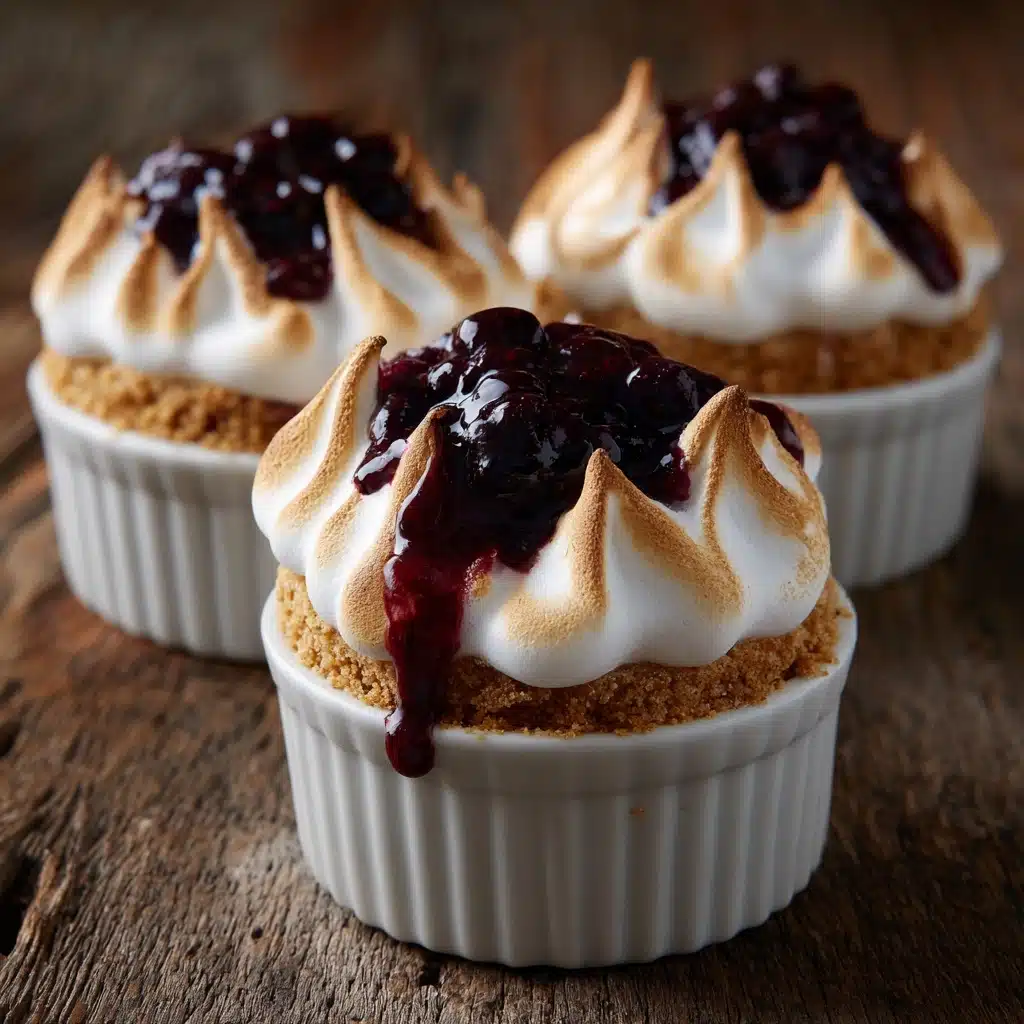
Step 3: Assemble the Plum Meringue Pots
Now for the fun part: layering! Start with a generous spoonful of your cooled plum compote in the bottom of each glass or ramekin, then dollop a layer of the cream mixture on top. Sprinkle over some crushed meringue to add crunch, and repeat those luscious layers until you reach the top, finishing with a crown of plums and a final sprinkle of meringue. Each spoonful should offer a blend of crisp, creamy, and juicy flavors.
Step 4: Chill
Slide your assembled Plum Meringue Pots into the fridge for about 30 minutes. This quick chill helps all the layers set and gives each bite a perfectly cool, refreshing feel. The wait will be hard, but the flavors meld together beautifully during this time.
How to Serve Plum Meringue Pots
Garnishes
For a finishing touch, I love adding a little extra color. Fresh mint leaves or a few thin slices of plum right on top will make your Plum Meringue Pots look as dreamy as they taste. A dusting of powdered sugar right before serving is always a good idea, too.
Side Dishes
These Plum Meringue Pots are a dessert star, but if you want to add more, serve them after a light summer lunch or alongside a strong cup of coffee or tea. Their sweetness is perfect for rounding out a meal of citrusy salads or simple roasted vegetables.
Creative Ways to Present
Individual Glasses are classic, but you can also try petite mason jars for picnics, vintage teacups for afternoon tea, or small jam jars for a rustic look. If you’re hosting a larger gathering, layer the entire recipe in a clear trifle bowl so guests can dig in with big serving spoons.
Make Ahead and Storage
Storing Leftovers
If you have leftovers, cover the assembled Plum Meringue Pots tightly with plastic wrap and keep them refrigerated for up to 2 days. The meringue may soften a bit, but the flavor will still be wonderful. For maximum crunch, you could layer in fresh meringue before serving leftovers.
Freezing
Freezing Plum Meringue Pots isn’t recommended, as the textures of cream and meringue can change dramatically once thawed. If you need to get ahead, freeze only the plum compote and make the cream and assemble just before serving.
Reheating
No reheating needed! These are best served cold straight from the fridge. If your compote thickens too much in the fridge, just let it sit at room temperature for a few minutes before assembling.
FAQs
Can I use other fruits instead of plums?
Definitely! Plum Meringue Pots work beautifully with other stone fruits like peaches, nectarines, apricots, or even cherries. Just keep an eye on cooking times, as softer fruit may break down quicker.
Can I make these ahead of time?
Absolutely—you can prepare the plum compote and cream mixture a day ahead, storing them separately in the fridge. Assemble the pots just before serving to keep the meringue crisp and everything tasting fresh.
Are these gluten-free?
Yes, Plum Meringue Pots are naturally gluten-free, provided your store-bought meringue nests don’t contain wheat ingredients (most don’t, but always double-check the label if you’re sensitive).
How can I make this dessert dairy-free?
For a dairy-free spin, swap in coconut cream for the heavy cream and use a plant-based yogurt. Make sure your meringues don’t contain any dairy, and you’ll have a treat everyone can enjoy!
What if my meringue gets soggy?
The best way to keep the meringue crunchy is to assemble the Plum Meringue Pots just before serving. If you’ve made them in advance and the meringue softens, a quick sprinkle of fresh crushed meringue on top before serving does the trick.
Final Thoughts
You’re now ready to treat yourself (and your lucky friends or family) to Plum Meringue Pots—a dessert that’s simple to make but feels utterly special. Give it a try next time you’ve got ripe plums on hand, and let each layered bite remind you how easy and rewarding home baking can be. Happy dessert-making!