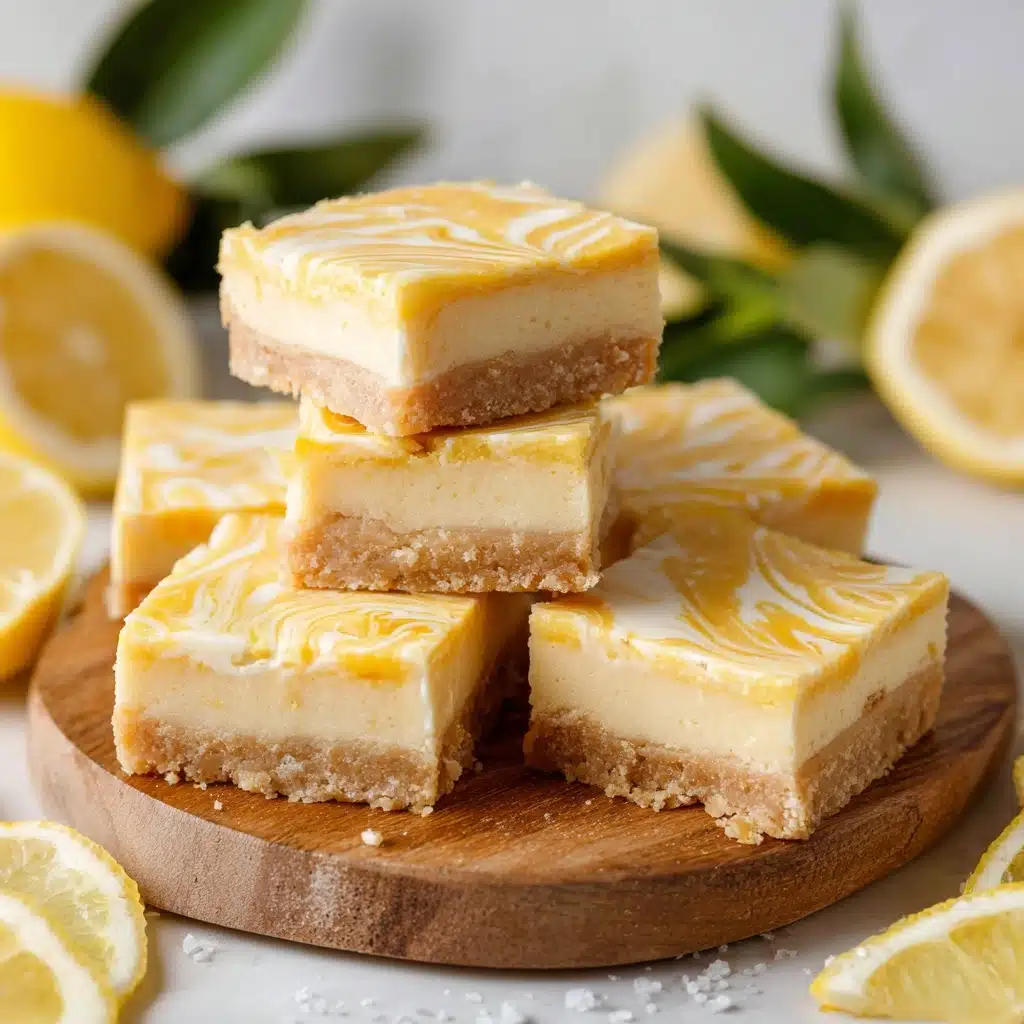
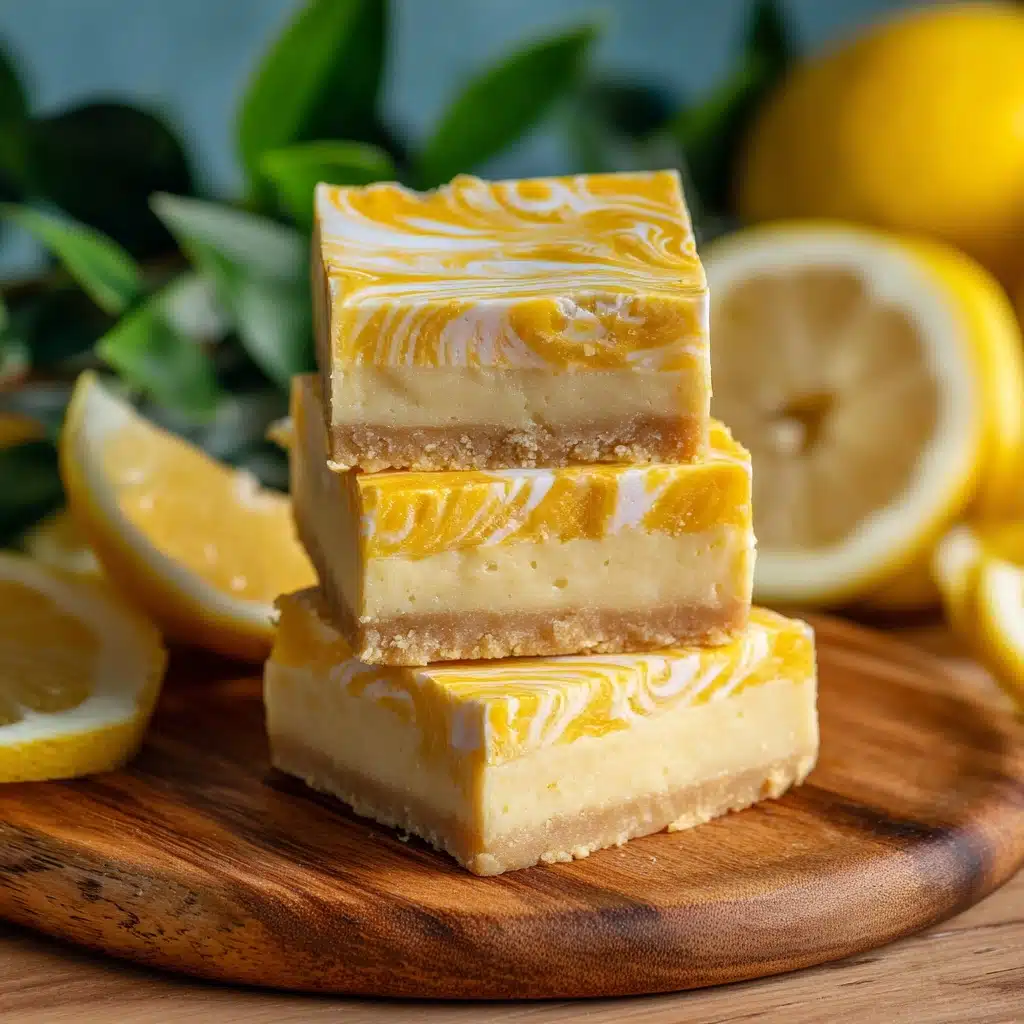
Get ready to embrace a nostalgic wave of creamy, citrusy delight with Orange Dreamsicle Fudge. Each bite blends luscious white chocolate with bright orange flavor, echoing the classic ice cream treat so many of us adored as kids—but with the irresistible convenience of no-fuss fudge! Simple ingredients transform into crowd-pleasing squares with a velvety texture and a sun-kissed color that’s just as fun to make as it is to eat. Whether you’re making this for a family gathering or as a cheerful homemade gift, Orange Dreamsicle Fudge is poised to be everyone’s new favorite indulgence.

Ingredients You’ll Need
This recipe keeps things blissfully uncomplicated, relying on a handful of carefully selected ingredients that deliver big on flavor and that signature fudge texture. Each has a unique role—from creamy richness to zesty pops of orange—so don’t skip a thing!
- White chocolate chips: These provide the smooth, melt-in-your-mouth base and deliver that creamy backdrop you expect in top-notch fudge.
- Sweetened condensed milk: Essential for melding everything into a glossy, dense mixture with plenty of sweetness and signature fudge chew.
- Unsalted butter: Adds silkiness and depth, balancing both the sweetness and citrus flavors perfectly.
- Vanilla extract: Gives a gentle warmth and rounds out both the chocolate and orange, echoing the classic dreamsicle experience.
- Orange zest: Freshly grated zest infuses the fudge with tangy, authentic citrus oils you can truly taste in every bite.
- Orange extract: Intensifies that orange flavor, creating a bold, unmistakably fruity essence without extra acidity.
- Orange food coloring (optional): For a vibrant, sunny hue that mirrors the iconic look of an orange creamsicle—totally up to you for a fun color punch!
- Crushed vanilla wafers or cookies (optional): If you want gentle crunch and a nod to the “cone” of a frozen treat, mix these in for delightful texture and extra nostalgia.
How to Make Orange Dreamsicle Fudge
Step 1: Prepare Your Pan
Start by lining an 8×8-inch baking pan with parchment paper, letting the edges hang over for easy fudge removal. This simple step makes lifting and slicing the Orange Dreamsicle Fudge hassle-free, with perfectly sharp corners and easy cleanup afterward.
Step 2: Melt the Base Ingredients
In a medium saucepan set over low heat, combine the white chocolate chips, sweetened condensed milk, and butter. Stir constantly with a heatproof spatula or wooden spoon. Gentle heat is the secret here—keep things slow so the chocolate melts smoothly without scorching or seizing.
Step 3: Flavor It Up
When the mixture is velvety and fully melted, remove your pan from the heat. Add the vanilla extract, orange zest, and orange extract. For that signature Orange Dreamsicle Fudge flair, add a few drops of orange food coloring (if you’d like) and stir until you reach your desired shade.
Step 4: Optional Crunch
If you crave a little texture, now’s the time to gently fold in the crushed vanilla wafers or cookies. This adds a playful crunch and lovely vanilla notes, making your Orange Dreamsicle Fudge reminiscent of a classic creamsicle cone.
Step 5: Pour, Chill, and Set
Quickly scrape the mixture into your prepared pan and smooth out the top. Pop the pan into the refrigerator for at least 4 hours, or until the fudge is completely firm and set—it’s okay if you sneak a peek, but patience pays off with ultra-creamy bites!
Step 6: Slice and Serve
Once your Orange Dreamsicle Fudge is set, lift it out using the parchment handles, place it on a cutting board, and slice into small squares. Each glossy piece should look as inviting as the classic frozen treat, with orange marbling and creamy, melt-away texture.
How to Serve Orange Dreamsicle Fudge

Garnishes
Dress up your fudge with a scattering of extra orange zest or thin slices of candied orange on top before serving, for both vibrant color and a concentrated citrus aroma. A gentle dusting of powdered sugar or even a tiny swirl of whipped cream takes the Orange Dreamsicle Fudge presentation right over the top.
Side Dishes
Since Orange Dreamsicle Fudge is wonderfully sweet and rich, serve it alongside fresh fruit—think berries, kiwi slices, or wedges of pineapple—for a bright and refreshing contrast. If you’re offering it as part of a dessert spread, pair with crisp buttery cookies or a light, citrusy sorbet.
Creative Ways to Present
For parties, package squares in clear treat bags tied with orange ribbon for a cheerful homemade gift. Try layering pieces on a platter with alternating rows of vanilla and orange fudge for a festive effect, or make a fudge “tower” with small skewers for a playful, grab-and-go option. Orange Dreamsicle Fudge always looks inviting surrounded by edible flowers or springtime décor.
Make Ahead and Storage
Storing Leftovers
Leftover Orange Dreamsicle Fudge stores beautifully in an airtight container in the refrigerator for up to two weeks. To keep it at its creamiest, separate layers with parchment or wax paper so the pieces don’t stick together.
Freezing
This fudge is freezer friendly, making it perfect for prepping ahead! Wrap individual pieces in plastic wrap and stash them in a zip-top freezer bag or airtight container. Frozen fudge will stay tasty for up to two months; just thaw in the fridge when you’re ready to indulge.
Reheating
Fudge is meant to be enjoyed cold or at cool room temperature, so there’s no need for reheating. If your Orange Dreamsicle Fudge has been frozen, let it thaw in the refrigerator overnight and serve as soon as it’s sliceable and creamy again.
FAQs
Can I use real orange juice instead of extract?
You can, but be aware that orange juice adds extra liquid and acidity that can affect the texture and set of the fudge. Orange extract and zest both deliver intense orange flavor without disrupting the fudge’s creamy consistency.
How do I make the swirl effect mentioned in the notes?
To create dreamy swirls, divide your fudgy mixture in half after melting. Add orange extract and food coloring to one half (plus extra orange zest if you like). Pour the vanilla mixture into your pan, then dollop and gently swirl in the orange mixture with a knife before chilling for a gorgeous marbled finish.
Can I make Orange Dreamsicle Fudge without food coloring?
Absolutely! The food coloring is just for that playful, vibrant color. Leave it out if you prefer a more natural look—the fudge will still taste delicious and feature subtle golden hues from the zest.
Are there vegan or dairy-free options for this recipe?
Yes, you can use dairy-free white chocolate chips, vegan butter, and a plant-based sweetened condensed milk available in many stores. The flavor will remain sunny and sweet, suitable for vegan friends or those avoiding dairy.
Does this fudge need to set overnight?
Four hours in the fridge should do the trick, but if you want to prep ahead, it’s completely fine to let your Orange Dreamsicle Fudge set overnight. In fact, a chillier, longer set time only intensifies the creamy-dreamy texture.
Final Thoughts
Once you’ve tasted a square of Orange Dreamsicle Fudge, it’s sure to become your go-to treat for every celebration or “just because” day. The tang of orange, the creamy smoothness of white chocolate, and that hint of childhood nostalgia—all it takes is a handful of ingredients and a spark of inspiration. Don’t wait for a special occasion: why not whip up a batch and surprise someone you love (yourself included)?
