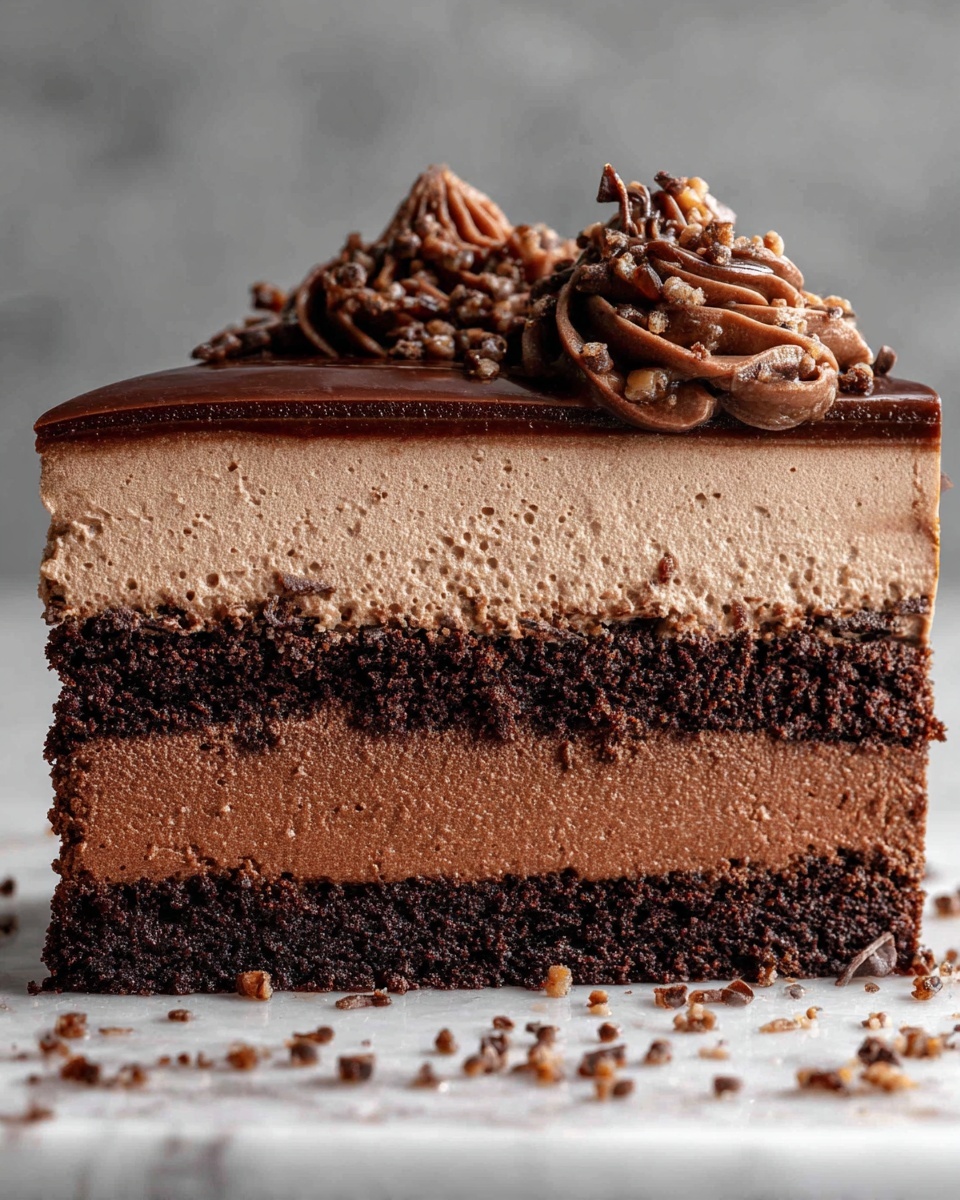
There is something utterly magical about a dessert that comes together quickly yet tastes like it took all day to create. This No Bake Nutella Cheesecake Recipe is exactly that kind of treat. With its luscious Nutella flavor, smooth and creamy texture, and delightful crunch from the graham cracker crust, it’s a guaranteed crowd-pleaser. Whether you’re looking for an impressive dessert for a dinner party or simply want to indulge yourself on a cozy night in, this recipe is straightforward, rewarding, and, best of all, requires no baking.
Ingredients You’ll Need
Simple, everyday ingredients come together in this recipe to create a dessert that feels decadent without any fuss. Each component plays an essential role in balancing richness, texture, and flavor, making this No Bake Nutella Cheesecake Recipe truly unforgettable.
- Graham cracker crumbs (1 1/2 cups): Provide a crunchy, slightly sweet base that perfectly supports the creamy filling.
- Granulated sugar (1/4 cup): Enhances the natural sweetness of the crust without overpowering.
- Unsalted butter, melted (1/2 cup): Binds the graham cracker crumbs into a sturdy, buttery crust.
- Cream cheese, softened (16 oz): Offers that smooth, tangy foundation essential to cheesecake’s character.
- Nutella (1 cup): Adds the star ingredient’s signature chocolate-hazelnut flavor and creamy texture.
- Powdered sugar (1/2 cup): Sweetens the filling effortlessly with a silky finish.
- Vanilla extract (1 teaspoon): Deepens the flavor, lending warmth and complexity.
- Heavy whipping cream (1 cup): Whipped to stiff peaks, it lightens the rich filling to cloud-like softness.
- Powdered sugar for whipped cream (2 tablespoons): Keeps the whipped cream sweet and stable.
- Additional Nutella (for drizzling): Offers beautiful decorative flair plus a final hit of indulgence.
- Chocolate shavings or crushed hazelnuts (optional): Bring extra texture and a rustic finish to the topping.
How to Make No Bake Nutella Cheesecake Recipe
Step 1: Prepare the Crust
Start by mixing graham cracker crumbs and granulated sugar in a medium bowl. Once combined, stir in the melted butter until every crumb is coated. Press this mixture firmly into the bottom of a 9-inch springform pan or pie dish to form an even, sturdy layer. Pop it in the fridge to chill while you get started on the filling—this chilling step ensures the crust sets perfectly.
Step 2: Create the Cheesecake Filling
Using an electric mixer, beat softened cream cheese until it’s as smooth and creamy as velvet. Next, add Nutella, powdered sugar, and vanilla extract, mixing until the filling boasts a luscious, even consistency. In a separate bowl, whip the heavy cream with the powdered sugar until you achieve stiff peaks—the secret to that airy, light texture that makes this cheesecake so special. Carefully fold the whipped cream into the Nutella mixture, gently combining without deflating the fluffiness.
Step 3: Assemble and Chill
Pour the heavenly Nutella cheesecake filling onto the chilled graham cracker crust. Use a spatula to spread it evenly and smooth out the surface. Now, patience is key—refrigerate this beauty for at least 4 hours, or better yet, overnight. Allowing time for setting means every slice holds together beautifully, while the flavors meld into creamy perfection.
Step 4: Garnish and Serve
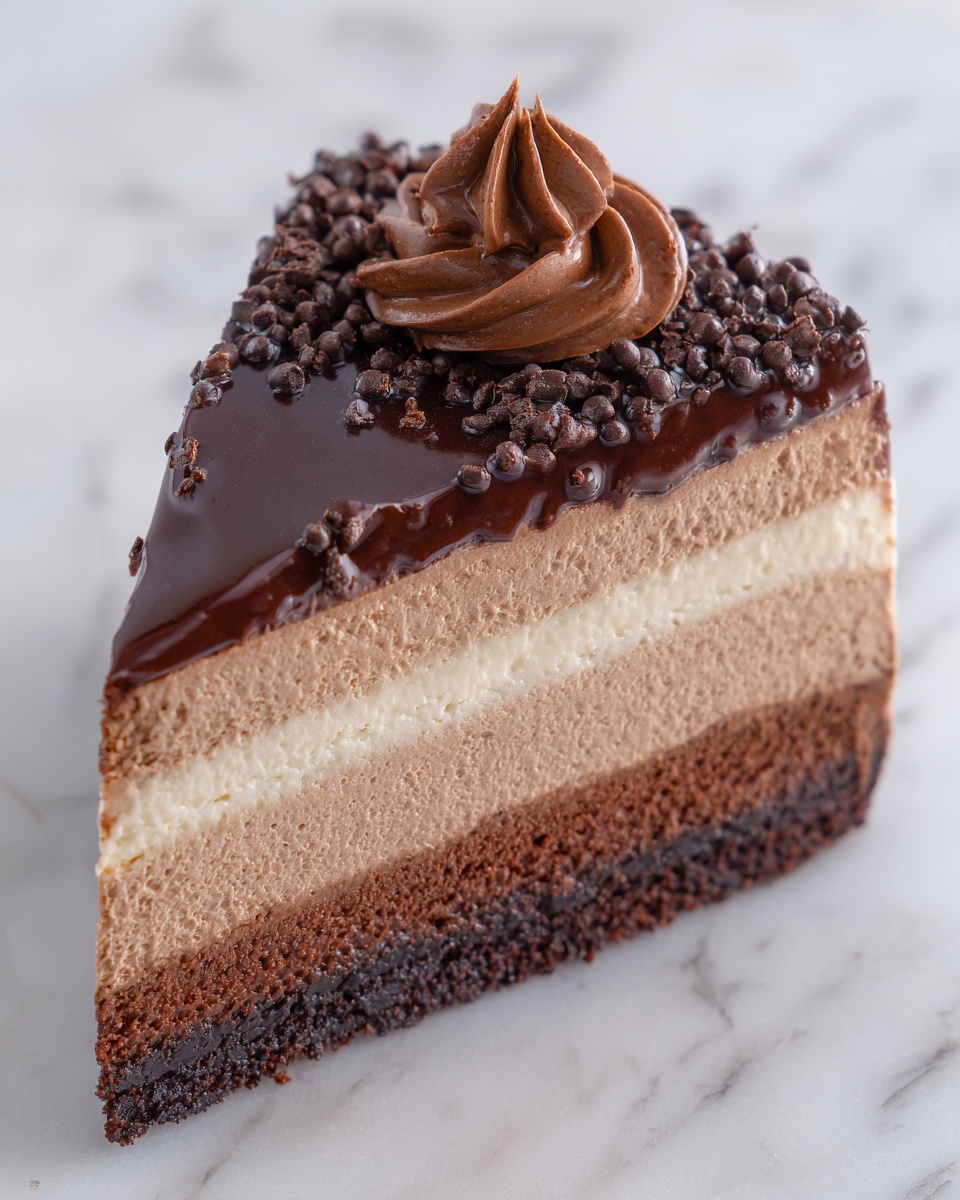
Before guests arrive or your first bite, drizzle additional Nutella atop the cheesecake for an irresistible glossy finish. If you want to go the extra mile, sprinkle with chocolate shavings or crushed hazelnuts to add a lovely crunch and a little something special. Slice generously and serve!
How to Serve No Bake Nutella Cheesecake Recipe
Garnishes
The final presentation can elevate your No Bake Nutella Cheesecake Recipe from delightful to show-stopping. Nutella drizzles create a beautiful, shiny contrast against the creamy filling. For texture and visual interest, chocolate shavings offer a delicate curl of sweetness, while crushed hazelnuts provide a rustic crunch and enhance the Nutella flavor. Fresh mint leaves can also add a fresh burst of color and aroma.
Side Dishes
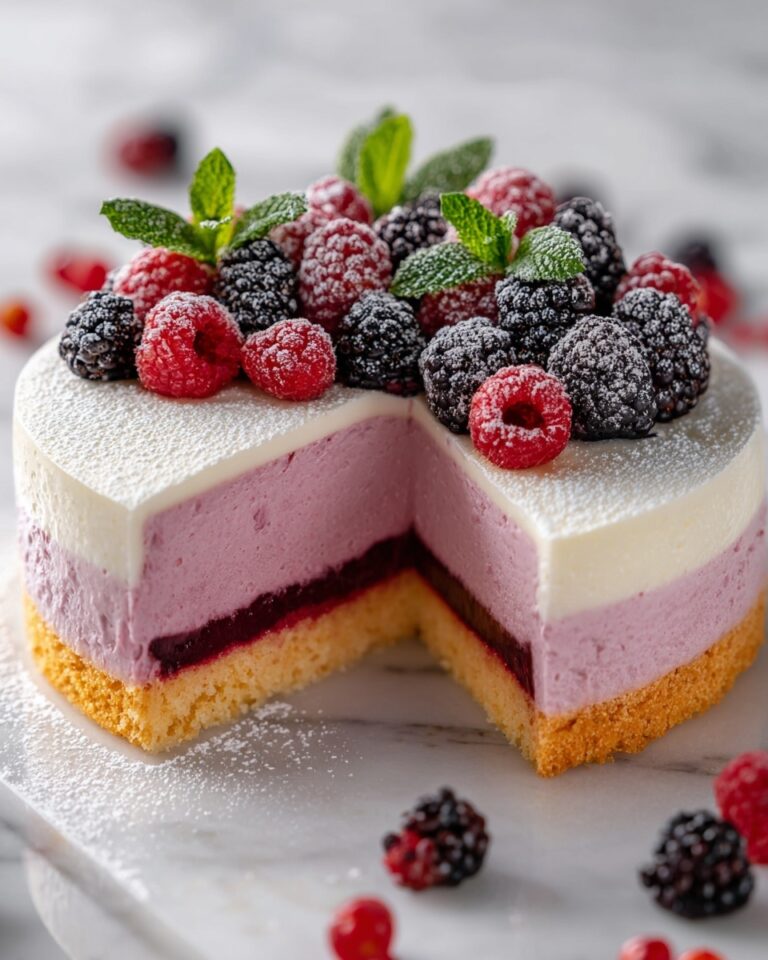
This cheesecake pairs wonderfully with fresh berries—think raspberries or strawberries—to balance the richness with a touch of tartness. A dollop of lightly whipped cream or a small scoop of vanilla ice cream alongside can further complement each bite, creating an indulgent yet refreshing dessert experience.
Creative Ways to Present
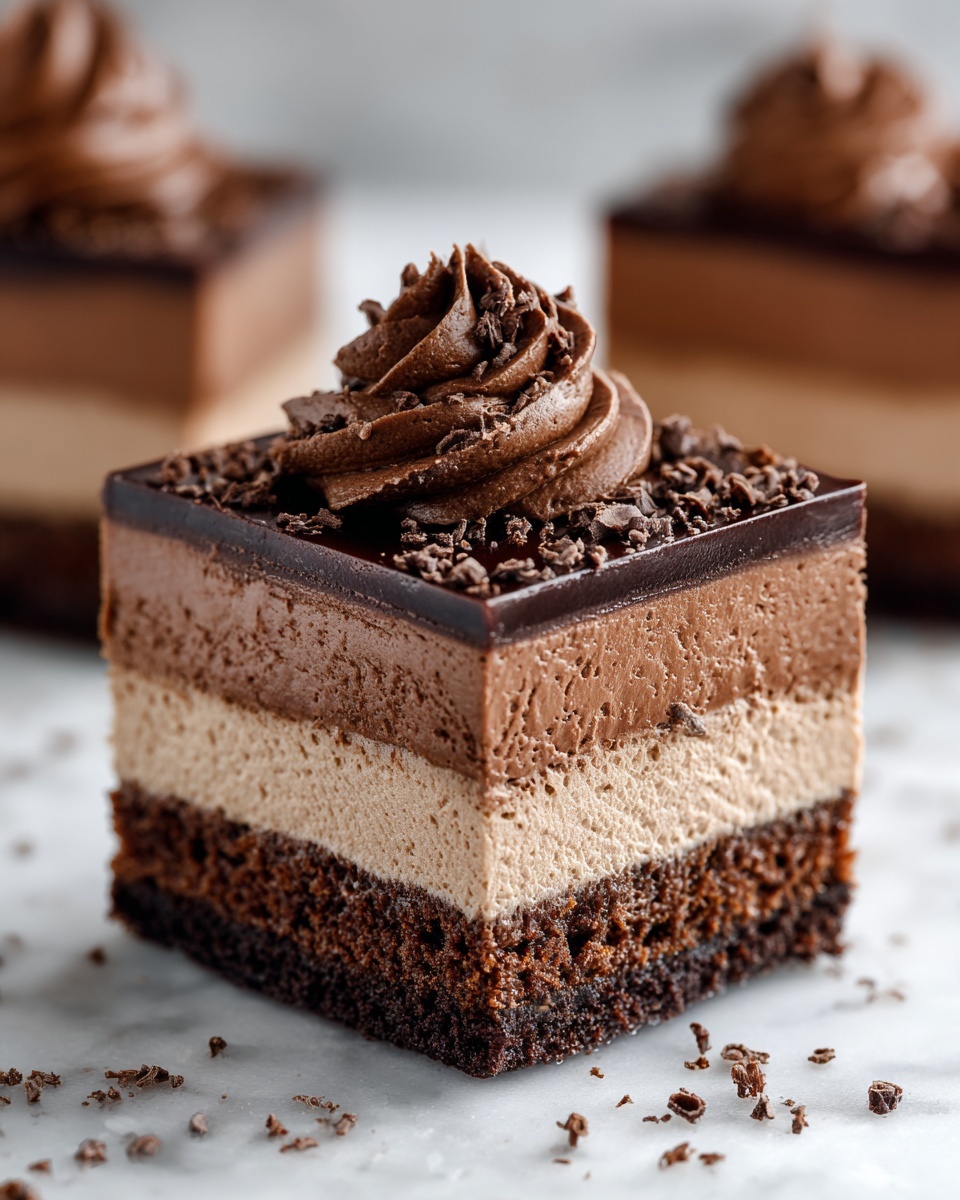
If you want to impress friends or family, try serving individual portions in clear glasses or mason jars. Layer small chunks of the crust with the cheesecake filling and a drizzle of Nutella, then top with a sprinkle of hazelnuts or chocolate shavings. This personal touch adds charm and keeps presentation stress-free, while keeping the magic of the No Bake Nutella Cheesecake Recipe intact.
Make Ahead and Storage
Storing Leftovers
Leftover cheesecake should be tightly covered with plastic wrap or stored in an airtight container and refrigerated. It will hold its creamy texture and delicious flavor well for up to 4 days, making it perfect to enjoy over several days or to prepare in advance for busy occasions.
Freezing
If you want to keep the cheesecake longer, freezing is a fantastic option. Wrap the whole cake or individual slices tightly in plastic wrap and then aluminum foil to prevent freezer burn. Frozen cheesecake can last up to 2 months. When ready to eat, thaw overnight in the refrigerator to preserve its creamy texture.
Reheating
This cheesecake is best enjoyed cold and does not require reheating. Serving it chilled keeps the integrity of the creamy filling and crunchy crust intact, delivering the perfect dessert experience every time.
FAQs
Can I use a different chocolate spread instead of Nutella?
Absolutely! While Nutella’s unique chocolate-hazelnut flavor is the star here, you can experiment with other chocolate spreads that suit your taste. Just keep in mind the consistency and sweetness may vary slightly.
Do I have to use a springform pan?
A springform pan is ideal because it helps remove the cheesecake easily without damaging the edges, but a standard pie dish works just fine as well—just be gentle when serving.
Can I use low-fat cream cheese or whipped cream for a lighter version?
Low-fat options may affect the texture and flavor. For the best creamy and rich results that this No Bake Nutella Cheesecake Recipe promises, full-fat cream cheese and heavy whipping cream are recommended.
How long does the cheesecake need to chill before serving?
It’s best to chill the cheesecake for a minimum of 4 hours, but overnight chilling yields the perfect set and flavor melding, ensuring each slice holds together beautifully.
Can I make this recipe vegan or dairy-free?
While this recipe relies on cream cheese and heavy cream for its signature texture, there are dairy-free alternatives now available that might work with some adaptation. Experimenting with vegan cream cheese and coconut cream could produce a tasty version!
Final Thoughts
There is truly nothing like the joy of whipping up a dessert that’s both stunning and surprisingly simple. This No Bake Nutella Cheesecake Recipe has quickly become a beloved favorite whenever I crave something chocolatey, creamy, and effortless. I can’t wait for you to try it and enjoy every delicious bite as much as I do. Once you experience how easy and delightful this cheesecake is, it might just become your go-to dessert too!
Print
No Bake Nutella Cheesecake Recipe
- Prep Time: 20 minutes
- Cook Time: 0 minutes
- Total Time: 4 hours 20 minutes
- Yield: 8 servings
- Category: Dessert
- Method: No-Cook
- Cuisine: American
- Diet: Vegetarian
Description
This No Bake Nutella Cheesecake is a decadent and creamy dessert featuring a buttery graham cracker crust and a rich, fluffy Nutella-infused cheesecake filling. Perfect for chocolate and hazelnut lovers, this easy-to-make recipe requires no oven baking, only refrigeration, making it ideal for quick preparation and impressive results.
Ingredients
Crust
- 1 1/2 cups graham cracker crumbs
- 1/4 cup granulated sugar
- 1/2 cup unsalted butter, melted
Filling
- 16 oz cream cheese, softened
- 1 cup Nutella (chocolate hazelnut spread)
- 1/2 cup powdered sugar
- 1 teaspoon vanilla extract
- 1 cup heavy whipping cream
- 2 tablespoons powdered sugar (for whipped cream)
Garnish
- Additional Nutella (to drizzle)
- Chocolate shavings or crushed hazelnuts (optional)
Instructions
- Make the Crust: In a medium bowl, combine the graham cracker crumbs and granulated sugar. Add the melted butter and stir until the mixture is well combined and the crumbs are evenly coated.
- Press Crust Into Pan: Press the mixture into the bottom of a 9-inch springform pan or pie dish to form an even layer. Refrigerate the crust for at least 15 minutes to set while you prepare the filling.
- Prepare the Cheesecake Filling: In a large mixing bowl, beat the softened cream cheese with an electric mixer until smooth and creamy. Add the Nutella, powdered sugar, and vanilla extract, and beat until fully combined and smooth.
- Whip the Cream: In a separate bowl, beat the heavy whipping cream with powdered sugar until stiff peaks form, creating a fluffy whipped cream.
- Fold Whipped Cream Into Filling: Gently fold the whipped cream into the Nutella and cream cheese mixture until fully incorporated, producing a light and airy filling.
- Assemble the Cheesecake: Pour the Nutella cheesecake filling onto the chilled graham cracker crust. Spread it evenly with a spatula and smooth the top.
- Chill to Set: Refrigerate the assembled cheesecake for at least 4 hours or overnight to allow it to set firmly.
- Garnish and Serve: Before serving, drizzle additional Nutella over the top for a rich, glossy finish. Optionally, sprinkle chocolate shavings or crushed hazelnuts for extra texture and flavor.
- Slice and Enjoy: Cut into slices and serve the creamy, chocolatey cheesecake to delight your guests.
Notes
- For best results, soften the cream cheese to room temperature before mixing to avoid lumps.
- If Nutella is too thick, warm it slightly to make it easier to fold into the cream cheese.
- The cheesecake can be stored in the refrigerator for up to 3 days.
- Use a springform pan for easy removal, or line the pie dish with parchment paper to prevent sticking.
- Optional garnishes add flavor and texture but can be omitted if preferred.
