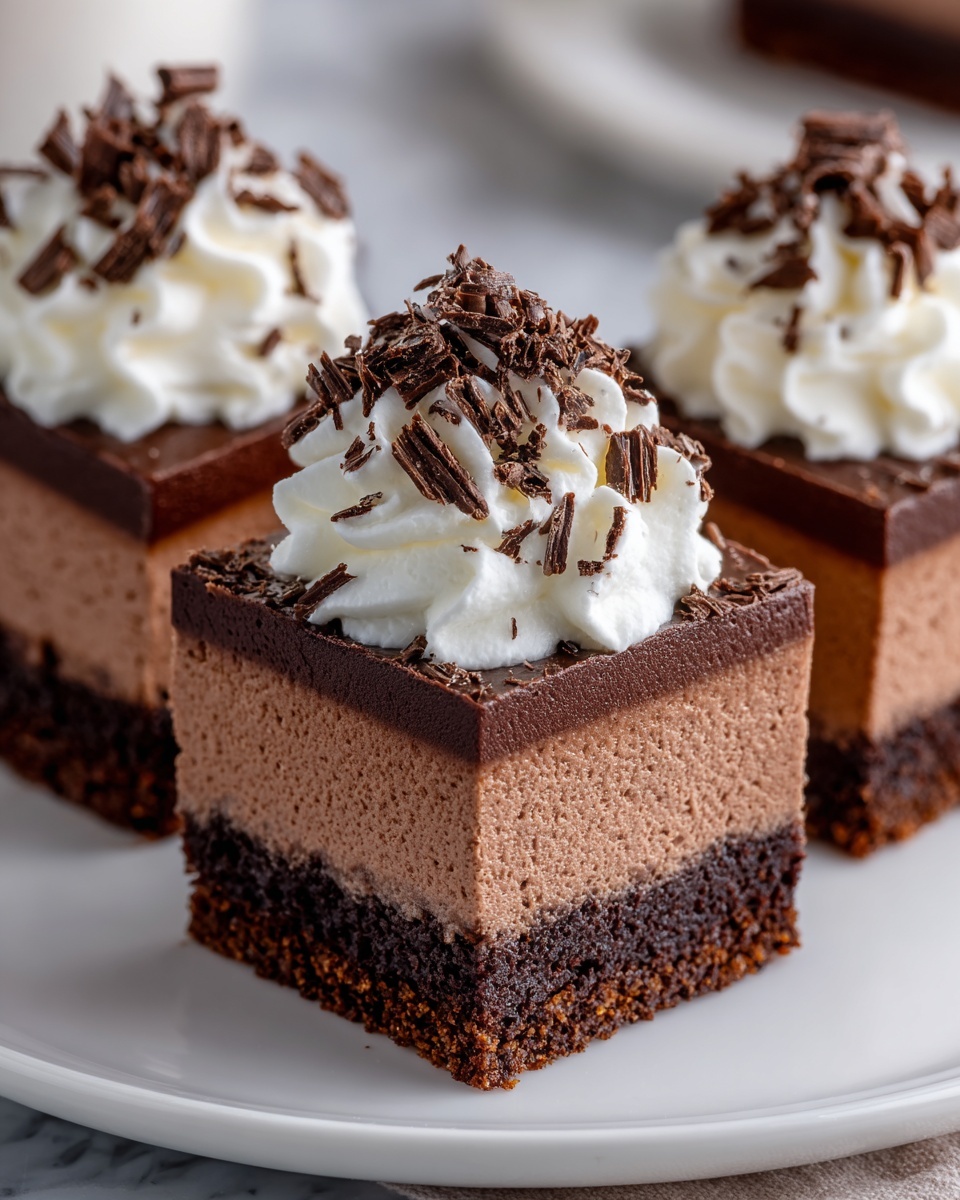
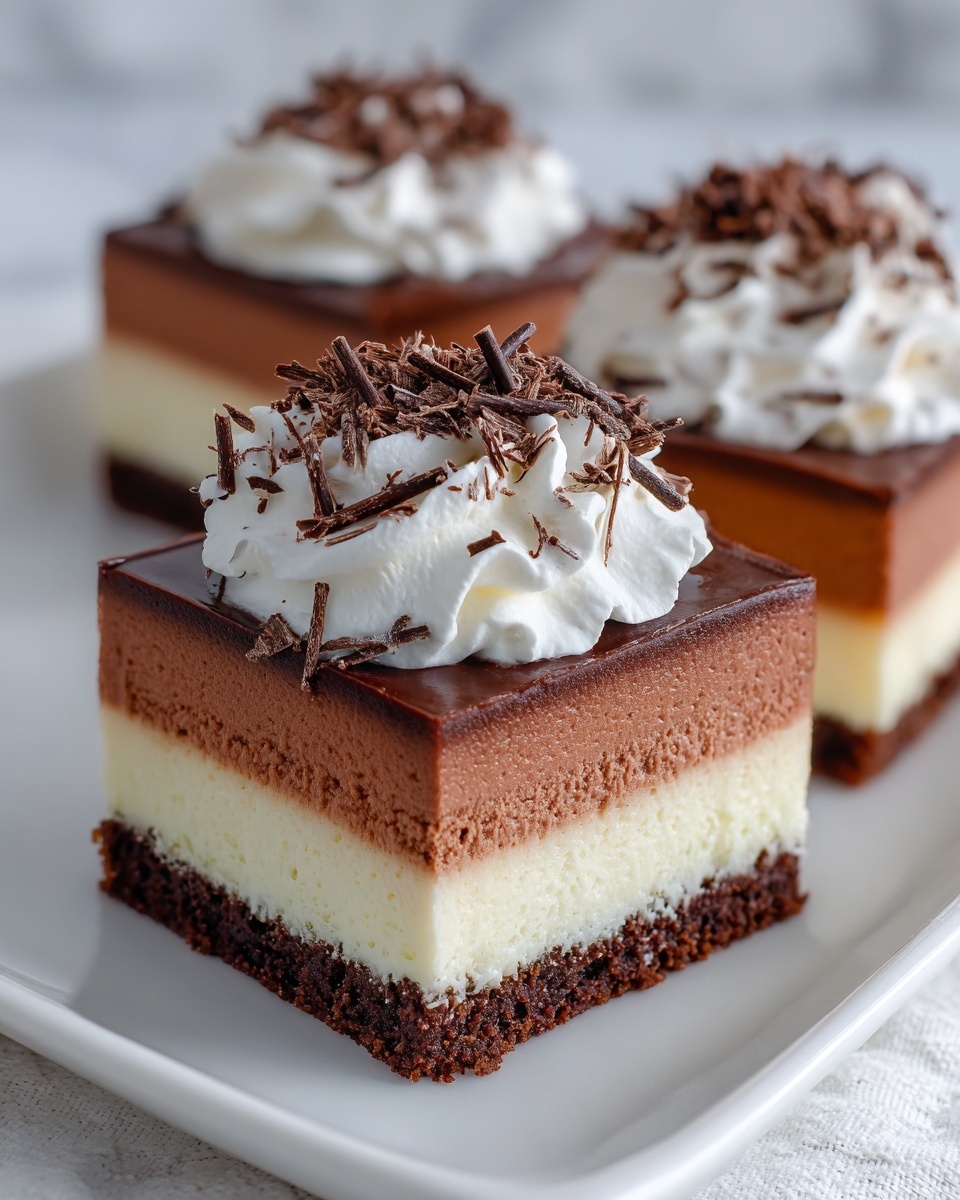
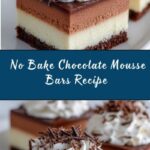
If you are a chocolate lover looking for a dessert that is both indulgent and effortless, this No-Bake Chocolate Mousse Bars Recipe is your new best friend. Layers of rich, silky chocolate mousse sit atop a buttery chocolate cookie crust, finished off with a glossy chocolate ganache that sets into a decadent bar you can slice and serve anytime. No oven required and no fuss—just pure, dreamy chocolate satisfaction that’s perfect for any occasion or just because you deserve a sweet treat.
Ingredients You’ll Need
These ingredients may be simple, but each plays an essential role in creating the perfect balance of texture and flavor in your No-Bake Chocolate Mousse Bars Recipe. From the crumbly base to the fluffy mousse and smooth ganache, every component shines.
- Chocolate cookie crumbs: The foundation of the crust, adding a crisp, chocolatey crunch.
- Melted butter: Binds the cookie crumbs together while lending a rich, buttery flavor.
- Heavy cream (for mousse and ganache): Provides the luscious creaminess that makes the mousse so airy and the ganache so silky.
- Semisweet chocolate chips (melted): Infuses the mousse layer with intense, smooth chocolate flavor.
- Powdered sugar: Sweetens the mousse delicately without graininess.
- Vanilla extract: Elevates the chocolate flavors with a subtle, warm aroma.
- Whipped cream: Used both inside the mousse and as an optional garnish for light texture contrast.
- Chocolate shavings or cocoa powder (optional): Adds an elegant finishing touch when serving.
How to Make No-Bake Chocolate Mousse Bars Recipe
Step 1: Prepare the Crust
Start with mixing the chocolate cookie crumbs and melted butter in a bowl until evenly combined. This mixture forms a sturdy yet tender crust that will hold the luscious layers on top. Press the crumb mixture firmly into the bottom of an 8×8-inch dish, making sure it’s compact and even for the best texture. Then refrigerate the crust while you prepare the mousse filling to let it set properly.
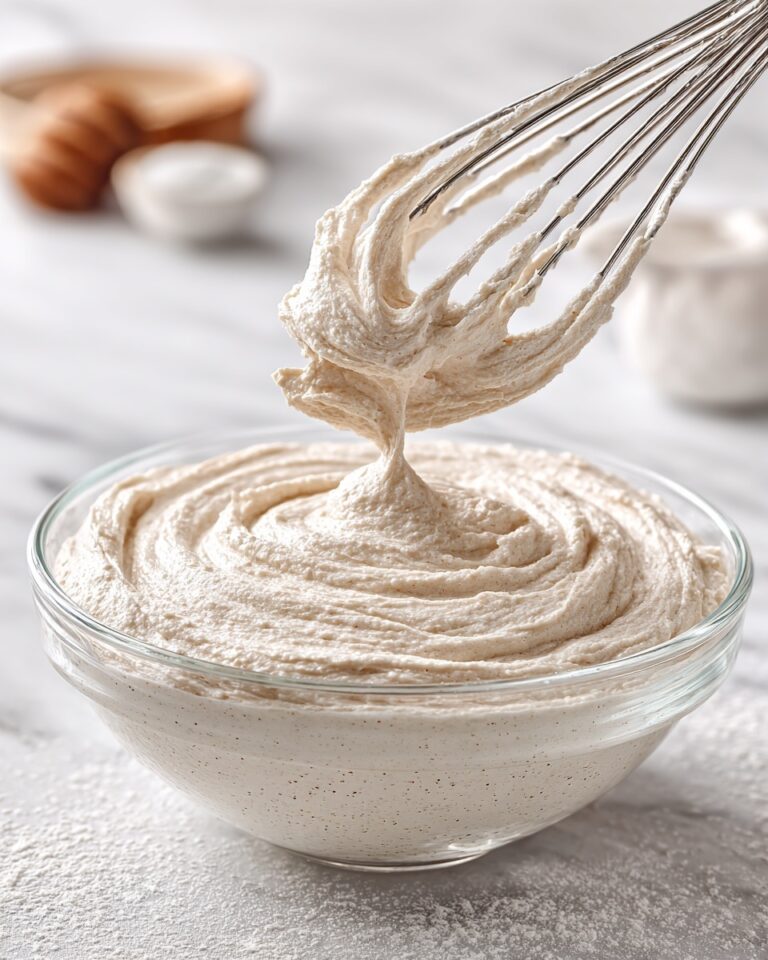
Step 2: Make the Mousse
In a large bowl, beat the heavy cream with melted chocolate chips, powdered sugar, and vanilla extract until the mixture becomes fluffy and light. This step is crucial because the aeration is what gives the mousse that heavenly, cloud-like texture. Once whipped to perfection, gently spread the mousse evenly over the chilled crust layer. Pop the pan back into the fridge to keep everything cool and let the mousse firm up while you prepare the next layer of chocolate.
Step 3: Add the Chocolate Layer
Warm the heavy cream gently—not to boiling, just warm enough to melt the chocolate chips. Pour this warm cream over the chocolate chips and wait a minute to let them soften. Then stir until the mixture is perfectly smooth and glossy. This silky ganache layer adds a luxurious finish atop the airy mousse. Spread the ganache evenly over the mousse, smoothing it out. Finally, refrigerate the entire dish for at least four hours or until fully set and sliceable.
How to Serve No-Bake Chocolate Mousse Bars Recipe

Garnishes
Brighten up these chocolate bars with a dollop of whipped cream for a creamy contrast or sprinkle chocolate shavings or cocoa powder on top to amplify the chocolate experience visually and texturally. These garnishes do not only enhance appearance but also add delightful layers of flavor and texture to every bite.
Side Dishes
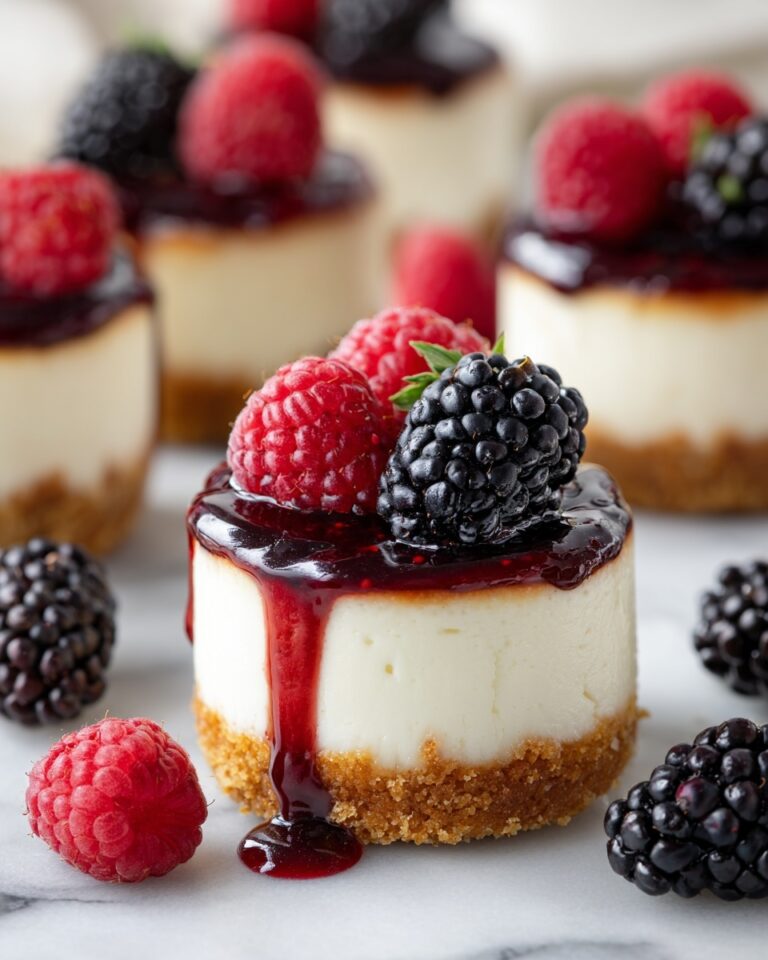
This dessert stands beautifully on its own but pairs wonderfully with fresh berries, like raspberries or strawberries, whose natural tartness cuts through the richness. A light espresso or a glass of cold milk can also be perfect companions for these bars, rounding out the experience with complementary flavors.
Creative Ways to Present
For an elegant party presentation, slice the bars into small squares and serve on decorative dessert plates with a drizzle of raspberry coulis or caramel sauce. Alternatively, create mini versions in muffin tins for individual servings, which are not only adorable but super convenient for guests. Adding edible gold leaf or sea salt flakes enhances the luxury factor if you want to impress.
Make Ahead and Storage
Storing Leftovers
Leftover bars keep beautifully in the refrigerator for up to 4 days when covered tightly with plastic wrap or stored in an airtight container. This makes them an excellent make-ahead dessert for busy weeks or special events, keeping all layers intact and fresh.
Freezing
You can freeze individual slices for up to 2 months. To do so, wrap each bar tightly in plastic wrap, then place them in a freezer-safe container or resealable bag to prevent freezer burn. Thaw bars overnight in the fridge before serving to retain that creamy mousse texture perfectly.
Reheating
Since these bars are best served chilled, reheating is generally not recommended. Instead, allow frozen or refrigerated bars to come to room temperature for about 15-20 minutes if you prefer a softer ganache layer. This subtle warming brings out the flavors without compromising the mousse’s airy texture.
FAQs
Can I use a different type of cookie for the crust?
Absolutely! While chocolate cookie crumbs provide that rich base, you can substitute with graham cracker crumbs, Oreo crumbs, or even digestive biscuits for varied flavors and textures. Just be mindful of how sweet or chocolatey the substitution is to maintain balance.
Is it possible to make this recipe dairy-free?
Yes! You can use dairy-free heavy cream alternatives and vegan chocolate chips to create a dairy-free version of this dessert. Just ensure the alternative creams whip well and have enough fat content for the mousse to set properly.
Can I use milk chocolate instead of semisweet chocolate?
Definitely! Milk chocolate will make the mousse sweeter and creamier, which is lovely if you prefer a milder chocolate taste. However, semisweet chocolate balances sweetness and bitterness perfectly for a more classic mousse flavor.
How long does it take for the bars to set?
The bars need at least 4 hours in the refrigerator to set firmly, but overnight chilling is even better for the cleanest slices and the richest texture. Patience really pays off with this recipe, so plan ahead!
Can I make these bars gluten-free?
Yes! Simply use gluten-free chocolate cookies or cookie crumbs for the crust. The rest of the ingredients are naturally gluten-free, making this dessert a safe and delicious option for gluten-sensitive guests.
Final Thoughts
There is something truly magical about making this No-Bake Chocolate Mousse Bars Recipe. It is an easy, no-stress way to create a show-stopping dessert that tastes like a masterpiece. Whether you’re treating yourself or impressing friends and family, these bars deliver creamy, chocolatey bliss in every bite. So go ahead, give this recipe a try, and get ready to fall in love with mousse all over again!
Print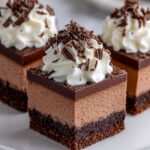
No-Bake Chocolate Mousse Bars Recipe
- Prep Time: 20 minutes
- Cook Time: 0 minutes
- Total Time: 4 hours 20 minutes
- Yield: 12 servings
- Category: Dessert
- Method: No-Cook
- Cuisine: American
Description
These No-Bake Chocolate Mousse Bars are a decadent and easy-to-make dessert featuring a rich chocolate cookie crust, a fluffy chocolate mousse filling, and a smooth chocolate ganache topping. Perfect for chocolate lovers, they require no baking and come together quickly, with a chilling period to set the layers into a firm, sliceable treat.
Ingredients
Crust
- 2 cups chocolate cookie crumbs
- ½ cup melted butter
Mousse Filling
- 1 ½ cups heavy cream
- 1 cup semisweet chocolate chips, melted
- ¼ cup powdered sugar
- 1 teaspoon vanilla extract
Chocolate Layer
- ¾ cup semisweet chocolate chips
- ½ cup heavy cream
Garnish
- ½ cup whipped cream
- Chocolate shavings or cocoa powder (optional)
Instructions
- Prepare the Crust: In a bowl, thoroughly mix the chocolate cookie crumbs with the melted butter until combined. Press this mixture firmly into the bottom of an 8×8-inch dish to form an even crust. Place the crust in the refrigerator to chill while you prepare the mousse filling.
- Make the Mousse: In a mixing bowl, beat the heavy cream, melted semisweet chocolate chips, powdered sugar, and vanilla extract together until the mixture becomes light and fluffy, forming a smooth mousse. Spread this mousse evenly over the chilled crust layer. Return the dish to the refrigerator to chill while you prepare the chocolate layer.
- Add the Chocolate Layer: Warm the heavy cream in a small saucepan or microwave until it is hot but not boiling. Pour the warm cream over the semisweet chocolate chips in a bowl and let it sit for one minute to melt the chocolate. Stir gently until completely smooth and glossy. Spread this chocolate ganache layer evenly over the mousse layer.
- Chill and Set: Place the assembled bars in the refrigerator for at least 4 hours to allow all layers to set firmly.
- Garnish & Serve: Before serving, top the bars with whipped cream and optional chocolate shavings or a dusting of cocoa powder. Slice into 12 bars and enjoy your rich no-bake dessert.
Notes
- Ensure that the heavy cream for the mousse is cold for best whipping results.
- Use good quality semisweet chocolate for a richer flavor.
- The dessert requires at least 4 hours of chilling to properly set, so plan ahead.
- You can substitute chocolate cookie crumbs with crushed Oreos without filling for the crust.
- For a dairy-free version use coconut cream and dairy-free chocolate chips.
