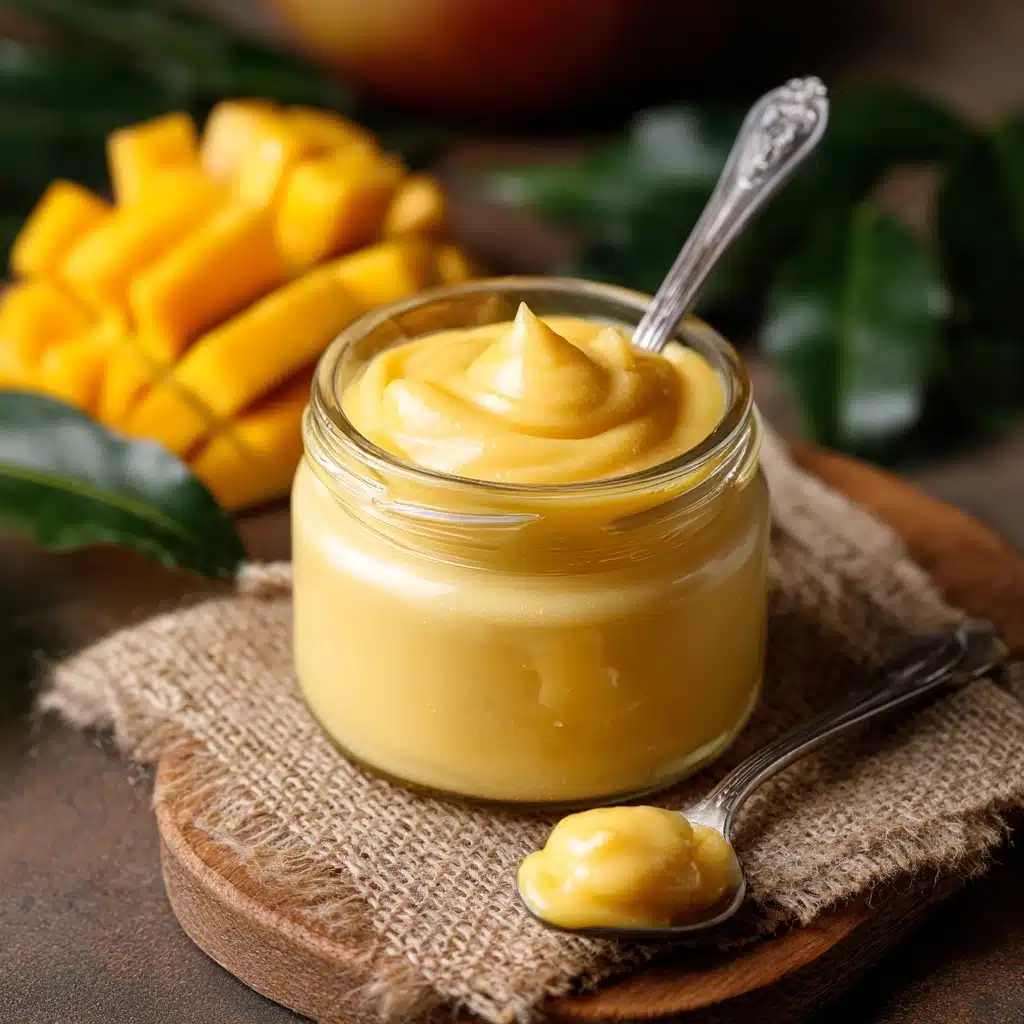
There’s something purely magical about Homemade Mango Curd: it’s sunshine in a jar, bursting with tropical flavor and creamy richness that instantly lifts any breakfast, dessert, or snack. This golden curd comes together in just 20 minutes and celebrates the irresistible taste of ripe mangos alongside a hint of citrus and a buttery finish. If you’re looking to add a tropical twist to your favorite treats or impress guests with a vibrant, crowd-pleasing spread, this Homemade Mango Curd promises to become your new go-to recipe!
Ingredients You’ll Need
Gather just a handful of simple ingredients to create a Homemade Mango Curd that is vibrant, tangy, and smooth. Each item here plays a starring role in delivering that lush texture and bold, fruity flavor we crave.
- Fresh mango purée: The star of the show! Use ripe mangos for maximum sweetness and a brilliant golden hue.
- Large egg yolks: These give the curd its luscious, creamy texture and help it thicken beautifully.
- Granulated sugar: Sweetens the curd and balances the tartness of the citrus; adjust to taste if your mangos are extra sweet.
- Fresh lime or lemon juice: Adds brightness and a tangy kick that highlights the fruitiness of the mango.
- Pinch of salt: Just a tiny bit enhances all the flavors and keeps the curd from tasting flat.
- Unsalted butter: Stirred in at the end, butter brings silkiness and a mellow finish to the curd.
How to Make Homemade Mango Curd
Step 1: Whisk Together the Base
In a medium saucepan, combine your fresh mango purée, egg yolks, granulated sugar, lime or lemon juice, and a pinch of salt. Whisk everything together until you have a smooth, sunny mixture with no streaks of egg—this is the foundation for your Homemade Mango Curd, so make sure it’s well combined!
Step 2: Gently Cook Until Thickened
Set the saucepan over medium-low heat. Using a heatproof spatula or a whisk, stir the mixture constantly. You’ll want to be patient here and keep the mixture moving to prevent any curdling. After about 8 to 10 minutes, the curd will thicken enough to coat the back of a spoon—watch for that silky texture, and never let it come to a boil.
Step 3: Add Butter for Silkiness
Once the curd has reached the perfect consistency, remove it from the heat right away. Add the cold, cubed butter and stir until it’s completely melted. This step transforms your Homemade Mango Curd into a glossy, velvety treat you’ll want to eat by the spoonful.
Step 4: Strain for Smoothness
Pour the warm curd through a fine mesh sieve into a clean bowl. This catches any bits of cooked egg or mango fiber, leaving you with the silkiest curd imaginable. Don’t skip this step—it’s the secret to that irresistible, professional finish.
Step 5: Chill and Set
Let the curd cool slightly, then transfer it to a jar or airtight container. Pop it in the fridge for at least 2 hours so it can set up and develop its luscious texture. Once chilled, your Homemade Mango Curd is ready to dazzle!
How to Serve Homemade Mango Curd
Garnishes
For a fresh and pretty finish, top your curd with a sprinkle of toasted coconut flakes, a scattering of diced fresh mango, or even a few edible flowers. A zest of lime or lemon over the top adds a pop of color and a burst of citrus aroma that pairs perfectly with the rich mango flavor.
Side Dishes
Homemade Mango Curd shines on warm toast, croissants, or scones for breakfast, but don’t stop there! Swirl it into Greek yogurt, dollop it over pancakes, or serve alongside coconut rice pudding. It’s also a dreamy companion to vanilla ice cream for a simple yet elegant dessert.
Creative Ways to Present
This curd is a showstopper in layer cakes or as a filling for tart shells—just spread it between sponge cake layers or spoon it into pre-baked mini tart crusts. For a fun party treat, layer it in parfait glasses with crushed cookies and whipped cream, or swirl it into no-bake cheesecakes. The possibilities are as endless as your imagination!
Make Ahead and Storage
Storing Leftovers
Keep any extra Homemade Mango Curd in a clean, airtight jar or container in the fridge. It stays fresh and delicious for up to a week, making it easy to enjoy a dollop of sunshine whenever you please.
Freezing
If you want to save some curd for later, you can freeze it! Place the cooled curd in a freezer-safe container, leaving a little space for expansion. Thaw in the refrigerator overnight before using—it’ll taste just as vibrant as the day you made it.
Reheating
Homemade Mango Curd is best enjoyed cold or at room temperature, but if you’d like it a bit warmer (perhaps for drizzling), gently heat it in a bowl set over a pan of simmering water, stirring constantly. Never microwave, as the eggs can curdle easily.
FAQs
Can I use frozen mango instead of fresh?
Absolutely! Thaw the frozen mango and blend it into a purée before measuring. Just make sure to choose high-quality frozen mango for the best, freshest flavor in your Homemade Mango Curd.
Why did my curd turn out lumpy?
This usually happens if the curd is cooked too quickly or gets too hot. Always cook over medium-low heat and stir constantly, and don’t forget to strain the finished curd for that perfectly smooth texture.
Can I make this curd without butter?
You can leave out the butter if you prefer a lighter curd, but it won’t be quite as silky. For a dairy-free version, try using coconut oil for a tropical twist!
What can I do if my curd is too runny?
If your Homemade Mango Curd hasn’t thickened enough, return it to the saucepan and cook gently for a few more minutes, stirring constantly, until it reaches the desired consistency.
Is this recipe gluten-free?
Yes, this curd is naturally gluten-free, so it’s a wonderful option for anyone avoiding gluten. Just be sure to serve it with gluten-free sides or desserts if needed!
Final Thoughts
Homemade Mango Curd is one of those kitchen treasures you’ll wonder how you ever lived without! Its tropical flavor and creamy texture make every bite feel like a mini-vacation. Give it a try, and get ready to fall in love with a new favorite that brightens up every occasion.