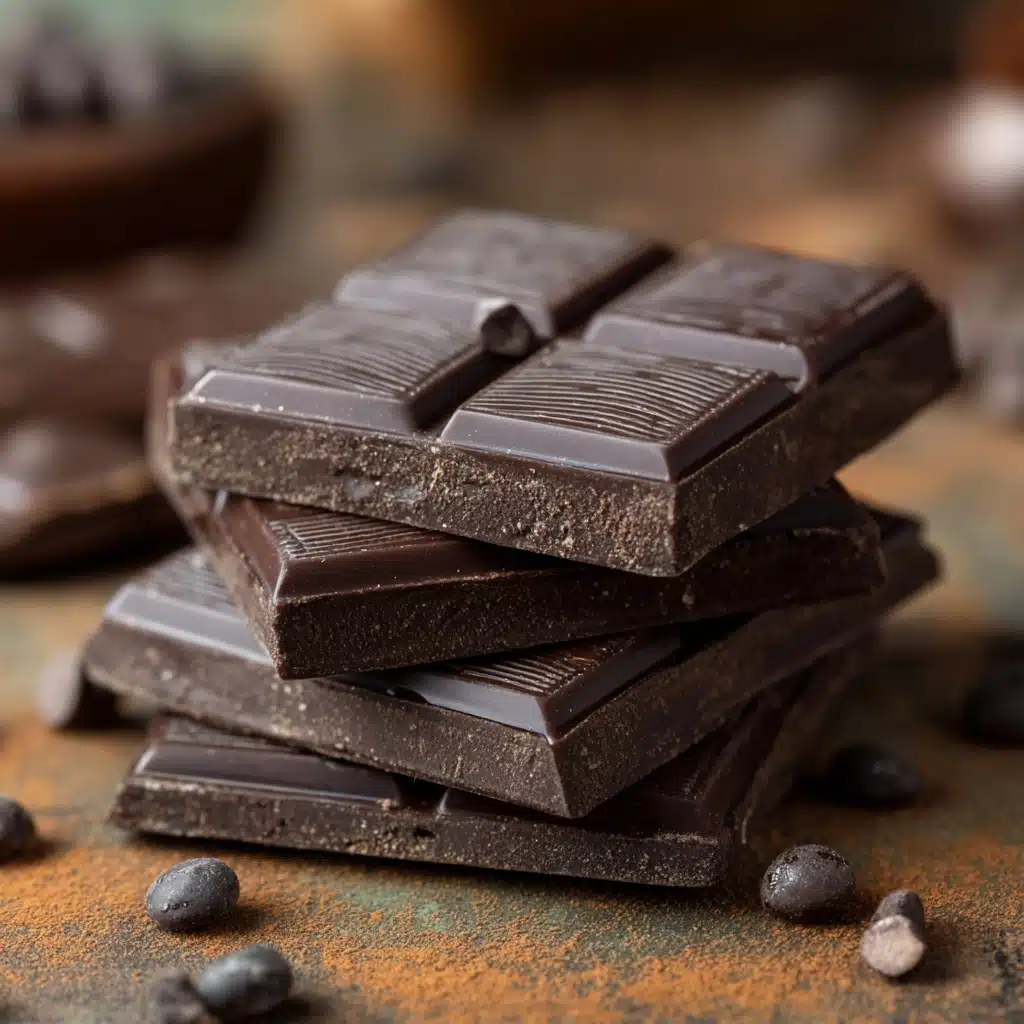
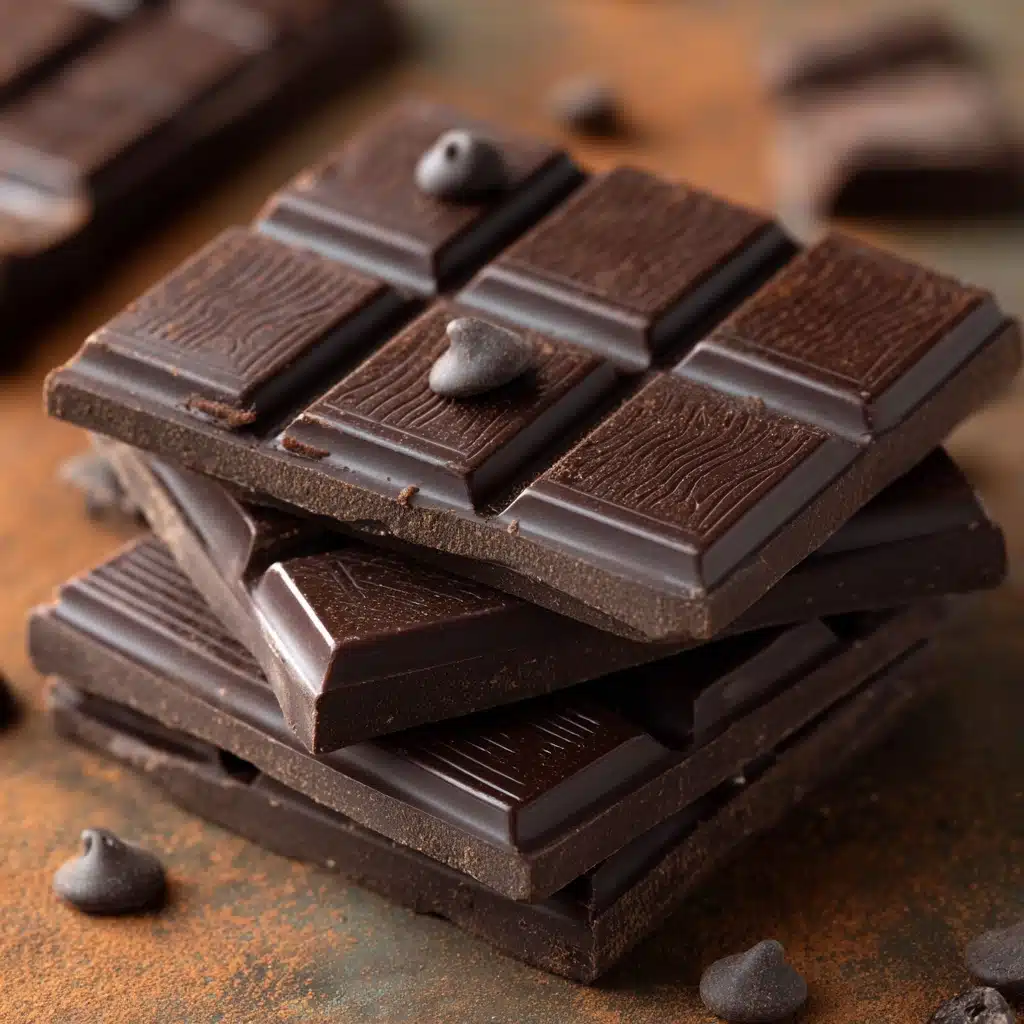
If you’ve ever dreamed of making your own decadent treats at home, Homemade Chocolate Bars are a game-changer. They’re rich, melt-in-your-mouth delicious, and fully customizable with your favorite add-ins. Even better, you don’t need any fancy equipment or obscure ingredients—just a few pantry staples and a little bit of time. Whether you want a healthier alternative to store-bought chocolate or a fun kitchen project, these bars will satisfy every chocolate craving, every time.
Ingredients You’ll Need
Homemade Chocolate Bars come together with just a handful of simple, wholesome ingredients—each one plays a key role in flavor, texture, or that glossy chocolate finish. Here’s what you’ll need and why it matters:
- Cocoa powder (unsweetened): This is where all the deep, chocolatey flavor comes from, so choose a good-quality cocoa powder for best results.
- Coconut oil (melted): It gives the chocolate its silky-smooth texture and helps it set beautifully once chilled.
- Maple syrup or honey: Natural sweeteners add just the right amount of sweetness while keeping things refined sugar-free.
- Vanilla extract: Just a splash brings out the chocolate flavors and adds irresistible aroma.
- Pinch of salt: A little salt enhances all the other flavors and balances the sweetness.
- Optional add-ins: Chopped nuts, dried fruit, mini marshmallows, shredded coconut, or crushed cookies—these let you get creative and personalize every batch.
How to Make Homemade Chocolate Bars
Step 1: Mix the Base
Begin by whisking together the melted coconut oil and cocoa powder in a medium mixing bowl. You want a smooth, lump-free mixture, so take your time until it’s glossy and combined. This forms the luscious base of your Homemade Chocolate Bars.
Step 2: Sweeten and Flavor
Next, stir in your maple syrup or honey, vanilla extract, and a pinch of salt. Keep mixing until everything is fully incorporated and the mixture looks shiny and cohesive. At this stage, you’ll start to smell that wonderful chocolate aroma—always a good sign!
Step 3: Add Extra Goodies
If you’re going for classic chocolate, you can leave it as is. But if you want to have some fun, this is the moment to toss in your favorite add-ins. Stir in chopped nuts, dried fruit, marshmallows, or any combination you love. Alternatively, sprinkle them on top after pouring the mixture into molds for a beautiful finish.
Step 4: Shape and Chill
Pour your chocolate mixture into silicone chocolate molds, a parchment-lined loaf pan, or even a shallow dish. Gently tap the mold on the counter to pop any air bubbles. Slide the mold into your freezer and let it chill for 30 to 45 minutes, until completely set and firm.
Step 5: Unmold and Enjoy
Once the Homemade Chocolate Bars are set, pop them out of the molds or slice into bars if you used a loaf pan. You’ll notice how glossy and perfectly snappable they are—ready to enjoy, gift, or stash away for a sweet moment later.
How to Serve Homemade Chocolate Bars
Garnishes
Sprinkle a little flaky sea salt, a drizzle of melted white chocolate, or a dusting of cocoa powder on top for a gourmet touch. Edible gold leaf or vibrant freeze-dried berries can also make your Homemade Chocolate Bars look like they came straight from a fancy chocolatier.
Side Dishes
Pair your bars with a steaming cup of coffee, a frothy latte, or a tall glass of cold almond milk. For a dessert plate, serve alongside fresh berries, a scoop of dairy-free ice cream, or even a platter of fruit and nuts.
Creative Ways to Present
Wrap each bar in parchment and twine for adorable homemade gifts, or arrange them in a pretty tin for a shareable treat. For parties, cut the bars into bite-sized squares and display them on a dessert board with all your favorite toppings and dippers.
Make Ahead and Storage
Storing Leftovers
Homemade Chocolate Bars are happiest when stored in an airtight container in your refrigerator. Since they’re free of stabilizers, they melt quickly at room temperature, so keep them chilled until you’re ready to indulge.
Freezing
If you want to make a big batch ahead of time, these bars freeze beautifully! Place them in a single layer in a freezer-safe container or zip-top bag, separating layers with parchment paper. They’ll stay fresh for up to three months—just thaw a few minutes before enjoying.
Reheating
These bars don’t really need reheating, but if you like your chocolate slightly softer, let them sit at room temperature for 5 to 10 minutes before eating. If you want to melt them for dipping, microwave in short bursts, stirring in between, until glossy and smooth.
FAQs
Can I use a different oil instead of coconut oil?
Coconut oil works best because it solidifies when cold, giving your Homemade Chocolate Bars that classic snappy texture. Other oils won’t set as firmly, but cocoa butter is a good alternative if you have it.
How do I make these bars milkier or less bitter?
For a creamier, milk chocolate vibe, reduce the cocoa powder slightly and add 1 to 2 tablespoons of milk powder or coconut cream powder. You can also add a swirl of peanut butter for extra richness!
Are Homemade Chocolate Bars vegan and gluten-free?
Absolutely! As written, the recipe is both vegan and gluten-free, as long as you use maple syrup (instead of honey) and check your add-ins for any hidden gluten or dairy.
Do I need special molds to make these?
Nope! Silicone chocolate molds are fun but totally optional. Parchment-lined loaf pans or shallow dishes work just as well—just cut into bars or squares once set.
Can I double or triple the recipe?
Definitely. This recipe is incredibly flexible, so you can easily make a big batch for parties or gifting. Just scale up all the ingredients and pour into larger molds or pans.
Final Thoughts
Making Homemade Chocolate Bars is pure kitchen magic—the kind of treat that feels special but comes together in minutes. Don’t hesitate to make them your own with extra goodies or fun shapes. I promise, you’ll never look at store-bought chocolate quite the same way again!