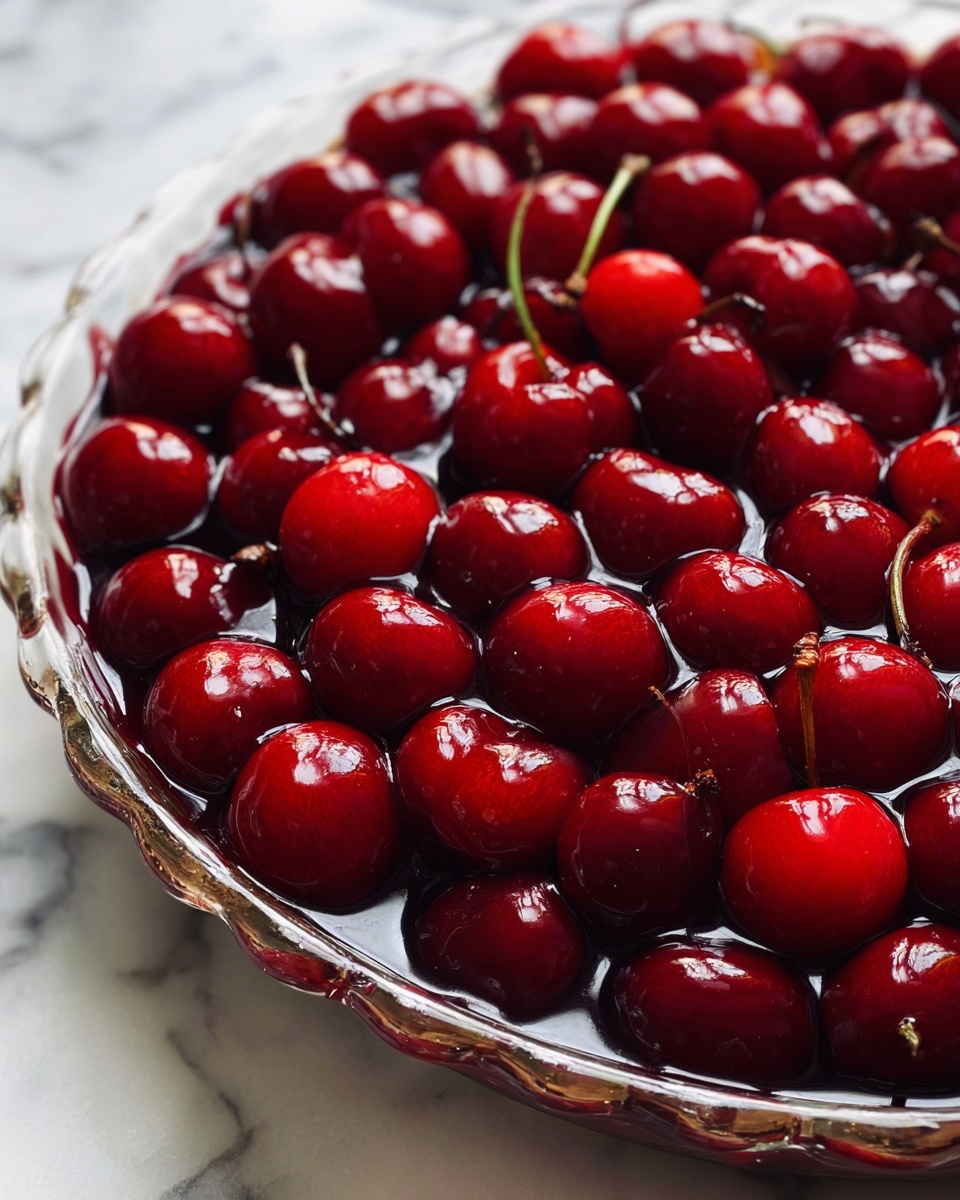
You know that feeling when a comforting, fruity pie almost melts in your mouth and brings a smile to your face? Well, let me share with you the magic of a Homemade Cherry Pie Filling Recipe that elevates any dessert to a new level. This luscious cherry filling is perfectly balanced with fresh cherries, just enough sweetness, and a silky texture that clings to every crusty nook of your pie. Whether you’re a baking newbie or a seasoned pro, making your own cherry pie filling is incredibly satisfying, tastes far better than store-bought jars, and fills your kitchen with the most irresistible aroma. Let’s dive in and create a cherry filling that will become your go-to secret weapon!
Ingredients You’ll Need
These ingredients are wonderfully simple but essential, each playing a crucial role: from the burst of color and natural juiciness of cherries to the perfect thickening power of cornstarch, everything here contributes to the filling’s taste, texture, and overall charm.
- 4 cups fresh or frozen cherries, pitted: The star of the show, bringing bold flavor and beautiful color.
- 1 cup granulated sugar: Adds just the right amount of sweetness to highlight the cherries’ natural tartness.
- 1/4 cup cornstarch: The magic thickener that makes the filling luxuriously smooth and perfect for pies.
- 1/4 tsp salt: Helps balance the sweetness and enhance the fruit’s natural taste.
- 1 tbsp lemon juice: A little zing that brightens the whole filling and deepens the cherry flavor.
- 1/2 cup water: Provides the necessary moisture to cook the cherries evenly while developing the sauce.
- 1/2 tsp almond extract (optional): A subtle, fragrant note that beautifully complements cherry’s flavor, but feel free to skip if you prefer pure cherry taste.
How to Make Homemade Cherry Pie Filling Recipe
Step 1: Combine the Ingredients
Start by placing your pitted cherries, sugar, cornstarch, and salt into a large saucepan. Then, add the lemon juice and water. Give everything a good stir to ensure the sugar and cornstarch are well distributed. This foundation ensures each cherry will be evenly coated and the sweetness and tartness will meld beautifully as it cooks.
Step 2: Cook Until Thickened
Set the saucepan over medium heat and get ready to watch some magic happen. Stir frequently to prevent sticking and ensure the filling thickens uniformly. After about 5 to 10 minutes, you’ll notice the mixture bubble and start to thicken into the perfect, glossy filling consistency. Don’t rush this step — the gentle simmer encourages the cherries to soften and the sauce to develop its signature velvety texture.
Step 3: Add the Almond Extract
This is the moment to stir in your optional almond extract. Just half a teaspoon adds a delightful aroma and a subtle nutty undertone that pairs perfectly with the cherry’s natural sweetness. If almond isn’t your thing or you’re catering to allergies, it’s completely okay to omit this ingredient.
Step 4: Cool Before Using
Once the filling reaches the desired thickness, remove it from the heat and let it cool at room temperature. Cooling allows the filling to set even more, making it easier to handle when you’re ready to bake your pie, top a cheesecake, or spoon over ice cream. This is your homemade cherry pie filling shining in its fullest glory!
How to Serve Homemade Cherry Pie Filling Recipe

Garnishes
Sprinkle a little powdered sugar or a few fresh mint leaves on top of desserts featuring this cherry pie filling. A dollop of whipped cream or a scoop of vanilla ice cream adds a creamy counterpoint that balances the filling’s natural tartness.
Side Dishes
This cherry concoction pairs wonderfully with classic vanilla custard, creamy cheesecake, or buttery shortbread cookies on the side. The rich textures and contrasting flavors create a memorable dessert experience.
Creative Ways to Present
Don’t limit your homemade cherry pie filling recipe to just pies. Try layering it in parfait glasses with granola and yogurt for a fresh breakfast treat or use it as a sauce for roasted pork or grilled chicken to add a surprising and delightful fruity twist.
Make Ahead and Storage
Storing Leftovers
If you have any leftover cherry pie filling, store it in an airtight container in the refrigerator. It will keep fresh and flavorful for up to one week, making it easy to enjoy again in a pinch.
Freezing
This filling freezes beautifully! Pour it into a freezer-safe container and it will keep well for up to three months. When ready to enjoy, thaw it overnight in the fridge to maintain its luscious texture.
Reheating
To reheat, gently warm the filling on the stove over low heat, stirring occasionally. If it thickened too much during storage, add a splash of water to loosen it up without losing any flavor or consistency.
FAQs
Can I use frozen cherries for this recipe?
Absolutely! Frozen cherries work perfectly for the homemade cherry pie filling recipe since they release plenty of juice and cook down nicely into a thick sauce. Just make sure to thaw slightly and drain excess water if needed.
Is the almond extract necessary?
No, the almond extract is optional but highly recommended if you want that classic cherry-almond flavor combo. If you don’t have it or prefer a pure cherry taste, simply skip it without affecting the overall deliciousness.
Can I make this filling ahead of time?
Yes! This filling can be made a day or two before you plan to use it. Just store it covered in the fridge and allow it to come to room temperature before incorporating it into your dessert.
What can I do if my filling is too runny?
If your cherry pie filling is too thin, heat it gently while stirring and add a bit more cornstarch diluted in cold water. Continue cooking until you reach the desired thickness.
How sweet is the filling? Can I adjust sugar levels?
The recipe strikes a balanced sweetness that highlights the cherries’ natural tartness, but you can definitely tweak the sugar to suit your taste. Use less sugar for a tarter filling or a bit more for added sweetness.
Final Thoughts
Trust me, once you try this Homemade Cherry Pie Filling Recipe, you’ll never want to go back to store-bought jars again. It’s incredibly easy, fresh, and bursting with vibrant cherry flavor that makes every bite feel like a warm hug. Whether you’re baking a pie or getting creative with your desserts, this filling is a total winner every time. Give it a go — your taste buds will thank you!
Print
Homemade Cherry Pie Filling Recipe
- Prep Time: 5 minutes
- Cook Time: 15 minutes
- Total Time: 20 minutes
- Yield: 5 servings
- Category: Dessert Filling
- Method: Stovetop
- Cuisine: American
- Diet: Vegetarian
Description
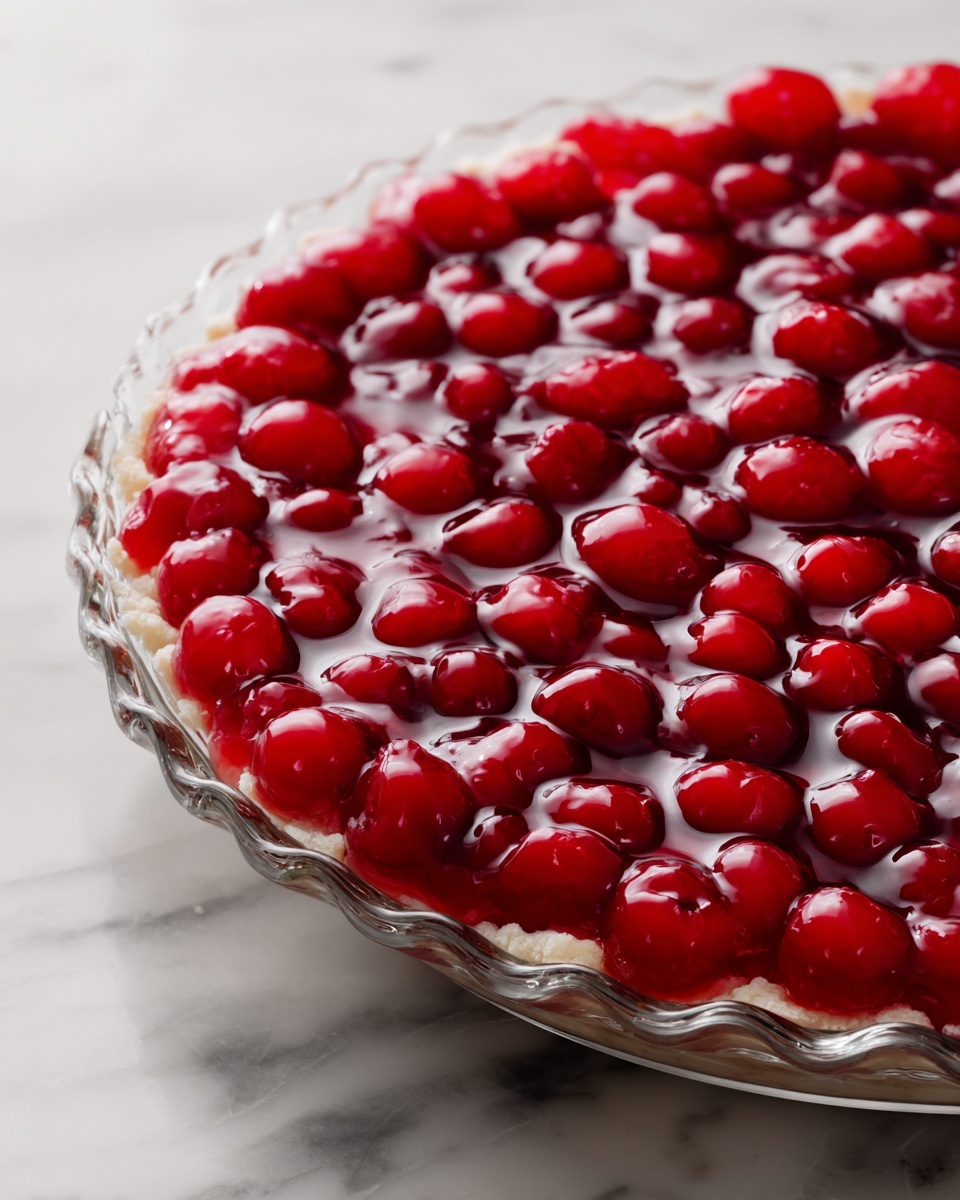
This Homemade Cherry Pie Filling is a luscious, thickened blend of fresh or frozen cherries, sweetened and enhanced with a hint of lemon and optional almond extract. Perfect for filling pies, tarts, or as a topping for desserts, this easy-to-make filling offers a fresh, vibrant flavor with just a few pantry staples and takes only 20 minutes to prepare.
Ingredients
Ingredients
- 4 cups fresh or frozen cherries, pitted
- 1 cup granulated sugar
- 1/4 cup cornstarch
- 1/4 tsp salt
- 1 tbsp lemon juice
- 1/2 cup water
- 1/2 tsp almond extract (optional)
Instructions
- Combine Ingredients: In a large saucepan, combine the pitted cherries, granulated sugar, cornstarch, and salt. Stir in the lemon juice and water until the mixture is well blended.
- Cook Mixture: Place the saucepan over medium heat and cook the mixture, stirring frequently to prevent sticking or burning. Continue cooking until the filling begins to bubble and thickens, which should take about 5 to 10 minutes.
- Add Almond Extract: If desired, add the almond extract and stir to evenly incorporate the flavor into the thickened filling.
- Cool Filling: Remove the saucepan from heat and allow the cherry pie filling to cool before using it in your favorite pie or dessert recipes.
Notes
- Use fresh cherries in season for the best flavor, or frozen cherries when fresh are unavailable.
- The almond extract is optional but adds a delicate nutty note to the filling.
- If the filling is too thick, you can add a little extra water during cooking to reach your desired consistency.
- The filling can be stored in the refrigerator for up to 5 days or frozen for up to 3 months.
- Stir frequently while cooking to prevent the cornstarch from clumping or burning on the bottom of the pan.


