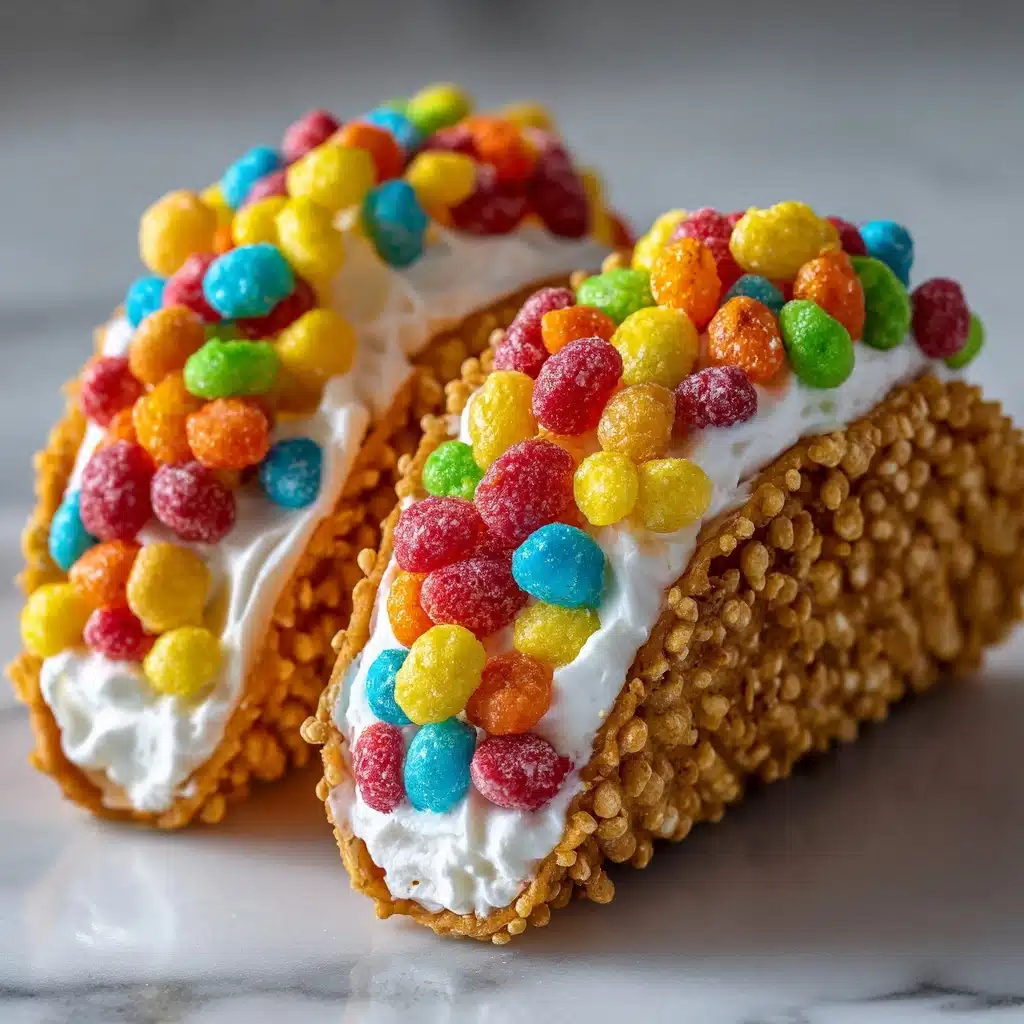
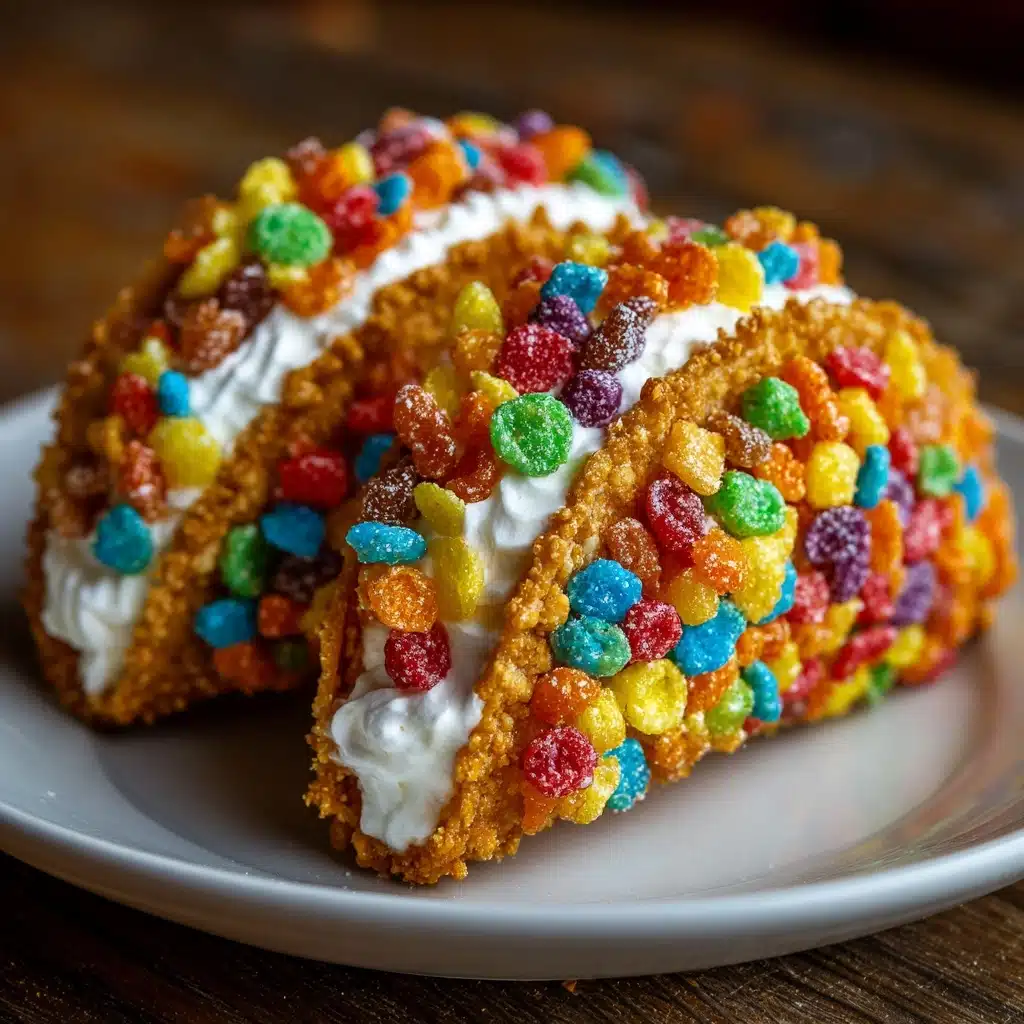
If ever there was a dessert that could make both kids and grown-ups smile the instant they see it, it’s Fruity Pebbles Cheesecake Tacos. These whimsical treats combine the playful crunch of Fruity Pebbles cereal with a creamy, dreamy cheesecake filling, all nestled inside crisp taco shells made from baked tortillas. They’re easy to make, bursting with vibrant color, and guaranteed to brighten up birthdays, parties, or honestly, any random Tuesday that needs a little magic. This is not just dessert—it’s an edible celebration, and you’re going to want seconds.
Ingredients You’ll Need
It’s amazing how a handful of everyday staples can transform into something so exciting! Each ingredient in Fruity Pebbles Cheesecake Tacos has a role to play in creating beautiful color, luscious texture, and that irresistible blend of crunchy and creamy you’ll keep craving.
- Flour tortillas (8 small): These are the perfect base for your edible taco shells, providing structure and a subtly sweet, toasty flavor when baked.
- Cream cheese (16 oz, softened): The heart of the cheesecake filling, lending tangy richness and a smooth, velvety texture.
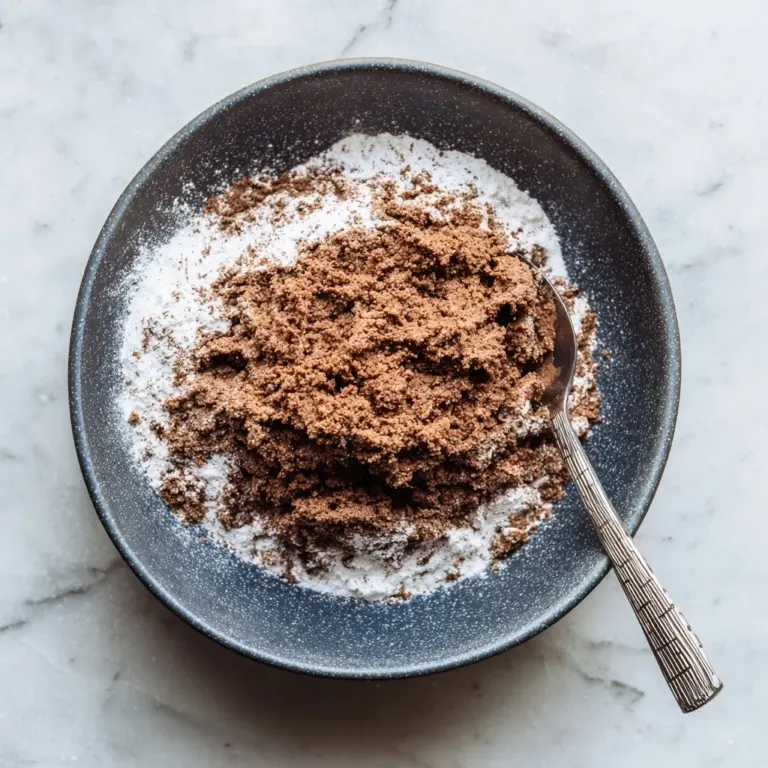
- Powdered sugar (1/2 cup): Adds gentle sweetness and keeps the filling fluffier than granulated sugar would.
- Vanilla extract (1 tsp): Just a little brings the whole filling to life with warm, aromatic depth.
- Heavy whipping cream (1/2 cup, chilled): Whipped up, it makes the filling unbelievably light and luscious.
- Fruity Pebbles cereal (2 cups): The star of the show—bright, crunchy, colorful, and a blast of nostalgic flavor in every bite.
- Butter (2 tbsp, melted): Brushed on the tortillas for baking, it adds golden color and that irresistible crispiness.
How to Make Fruity Pebbles Cheesecake Tacos
Step 1: Bake the Taco Shells
Preheat your oven to 350°F. Take each small flour tortilla and brush both sides lightly with melted butter to guarantee maximum golden crunch. Gently press them into the cups of a muffin tin, shaping them into a taco shell form. Pop them in the oven for 8 to 10 minutes until they’re crisp and just beginning to turn a beautiful golden brown. Pull them out and let them cool—these become the perfect edible vessels for your cheesecake filling.
Step 2: Make the Cheesecake Filling
While your taco shells cool, grab your biggest mixing bowl and beat the softened cream cheese until it’s completely smooth—no lumps allowed. Add the powdered sugar and vanilla, blending until the mixture is sweet, slightly tangy, and impossibly creamy. In a separate bowl, whip the chilled heavy cream until stiff peaks form (that’s how you get the dreamy, mousse-like texture). Gently fold your whipped cream into the cream cheese mixture, being careful to keep everything light and fluffy. This step is what transforms the filling into pure magic.
Step 3: Fill and Top
Once your taco shells are cooled, use a spoon or a piping bag to generously fill each one with the cheesecake mixture. Don’t skimp—this filling is the heart and soul of your Fruity Pebbles Cheesecake Tacos! Immediately before serving, heap a generous amount of Fruity Pebbles cereal onto each taco. This timing is essential if you want that perfect crunch with every bite.
Step 4: Serve and Enjoy!
Your Fruity Pebbles Cheesecake Tacos are now ready for their grand debut! Arrange them on a platter and watch the colors and cheerful shapes light up the table. Serve right away for the very best texture and flavor—cue the oohs and ahhs from everyone around.
How to Serve Fruity Pebbles Cheesecake Tacos
Garnishes
Even though these cheesecake tacos are already vibrant, a few extra touches can make them feel downright festive. Try a sprinkle of extra Fruity Pebbles across the plate, a swirl of whipped cream, or even a few mint leaves for a fresh pop of green. A dusting of edible glitter or pastel sprinkles will take your presentation totally over the top.
Side Dishes
Pair Fruity Pebbles Cheesecake Tacos with a scoop of vanilla or strawberry ice cream if you’re serving them as part of a dessert platter. They also play well with bowls of fresh berries, which enhance their fruitiness and add a refreshing note to balance all that creamy richness.
Creative Ways to Present
If you want a truly showstopping dessert display, stand the tacos upright in a decorative taco holder, nestle them in a basket lined with colorful parchment, or assemble a DIY “taco bar” with bowls of whipped cream, chocolate chips, and different cereals for everyone to customize their own. However you serve them, Fruity Pebbles Cheesecake Tacos are guaranteed to steal the spotlight.
Make Ahead and Storage
Storing Leftovers
If you have leftovers (which is honestly rare!), store the un-topped cheesecake tacos in an airtight container in the refrigerator. Add the cereal topping just before serving to ensure every bite stays delightfully crunchy—nobody wants soggy pebbles!
Freezing
The cheesecake filling itself freezes quite well for up to a month. Spoon it into an airtight container, press plastic wrap directly on the surface, and thaw completely in the fridge before using. However, wait to bake shells and assemble until just before serving for the best texture.
Reheating
The taco shells are at their best fresh, but if yours have softened in the fridge, you can pop them back into a 350°F oven for about 3 minutes to crisp them up again. Let them cool fully before re-filling with cheesecake and Fruity Pebbles cereal.
FAQs
Can I make Fruity Pebbles Cheesecake Tacos ahead of time?
You can definitely prepare the cheesecake filling and bake the taco shells the day before. Store the shells at room temperature in an airtight container and refrigerate the filling separately. Assemble and top with cereal right before serving to maintain the ultimate crunch and freshness.
Is there a dairy-free option for this recipe?
Absolutely! Swap out the cream cheese for your favorite dairy-free version (like coconut cream cheese) and substitute coconut cream for the heavy cream. The result is a luscious, creamy filling that makes the recipe suitable for everyone, dairy-free or not.
What can I use instead of Fruity Pebbles cereal?
If you want to switch things up, try other colorful cereals like Froot Loops or Trix. Even Cocoa Pebbles or chocolate cereal varieties make for a fun twist—just keep the spirit bold and bright!
Why are my taco shells not crisp?
If your shells aren’t as crunchy as you’d hoped, it could be that they weren’t baked long enough or didn’t cool completely before adding the filling. Also, be sure to add the Fruity Pebbles cereal only at the last minute, or they’ll absorb moisture and lose their crunch.
Can I make these with mini tortillas for bite-size treats?
Yes, mini tortillas make adorable two-bite versions of Fruity Pebbles Cheesecake Tacos. Just trim standard small tortillas down with a cookie cutter and bake as usual. Perfect for parties or little hands!
Final Thoughts
Fruity Pebbles Cheesecake Tacos are more than just a dessert; they’re a joyous treat that’s impossibly fun to make, serve, and devour. Every bite combines childhood nostalgia with creamy, crunchy indulgence, and you’ll love sharing these at any gathering—or just because. Don’t be surprised when everyone wants the recipe; after all, who could resist these little bursts of happiness?