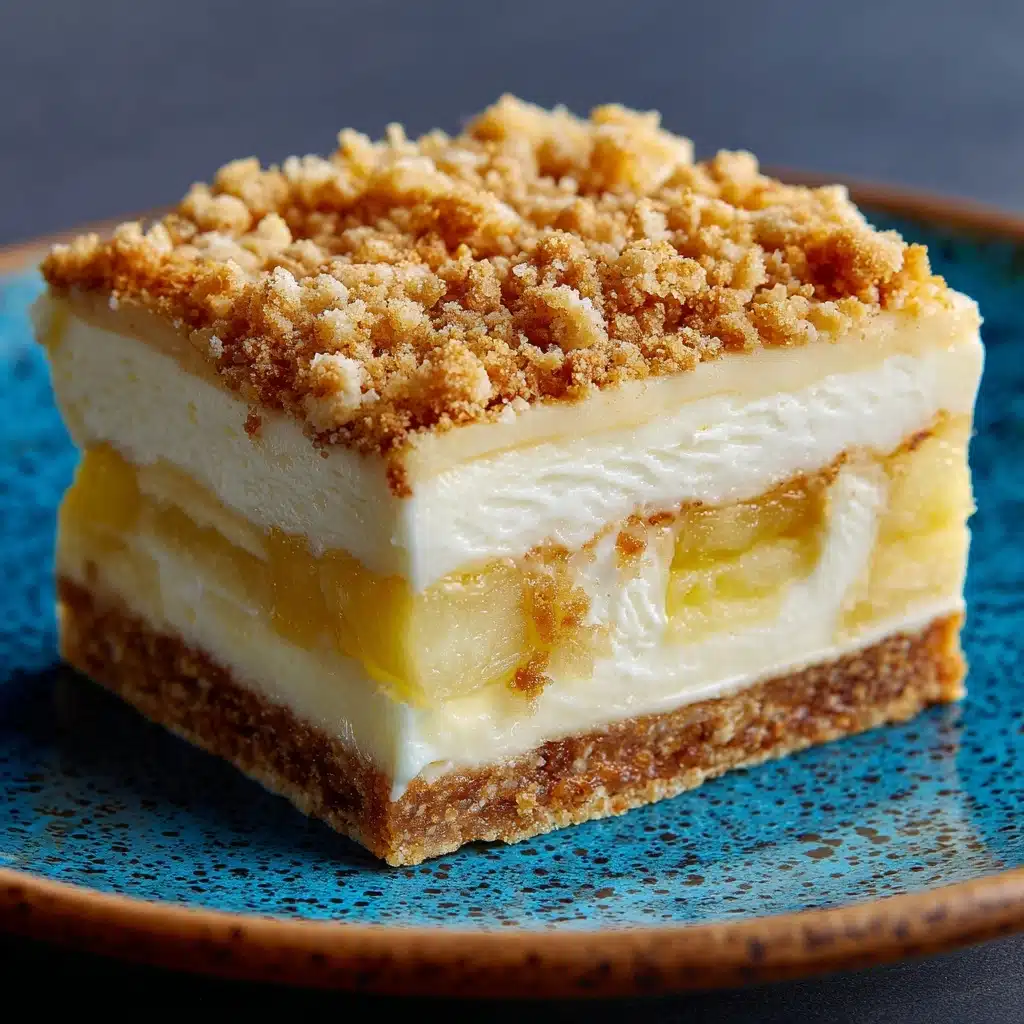
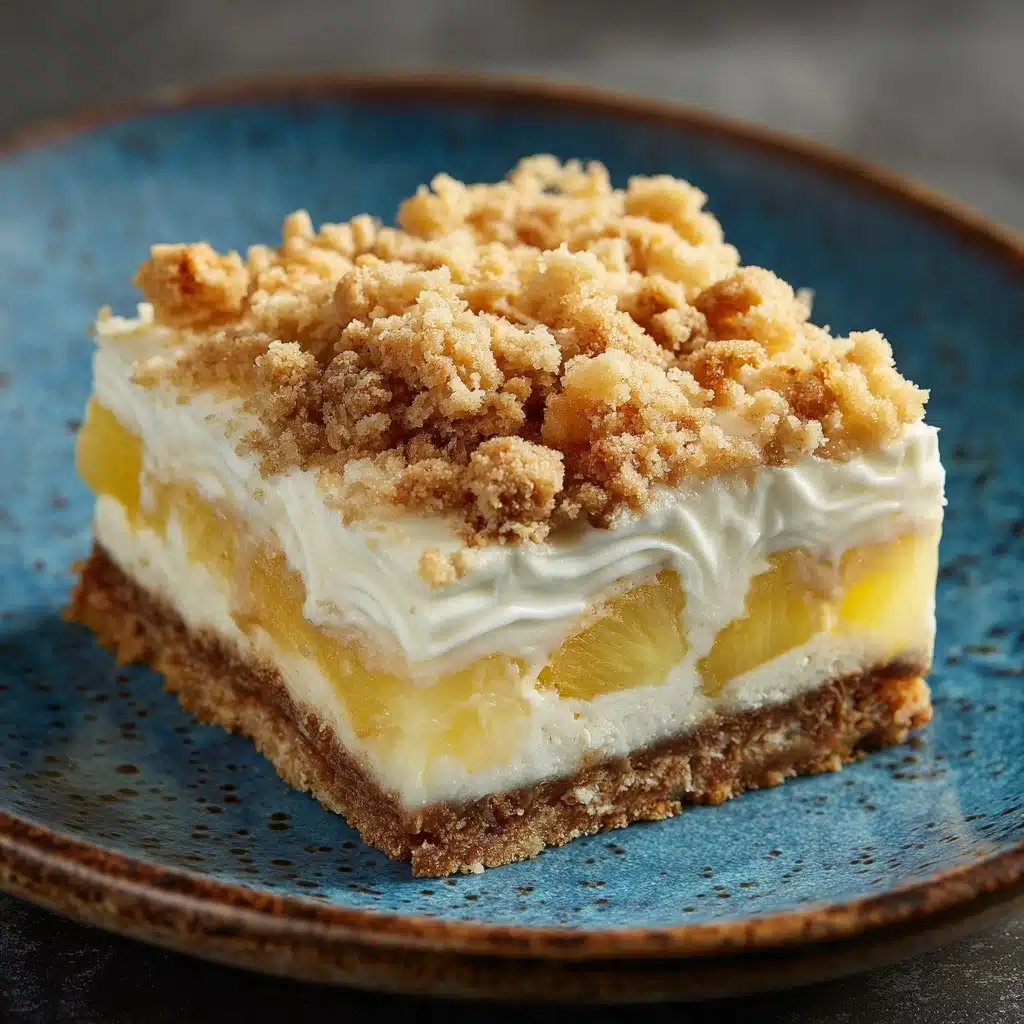
If you’re craving something sweet, tropical, and absolutely effortless, Easy Pineapple Dream Dessert is here to answer your dessert dreams. This no-bake treat combines a buttery graham cracker crust, a cloud-like cream cheese layer, and a crown of juicy crushed pineapple, making every bite an ideal marriage of decadent and refreshing. Whether you’re feeding a picnic crowd or just want a cool finish to a weeknight dinner, this dessert delivers sunshine in a pan with minimal work and maximum delight.
Ingredients You’ll Need
The beauty of Easy Pineapple Dream Dessert is in its simplicity—common, accessible ingredients work together to create layers of flavor and irresistible texture. Each item plays a vital role, from the golden crust to the creamy top and fruity finish.
- Graham cracker crumbs: These provide that classic, slightly sweet crunch for your sturdy base, holding everything together and adding toasty flavor.
- Unsalted butter (melted): Binding the crust and giving it rich, buttery notes, melted butter ensures your base sets up perfectly.
- Cream cheese (softened): Cream cheese forms the backbone of the dreamy filling—be sure it’s softened for ultra-smooth blending.
- Unsalted butter (softened): Blended with cream cheese for an extra layer of creaminess and just the right amount of body.
- Powdered sugar: Adds pure sweetness and helps create a silky, stable filling that holds up when sliced.
- Whipped topping (thawed): This brings a light, airy texture to the filling, making it almost mousse-like.
- Crushed pineapple (well drained): This is the star of the show—make sure to drain well for a bright, tropical burst without extra liquid.
How to Make Easy Pineapple Dream Dessert
Step 1: Build the Buttery Graham Cracker Crust
Start by combining the graham cracker crumbs and melted butter in a medium bowl. Stir until every crumb is glistening and evenly moistened. Press this mixture firmly into the base of a 9×13-inch baking dish. You’ll want to really pack it down, using the back of a spoon or your clean hands, so your crust forms a solid foundation and holds together when sliced.
Step 2: Whip Up the Creamy Dream Layer
Next, grab a large bowl and beat the softened cream cheese and softened butter together until the mixture is perfectly smooth and creamy, with no lumps in sight. Gradually add powdered sugar, continuing to beat until everything is velvety and fully combined. The gradual addition helps avoid clumps and gives you a truly dreamy texture.
Step 3: Fold in Whipped Topping for Fluffiness
Gently fold the thawed whipped topping into your cream cheese mixture. This step gives your filling that airy, mousse-like quality. Use a spatula and a light hand to maintain all that cloud-like fluffiness. Once combined, spread this luscious mixture evenly over your prepared crust.
Step 4: Layer on the Pineapple Sunshine
Now it’s showtime for the star ingredient! Evenly sprinkle the well-drained crushed pineapple over the creamy topping, spreading it all the way to the corners. Be sure the pineapple is truly drained—this prevents a soggy dessert and keeps each slice picture-perfect. If you like, add a swoosh of any extra whipped topping across the very top.
Step 5: Chill and Set
Your Easy Pineapple Dream Dessert needs time to set up so the layers meld and the flavors marry. Pop the whole dish into the refrigerator for at least 4 hours. Chilling not only improves the flavor and texture, it also makes slicing and serving a snap. Once set, just slice into squares and let your guests dive in!
How to Serve Easy Pineapple Dream Dessert
Garnishes
Dress up each serving of Easy Pineapple Dream Dessert for a special touch. A sprinkle of toasted coconut or chopped pecans imparts extra crunch and a nutty aroma, perfectly complementing the tropical pineapple. For an extra pop of color, try topping with a maraschino cherry or a sprig of fresh mint.
Side Dishes
This creamy, fruity Classic pairs especially well with lighter sides. Serve with a fresh fruit salad, a medley of summer berries, or even a crisp glass of iced tea to balance the dessert’s richness with refreshing flavors. If you’re hosting a bigger gathering, a platter of citrusy cookies or lemon bars rounds out the spread beautifully.
Creative Ways to Present
Easy Pineapple Dream Dessert is show-stopping on its own, but you can get creative with individual parfait cups or mini trifle glasses for a party. Layer bite-sized graham crust, cream filling, and pineapple for adorable, portable servings. For a summery touch, garnish with edible flowers or arrange pineapple slices along the edge of the serving platter.
Make Ahead and Storage
Storing Leftovers
Any leftover Easy Pineapple Dream Dessert should be tightly covered with plastic wrap or transferred to an airtight container. Store in the refrigerator where it will stay fresh and delicious for up to 4 days. Make sure to keep it cold so the creamy layer retains its smooth texture.
Freezing
You can freeze Easy Pineapple Dream Dessert for longer storage. Slice into single portions, wrap each piece tightly, and keep them in a freezer-safe container. Thaw overnight in the refrigerator before enjoying—just note that the texture of the creamy layer may become slightly softer after freezing, but the flavor remains irresistible.
Reheating
This dessert is meant to be enjoyed cold and doesn’t require any reheating. If you’ve chilled or frozen your portions, allow them to come to refrigerator temperature before serving for that perfect creamy bite. Avoid microwaving, as it can melt or separate the layers.
FAQs
Can I use fresh pineapple instead of canned crushed pineapple?
Absolutely! Just be sure to finely chop the fresh pineapple and drain it thoroughly to avoid excess liquid. Fresh pineapple can add an extra-bright flavor, but the texture may be slightly chunkier than canned.
What can I substitute for whipped topping?
If you prefer, you can use homemade whipped cream sweetened to taste. Be aware that homemade whipped cream is less stable than store-bought whipped topping, so plan to serve the dessert within a day for best results.
Is it possible to make Easy Pineapple Dream Dessert gluten-free?
Yes! Simply use gluten-free graham crackers for the crust. All other ingredients are naturally gluten-free, making this a great option for those with dietary restrictions.
Can I add other fruits or toppings?
Of course! While pineapple is the classic choice, you can experiment with adding mandarin oranges, diced strawberries, or a swirl of passion fruit for a personalized twist. Toasted coconut, nuts, or even chocolate shavings make fantastic toppings.
How far in advance can I prepare Easy Pineapple Dream Dessert?
This dessert is actually better when made ahead, as the flavors meld and the layers set. Prepare it up to 24 hours in advance, keep it chilled, and simply garnish before serving for the freshest presentation.
Final Thoughts
Easy Pineapple Dream Dessert is the kind of recipe that turns simple ingredients into pure magic. It’s the perfect make-ahead treat for gatherings or spontaneous cravings, and every bite brings a taste of sunshine. Give it a try—you’re just a few steps away from serving up a beloved classic that will delight everyone at your table!