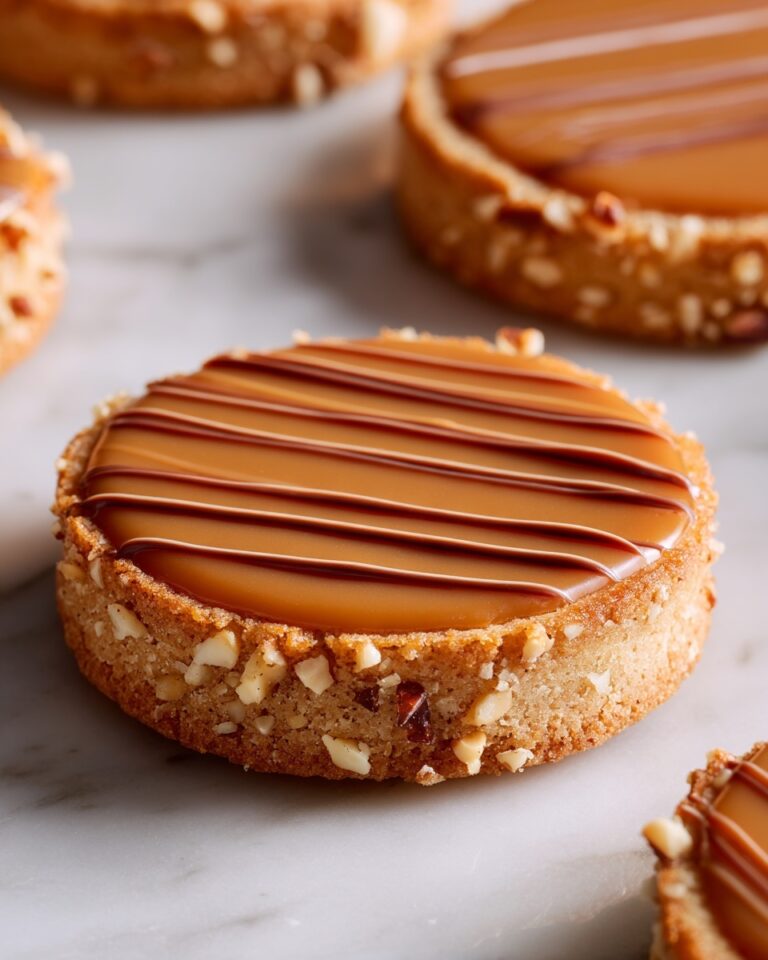
If you’re searching for a treat that’s both decadent and delightfully nutty, look no further than Chocolate Hazelnut Thumbprint Cookies. These buttery, melt-in-your-mouth cookies are rolled in toasted hazelnuts and filled with a luscious chocolate hazelnut spread, creating a flavor combination that feels as elegant as it is comforting. Perfect for holiday platters or cozy afternoons with coffee, this recipe is a beloved classic I return to year after year—one bite and you’ll see why!
Ingredients You’ll Need
The beauty of these cookies is in their simplicity: each ingredient is chosen for maximum flavor and the perfect texture. With just a handful of pantry staples and a jar of chocolate hazelnut spread, you’ll have everything you need to whip up a batch of Chocolate Hazelnut Thumbprint Cookies that taste like they came from a bakery.
- Unsalted butter (1 cup, softened): The foundation of a tender, rich cookie; make sure it’s truly soft for easy creaming.
- Granulated sugar (2/3 cup): Adds sweetness and helps create that classic crisp yet soft cookie crumb.
- Vanilla extract (1/2 teaspoon): Rounds out the flavors and adds warmth—don’t skip it!
- All-purpose flour (2 cups): Gives structure to your cookies; be sure to measure carefully for the best results.
- Salt (1/2 teaspoon): Enhances all the flavors and balances the sweetness.
- Finely chopped toasted hazelnuts (1 cup): Adds irresistible crunch and a nutty aroma—toast them yourself for extra depth.
- Chocolate hazelnut spread (3/4 cup, such as Nutella): The creamy, chocolatey center that makes these cookies unforgettable.
How to Make Chocolate Hazelnut Thumbprint Cookies
Step 1: Prep Your Oven and Pans
Start by preheating your oven to 350°F (175°C). Line two baking sheets with parchment paper so your cookies won’t stick and cleanup will be a breeze. Setting up your workspace in advance means you can focus on the fun part: making the dough!
Step 2: Cream the Butter and Sugar
In a large bowl, use a hand mixer or stand mixer to cream the softened butter and granulated sugar together. This step is all about patience—beat until the mixture is light and fluffy, which usually takes 2-3 minutes. This process creates air pockets for a melt-in-your-mouth texture.
Step 3: Add Vanilla and Dry Ingredients
Mix in the vanilla extract, then gradually add the flour and salt. Stir just until a soft dough forms. Take care not to overmix; you want the dough to stay tender, not tough.
Step 4: Shape and Coat the Dough Balls
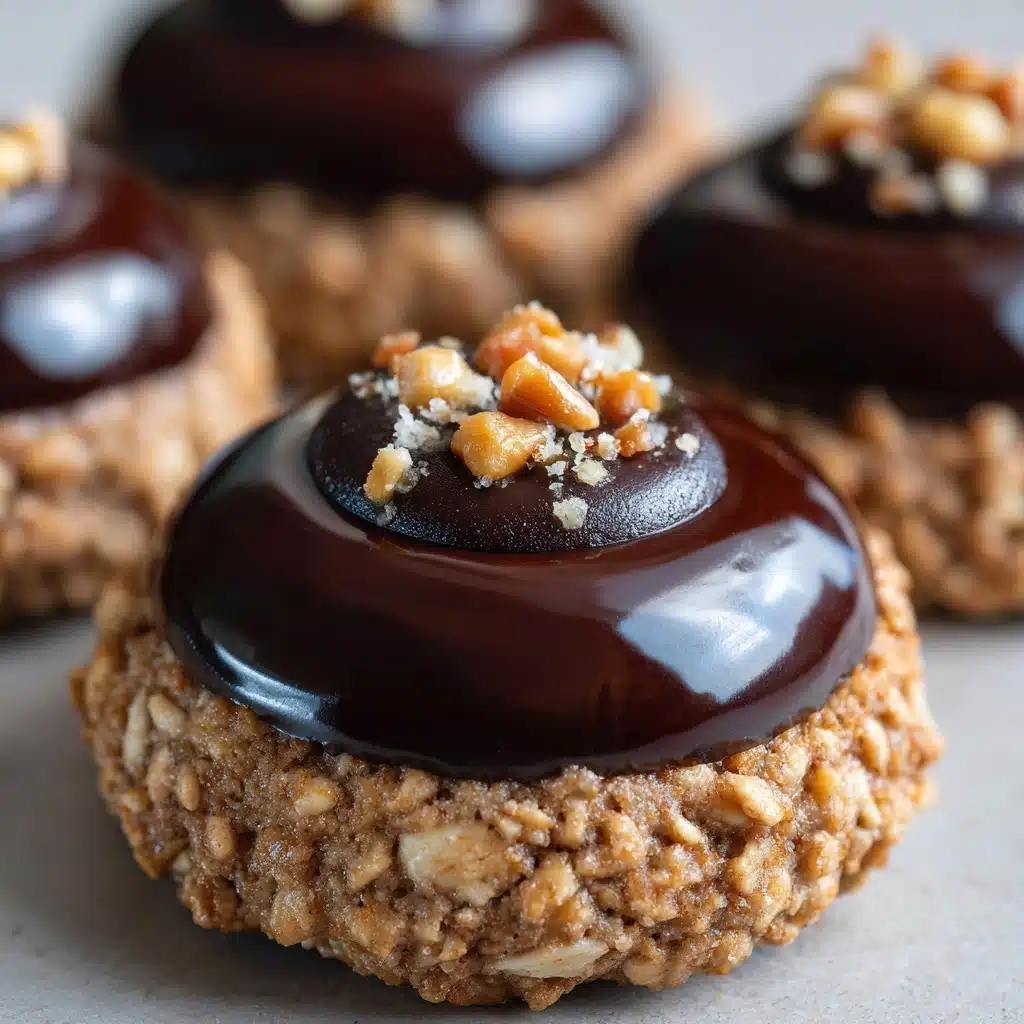
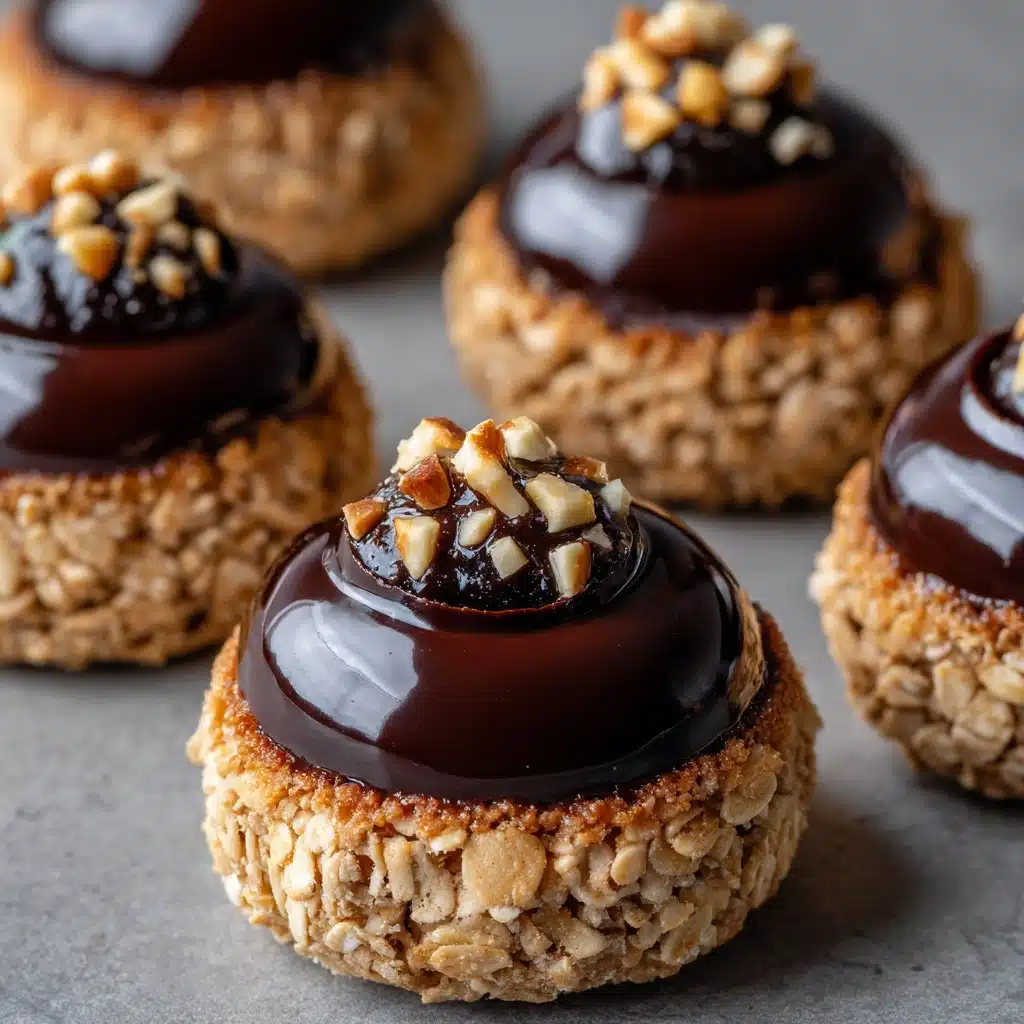
Roll the dough into 1-inch balls using your hands or a small cookie scoop for even sizing. Next, roll each dough ball in the finely chopped toasted hazelnuts, gently pressing so the nuts stick. This step adds both flavor and an eye-catching appearance.
Step 5: Make Indentations
Place the nut-coated balls onto your prepared baking sheets, spacing them about 2 inches apart. Using your thumb or the back of a small spoon, gently make an indentation in the center of each ball—this will cradle the chocolate hazelnut filling later.
Step 6: Bake to Perfection
Bake the cookies for 12–14 minutes, until the edges are just starting to turn golden. If the indentations puff up during baking, simply press them down again with a spoon right after they come out of the oven. Let the cookies cool completely on a wire rack before filling.
Step 7: Fill with Chocolate Hazelnut Spread
Once the cookies are completely cool, fill each indentation with about a teaspoon of chocolate hazelnut spread. You can use a piping bag for a neat finish or simply spoon it in. If your spread is a bit thick, microwave it for a few seconds to loosen it up—this makes filling even easier.
How to Serve Chocolate Hazelnut Thumbprint Cookies
Garnishes
For an extra-special touch, sprinkle a few coarsely chopped hazelnuts over the chocolate center while it’s still soft. A light dusting of powdered sugar or a drizzle of melted chocolate will make your cookies look bakery-worthy and add a little extra pizzazz.
Side Dishes
These cookies pair beautifully with a strong cup of coffee, a creamy latte, or a glass of cold milk. If you’re serving them at a gathering, set them alongside a platter of fresh berries or a bowl of vanilla ice cream for a truly indulgent dessert spread.
Creative Ways to Present
For gift-giving, layer Chocolate Hazelnut Thumbprint Cookies in a decorative tin with parchment paper between each layer. Or arrange them on a pretty platter for a holiday table centerpiece. You can even package them in cellophane bags tied with ribbon for party favors or hostess gifts.
Make Ahead and Storage
Storing Leftovers
Store your Chocolate Hazelnut Thumbprint Cookies in an airtight container at room temperature for up to 5 days. They’ll stay fresh and tender, but don’t be surprised if they disappear much sooner!
Freezing
To freeze, place baked (but unfilled) cookies in a single layer on a baking sheet until solid, then transfer to a freezer-safe bag for up to 2 months. Thaw at room temperature and fill with chocolate hazelnut spread just before serving for best texture and flavor.
Reheating
If you’ve chilled or frozen your cookies, let them come to room temperature before serving. There’s no need to reheat, but if you want to refresh their texture, pop them in a 300°F oven for 3-4 minutes—just skip this step if the cookies are already filled.
FAQs
Can I use a different nut instead of hazelnuts?
Absolutely! While hazelnuts add a classic flavor, almonds, pecans, or walnuts all make delicious alternatives if you prefer or need to accommodate allergies.
Do I have to toast the hazelnuts?
Toasting the hazelnuts brings out their rich, nutty flavor and adds extra crunch, but if you’re short on time, you can use raw chopped hazelnuts. The cookies will still taste wonderful.
Can I make the dough ahead of time?
Yes! You can prepare the dough a day in advance and store it wrapped in plastic in the fridge. Just let it soften slightly before rolling into balls and coating in nuts.
What’s the best way to get neat, even indentations?
Using the back of a small round measuring spoon or the end of a wooden spoon works beautifully and keeps each indentation uniform. If the centers puff up, gently press them down again right after baking.
Is it possible to make these cookies gluten-free?
You can substitute a 1:1 gluten-free all-purpose flour blend for the regular flour. The texture may vary slightly, but the cookies will still be delicious and safe for gluten-sensitive friends and family.
Final Thoughts
If you’ve never tried baking Chocolate Hazelnut Thumbprint Cookies before, now’s the perfect time—these cookies truly are a joy to make and even more fun to share. Gather your ingredients, invite a friend or two, and get ready for a batch of cookies that will quickly become a staple in your kitchen. Give them a try and let yourself fall in love with every bite!