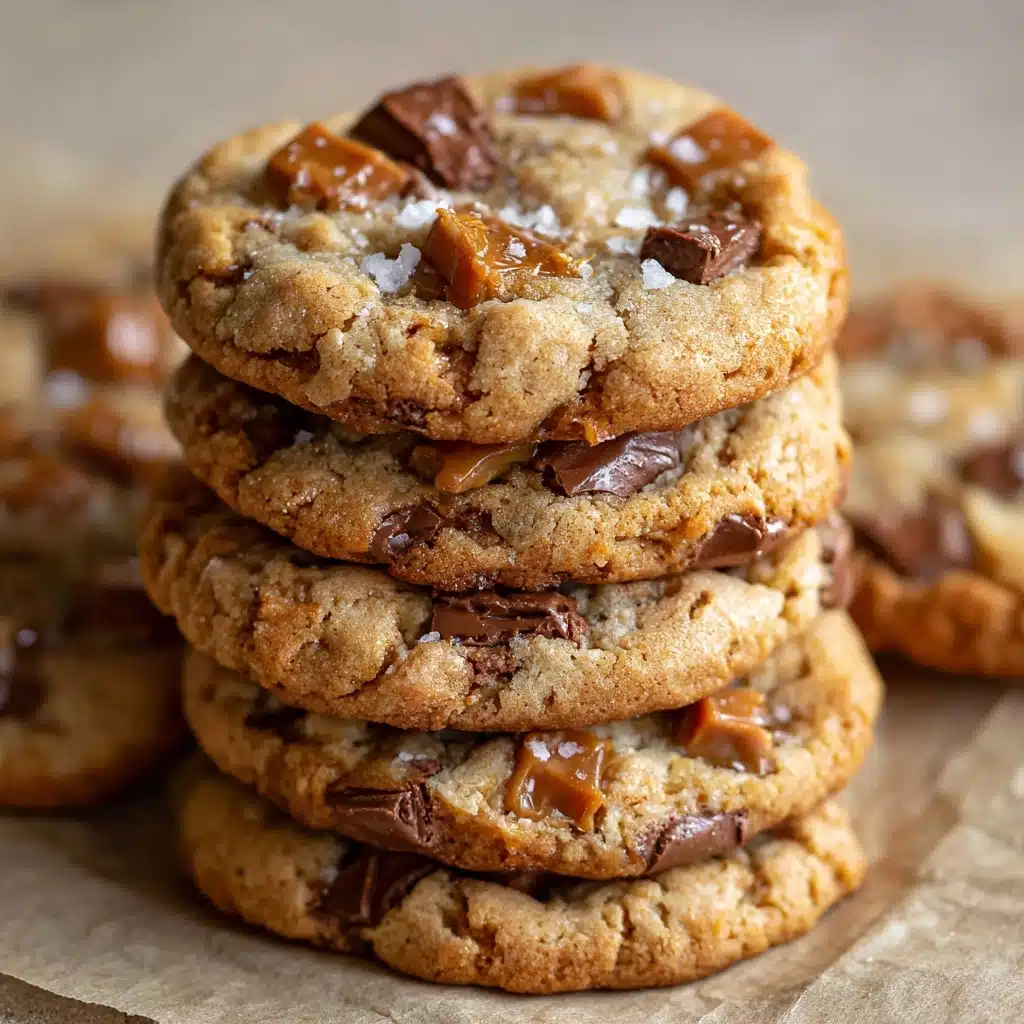
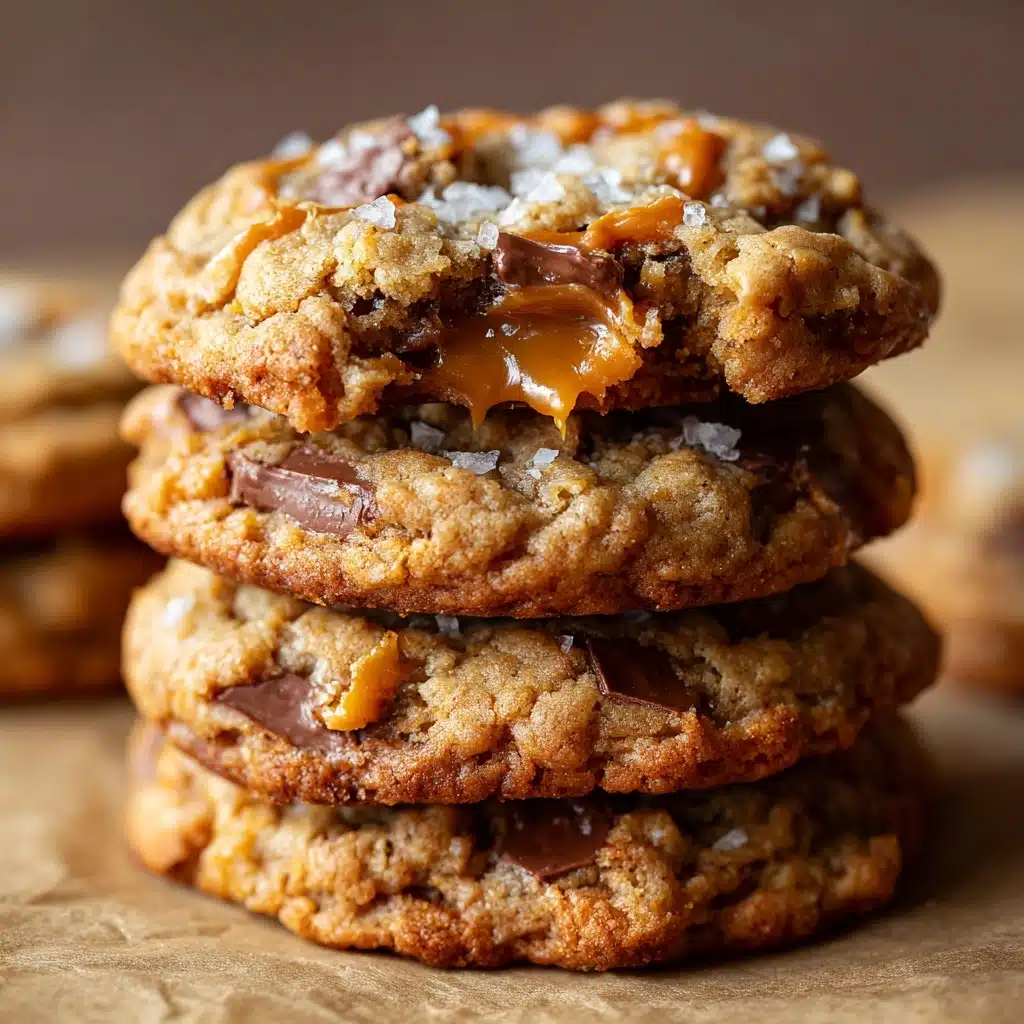
If you’re searching for the ultimate cookie mashup, look no further than these Chewy Peanut Butter Butterfinger Cookies. Each bite of these irresistible treats is pure comfort: soft and chewy centers, crispy edges, and plenty of crunchy Butterfinger bits to satisfy every snack-craving moment. With swoon-worthy peanut butter flavor and that unmistakable candy bar crackle, these cookies are as fun to bake as they are to share (if you can bear to part with any!).
Ingredients You’ll Need
Chewy Peanut Butter Butterfinger Cookies keep things beautifully simple—you probably already have most of the ingredients on hand! Each element plays a key role in the texture, taste, and color, and together they make cookie magic. Choose quality ingredients and you’ll taste the difference in every bite.
- Unsalted butter (1/2 cup, softened): Gives the cookies their rich, moist crumb and ensures the perfect soft texture.
- Creamy peanut butter (1/2 cup): Delivers deep peanut flavor, providing that classic chewy density everyone loves.
- Granulated sugar (1/2 cup): Adds sweetness and helps create irresistible edges with the ideal crispness.
- Packed brown sugar (1/2 cup): Infuses moisture and a hint of caramel, which is key for a chewy bite.
- Large egg (1): Binds everything together and keeps the cookies from crumbling.
- Vanilla extract (1 teaspoon): Rounds out the flavors with a warm, fragrant note.
- All-purpose flour (1 1/4 cups): Provides structure so the cookies hold their shape yet stay soft.
- Baking soda (1/2 teaspoon): Gives the cookies a gentle lift and helps them bake up evenly.
- Salt (1/4 teaspoon): Intensifies the peanut butter taste and balances out the sweetness.
- Chopped Butterfinger candy bars (1 1/4 cups): Bring that signature crunch and buttery, toffee-like flavor to every bite—don’t skimp!
How to Make Chewy Peanut Butter Butterfinger Cookies
Step 1: Prep the Oven and Baking Sheet
Start by preheating your oven to 350°F (175°C) so it’s ready when your dough is. Line a baking sheet with parchment paper for easy cookie removal and fuss-free cleanup—plus, you’ll get perfectly golden bottoms every time.
Step 2: Cream Butter, Peanut Butter, and Sugars
In a big mixing bowl, cream together the softened butter, creamy peanut butter, granulated sugar, and brown sugar. Use a mixer for about two minutes until the mixture turns light and fluffy. This step sets the stage for chewy cookies, so don’t rush it!
Step 3: Add the Egg and Vanilla
Beat in the large egg and vanilla extract until fully incorporated. The dough should be silky and smooth—this helps create a rich, cohesive base that lets those Butterfinger bits really shine.
Step 4: Mix Dry Ingredients Separately
In a separate bowl, whisk together the flour, baking soda, and salt. Mixing the dry ingredients first ensures the baking soda and salt are evenly distributed, so every cookie rises and browns just right.
Step 5: Combine Wet and Dry Mixtures
Gradually blend the dry ingredients into the peanut butter mixture, stopping as soon as there’s no more visible flour. Overmixing at this stage can make the cookies tough, so keep it gentle—your cookies will thank you!
Step 6: Fold in Chopped Butterfingers
With a spatula, gently fold in the chopped Butterfinger candy bars. Save a handful for pressing on top of each cookie before baking if you want extra crunch and pizzazz—trust me, it takes them over the top.
Step 7: Scoop and Arrange
Use a tablespoon or cookie scoop to portion out the dough, spacing the balls at least two inches apart on the prepared baking sheet. This ensures plenty of room for them to spread out and get that soft-in-the-middle, crispy-on-the-edges magic.
Step 8: Bake and Cool
Bake for 9–11 minutes, just until the edges are turning golden and the centers look barely set. Don’t be tempted to overbake! Let them rest on the baking sheet for 5 minutes before moving to a wire rack—this allows them to finish setting up and lets the Butterfinger bits cool without melting all over your counter.
How to Serve Chewy Peanut Butter Butterfinger Cookies
Garnishes
For extra flair, press a few extra chopped Butterfinger pieces onto each cookie just before baking. Or, after they cool, drizzle a little melted chocolate or a dusting of flaky sea salt on top. Each option boosts both the look and flavor, turning a simple cookie into a true showstopper.
Side Dishes
These cookies are fabulous all on their own, but pair them with a tall glass of cold milk, a cup of hot cocoa, or even a scoop of creamy vanilla ice cream to really complete the experience. For a playful dessert board, add some salty roasted peanuts or fresh berries to contrast the sweet, chewy richness.
Creative Ways to Present
Stack a few Chewy Peanut Butter Butterfinger Cookies in a cellophane gift bag, tie with a fun ribbon, and suddenly you’ve got the perfect homemade present. Or, arrange them in a cookie tin for family gatherings, or crumble them atop a sundae to transform ice cream night into something unforgettable. These cookies make everything a little more joyful!
Make Ahead and Storage
Storing Leftovers
Once the Chewy Peanut Butter Butterfinger Cookies have cooled completely, store them in an airtight container at room temperature. They’ll stay soft and chewy for up to five days—just be sure to hide a few if you’re hoping for leftovers, because they disappear quickly!
Freezing
If you need to bake ahead (or save yourself from eating the whole batch at once!), these cookies freeze beautifully. Place cooled cookies in freezer-safe bags or containers, separated by parchment for easy grabbing, and freeze for up to two months. Let thaw at room temperature, and they’ll taste just as delicious as the day they were baked.
Reheating
To bring back that fresh-from-the-oven goodness, pop a cookie (or two) in the microwave for about 10 seconds. You’ll revive the gooey centers and get the toffee bits a little melty, recreating that warm bakery-corner experience right in your kitchen.
FAQs
Can I use chunky peanut butter instead of creamy?
Absolutely! Chunky peanut butter will add extra crunch and peanut pieces, giving the Chewy Peanut Butter Butterfinger Cookies a slightly different—but still delicious—texture.
How do I keep the cookies chewy after baking?
The key is not to overbake them; take the cookies out when they look just set. Storing them in an airtight container with a slice of bread helps trap moisture and keeps them fabulously chewy for days.
Can I substitute other candy bars for Butterfingers?
Sure! While Butterfinger gives that unique toffee crunch, you can play around with other chopped-up favorites like Snickers, Twix, or Reese’s cups. But for true Chewy Peanut Butter Butterfinger Cookies magic, stick with the classic.
My cookies spread too much or too little. What went wrong?
If your cookies spread too much, the dough may have been too warm, or you may have used too little flour. If they didn’t spread enough, double-check your measurements or try slightly flattening the dough balls before baking.
Can I double the recipe for a crowd?
Yes! This recipe scales up beautifully. Just make sure to mix the dough thoroughly and bake in batches so every Chewy Peanut Butter Butterfinger Cookie has that perfect chewy middle and crispy edge.
Final Thoughts
If you’re craving something sweet, nutty, and utterly satisfying, make a batch of Chewy Peanut Butter Butterfinger Cookies—you’ll be amazed at how quickly they disappear. They’re easy to whip up, packed with nostalgic flavors, and destined to become your new go-to cookie. Give this recipe a try and treat yourself (and your loved ones) to cookies that instantly brighten any day!