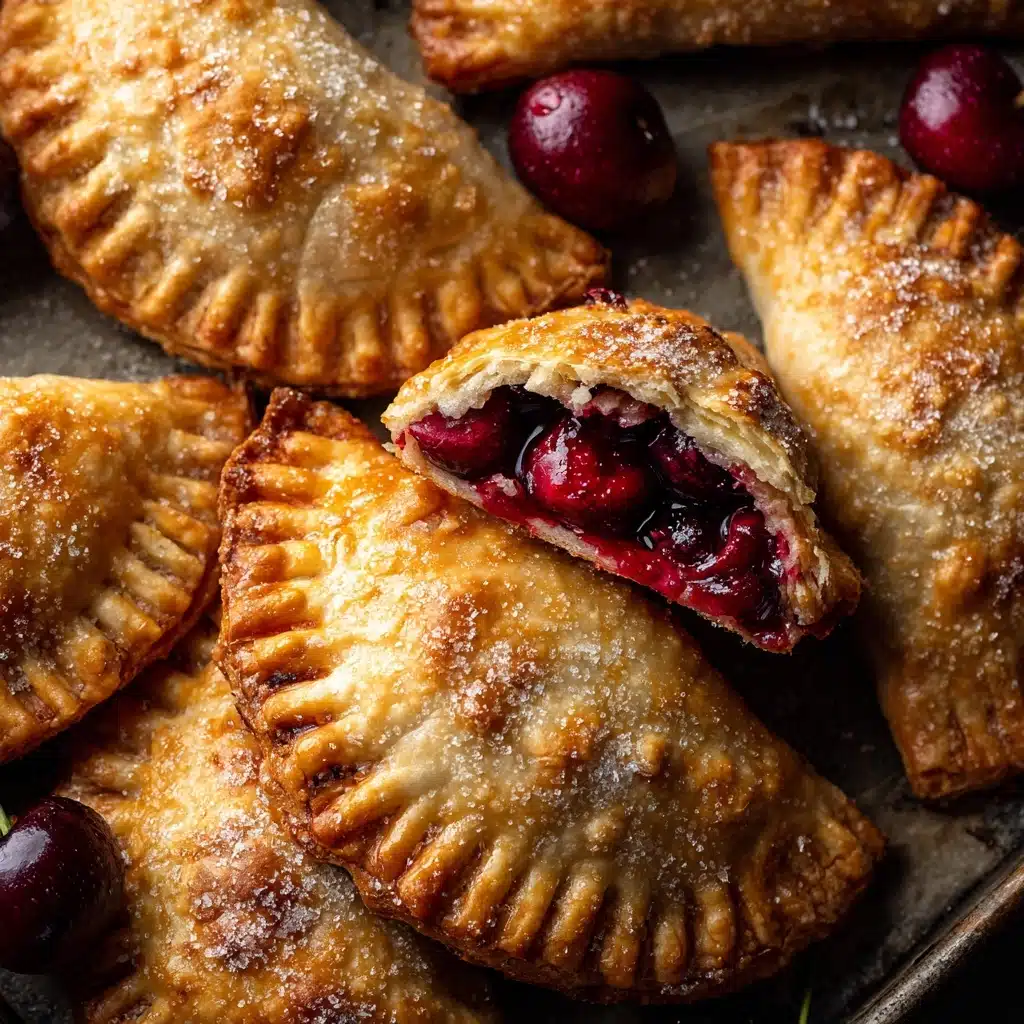
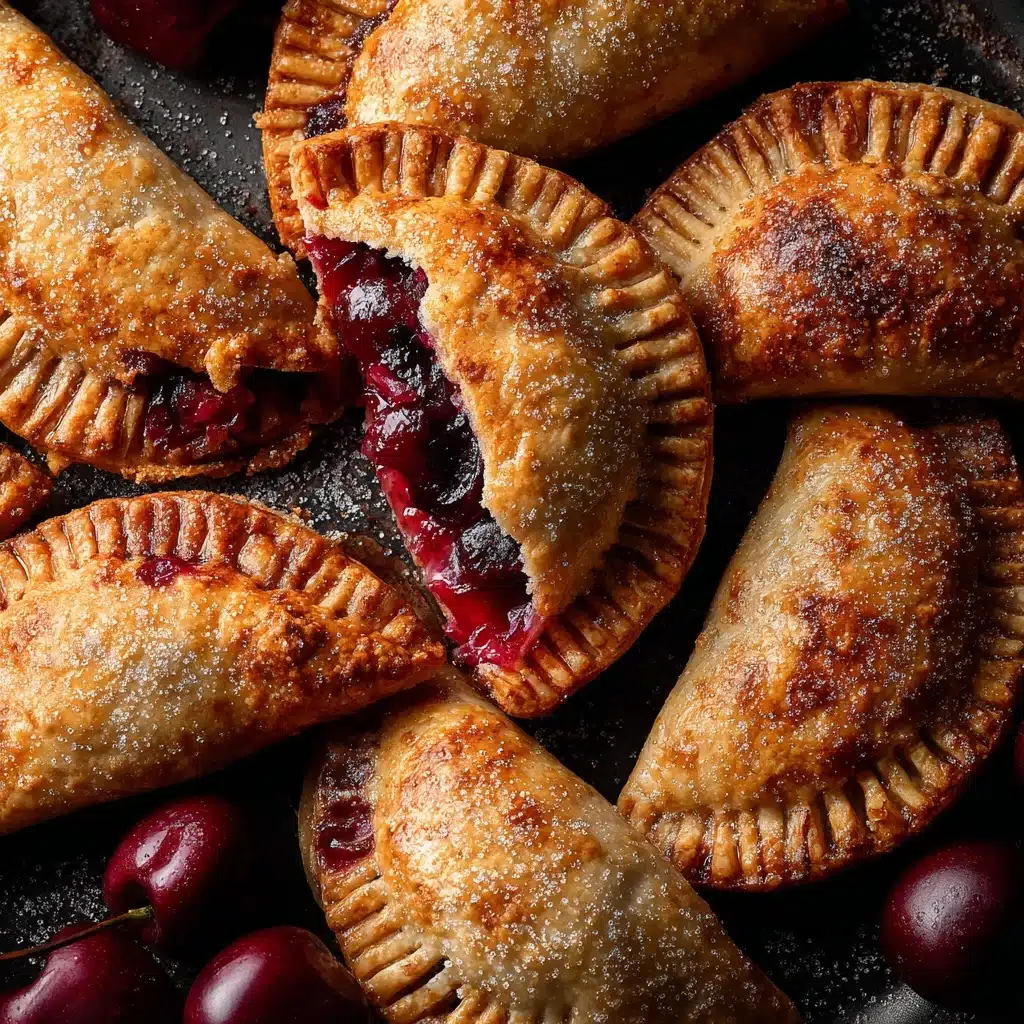
If you’re searching for a treat that’s bursting with summer flavor and perfectly portable, Cherry Hand Pies are about to become your new favorite dessert! These adorable pastries feature juicy cherries wrapped in a golden, flaky crust, making them ideal for picnics, gatherings, or just a cozy afternoon snack. With their irresistible balance of tart and sweet, and a satisfying texture in every bite, you’ll want to make a double batch—trust me, they disappear fast!
Ingredients You’ll Need
-
Filling
- 2 cups fresh or frozen pitted cherries (if frozen, thaw and drain)
- 1/3 cup granulated sugar
- 1 tablespoon cornstarch
- 1 tablespoon lemon juice
- 1/2 teaspoon vanilla extract
Crust and Assembly
- 1 package refrigerated pie crusts (2 crusts), thawed
- 1 egg, beaten (for egg wash)
- 1 tablespoon coarse sugar (optional, for topping)
How to Make Cherry Hand Pies
Step 1: Prepare the Cherry Filling
Start by combining your cherries, granulated sugar, cornstarch, lemon juice, and vanilla extract in a saucepan over medium heat. Stir frequently as the mixture cooks, letting it thicken and become glossy—this usually takes about 6 to 8 minutes. Once your kitchen is filled with the scent of simmering cherries, remove the pan from the heat and let the filling cool completely. This step ensures your crust stays nice and crisp during baking.
Step 2: Cut Out the Pie Crusts
On a lightly floured surface, unroll the thawed pie crusts and gently smooth out any creases. Use a 4-inch round cutter (or the rim of a glass) to cut out circles. Gather and reroll any scraps if needed—you want to make the most of your dough for as many Cherry Hand Pies as possible!
Step 3: Fill and Assemble the Hand Pies
Place half of your pastry circles onto a parchment-lined baking sheet. Spoon about 1 tablespoon of cooled cherry filling into the center of each, being careful to keep the edges clear for sealing. Top each with a matching crust circle, then use a fork to firmly press and seal the edges. Cut a small slit in the top of each pie to allow steam to escape—this keeps the filling luscious, not soggy.
Step 4: Add the Finishing Touches
Brush the tops of your assembled pies with the beaten egg. If you’re feeling fancy, sprinkle a little coarse sugar over each one for that extra crunch and sparkle. This simple step really elevates the final presentation and taste of your Cherry Hand Pies.
Step 5: Bake to Golden Perfection
Bake your hand pies in a preheated 400°F (200°C) oven for 18 to 20 minutes. They’re done when the crust is beautifully golden and the filling is bubbling just a bit through the slit. Let them cool on a wire rack—if you can wait—so the filling sets and you get those perfect, tidy bites.
How to Serve Cherry Hand Pies
Garnishes
For an elegant touch, dust your Cherry Hand Pies lightly with powdered sugar once they’ve cooled. If you like, drizzle a simple glaze made from powdered sugar and milk for a bakery-style finish. A sprig of mint or a few extra fresh cherries on the side also makes them pop visually on a serving platter.
Side Dishes
These pies pair wonderfully with a scoop of vanilla ice cream or a dollop of lightly sweetened whipped cream. For a brunch spread, serve alongside fresh fruit salad or a tangy yogurt parfait—the creamy, cool sides balance the warm, sweet-tart flavors of the cherry filling perfectly.
Creative Ways to Present
Cherry Hand Pies are as fun to serve as they are to eat! Try stacking them in a rustic basket lined with parchment for a picnic, or arrange them in a circle on a cake stand for a party centerpiece. If you’re feeling playful, pop each pie into a small paper bag with a ribbon for a grab-and-go dessert at potlucks or bake sales.
Make Ahead and Storage
Storing Leftovers
To keep your Cherry Hand Pies fresh, store them in an airtight container at room temperature for up to two days. If you plan to keep them longer, refrigerate for up to five days—just let them come to room temperature before serving for the best texture.
Freezing
These pies freeze beautifully! You can freeze them unbaked—just assemble, place on a parchment-lined tray, and freeze until solid. Transfer to a zip-top bag, then bake straight from the freezer, adding 2-3 minutes to the bake time. Already baked pies can be frozen as well; let them cool completely before wrapping tightly and freezing for up to three months.
Reheating
For that just-baked flavor, reheat hand pies in a 350°F (175°C) oven for about 8-10 minutes. Skip the microwave if you can, as it can make the crust soggy. A quick oven refresh returns them to their flaky, golden glory, perfect for enjoying leftovers as if they were fresh from the oven.
FAQs
Can I use canned cherry pie filling instead of making my own?
Absolutely! While homemade filling gives you the freshest flavor and allows you to control the sweetness, canned cherry pie filling is a great shortcut when you’re short on time. Just use about the same amount called for in the recipe.
What if I don’t have a round cutter?
No problem! You can use a glass, cup, or even cut squares with a knife for a slightly different shape. The important part is keeping the pies a manageable, handheld size for easy eating.
Can I make Cherry Hand Pies with other fruits?
Definitely. You can substitute blueberries, raspberries, or even diced peaches for the cherries. Just follow the same method and adjust the sugar slightly if your fruit is very sweet or tart.
How do I keep the filling from leaking out?
Be careful not to overfill your pies, and make sure to seal the edges firmly with a fork. That little slit on top is important, too—it lets steam escape and prevents the filling from bursting out the sides during baking.
Is it possible to make these pies vegan?
Yes! Use a vegan-friendly pie crust and skip the egg wash in favor of a brush of plant-based milk. The rest of the ingredients are naturally vegan, so everyone can enjoy these Cherry Hand Pies.
Final Thoughts
Whether you’re baking for a crowd or treating yourself, Cherry Hand Pies are a joyful, easy dessert that’s always a hit. There’s just something special about biting into that golden crust and discovering a burst of juicy cherry inside. Give these a try—you’ll love how simple, satisfying, and downright delicious they are!