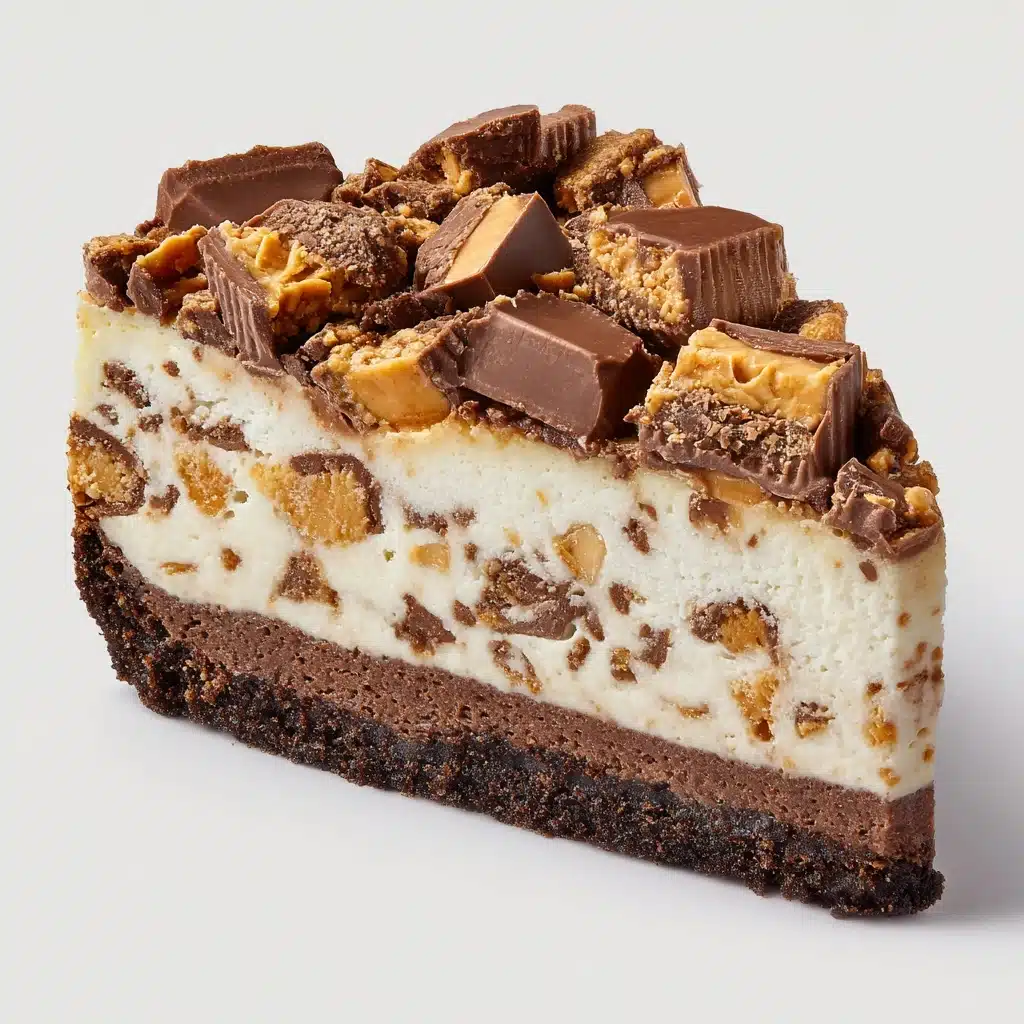
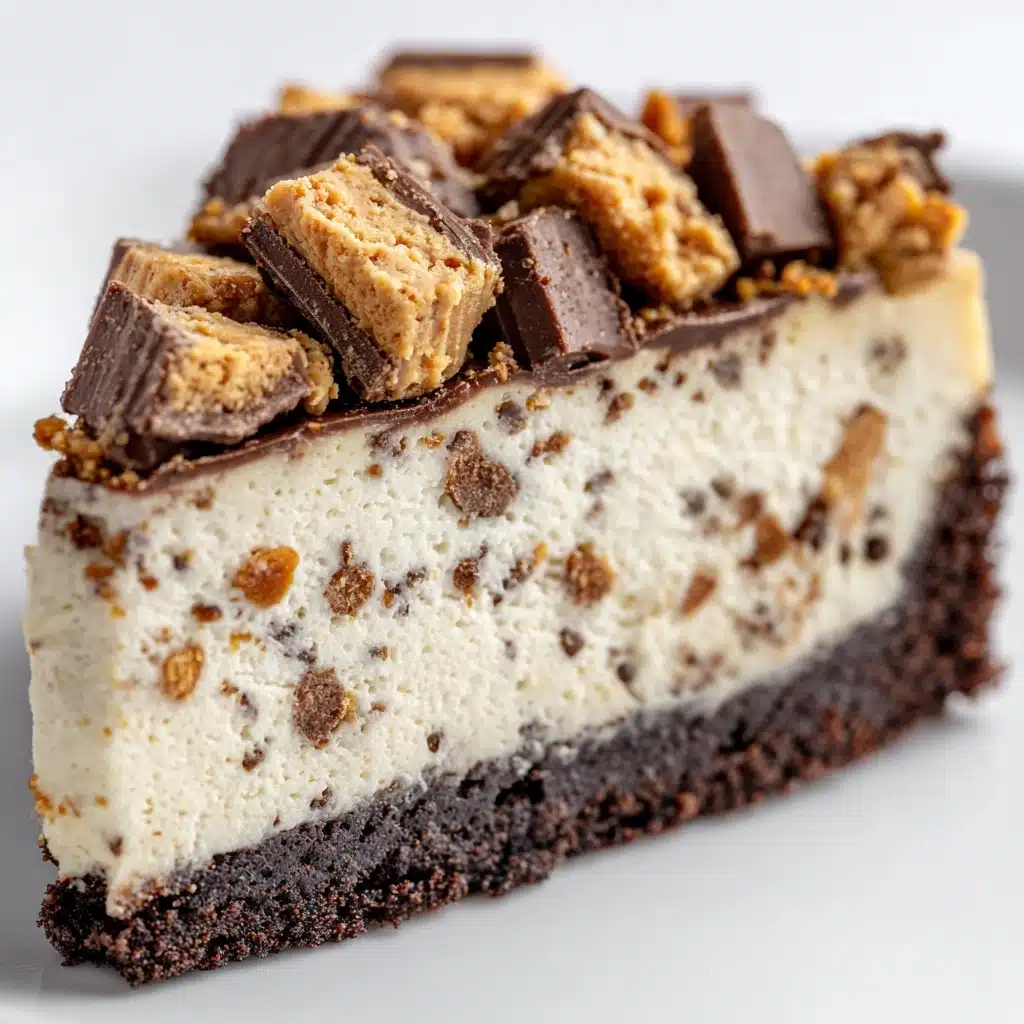
If you’ve ever wished your favorite candy bar could magically transform into a decadent, creamy dessert, Butterfinger Pie is your dream come true. This irresistible no-bake treat brings all the crunch and peanut buttery chocolate flavors of classic Butterfinger bars into a silky, chilled pie that’s sure to make you the star of any gathering or just brighten up an ordinary Tuesday. Each velvety bite is pure nostalgia, loaded with crunchy candy pieces, rich cream cheese, and a sweet peanut butter filling — all nestled in a buttery graham cracker crust. Once you taste this Butterfinger Pie, you’ll crave it at every special occasion (and probably a few ordinary ones too!).
Ingredients You’ll Need
Butterfinger Pie couldn’t be easier thanks to a handful of key ingredients, each one pulling its weight to build an incredible texture and flavor. Let’s break down what you’ll need and why it matters:
- Cream Cheese (8 oz, softened): The creamy backbone of your filling, providing tang and structure that balances all the sweetness.
- Creamy Peanut Butter (1/2 cup): Adds a nutty depth and smooth, luscious texture that perfectly highlights the Butterfinger bars.
- Powdered Sugar (1/2 cup): Sweetens the filling while helping it stay ultra-light and fluffy.
- Whipped Topping (8 oz, thawed): Folds air into the pie for a dreamy, mousse-like consistency – don’t rush melting it!
- Butterfinger Candy Bars (5, full-size, crushed): The star ingredient! These deliver pops of chocolate, peanut butter, and crispy bits throughout every bite; remember to reserve one for your decadent topping.
- Graham Cracker Pie Crust (9-inch, prepared): Offers buttery crunch and a little saltiness to ground all the sweet, creamy flavors.
- Additional Whipped Topping and Butterfinger Crumbles (optional): These garnishes up the wow-factor and add extra visual appeal (and flavor!) just before serving.
How to Make Butterfinger Pie
Step 1: Make the Creamy Peanut Butter Filling
Start by grabbing your largest mixing bowl and beat together the softened cream cheese, creamy peanut butter, and powdered sugar. Mix until the blend is irresistibly smooth, with no lumps in sight — this is the foundation of your Butterfinger Pie’s dreamy texture, so take the time to get it right! A handheld or stand mixer works best for this job, but some elbow grease and a sturdy spatula will do in a pinch.
Step 2: Fold in the Whipped Topping
Next, gently fold in the thawed whipped topping. Try to be gentle, almost like you’re folding in clouds, because the lighter your hand, the silkier and airier your final pie will be. This is your secret weapon for a mousse-like, fluffy filling that feels super luxurious.
Step 3: Add the Crushed Butterfinger Candy Bars
Now comes the really fun part: stir in four of your five crushed Butterfinger bars. Those golden shards of candy will stripe your filling with pockets of crunch and that unmistakable Butterfinger flavor. Folding them in at this stage ensures the pieces stay chunky and don’t dissolve — you want every bite to surprise you.
Step 4: Assemble and Garnish the Pie
Spoon your luscious filling into the prepared graham cracker crust, making sure to smooth the top with a spatula or the back of your spoon. For the ultimate Butterfinger Pie presentation, sprinkle the remaining crushed Butterfinger bar evenly across the top. If you’re feeling extra, pipe or dollop on swoops of whipped topping and finish with a final dusting of Butterfinger crumbles right before serving.
Step 5: Chill Until Set
This part takes a little patience, but it’s worth it! Cover your pie and refrigerate for at least 4 hours, but overnight is even better for clean-cut slices. Chilling the pie helps all those amazing flavors meld together while achieving that perfect, sliceable consistency.
How to Serve Butterfinger Pie
Garnishes
The finishing touches make Butterfinger Pie pop — a swirl of whipped topping and a generous sprinkle of crushed Butterfinger bar are simply irresistible. Not only do these garnishes add a lovely visual flair, but they also give that first bite an extra burst of creaminess and crunch that nobody can resist.
Side Dishes
Pairing this rich, peanut buttery pie is fun but keep it simple and refreshing! A platter of fresh strawberries or sliced bananas dresses up your dessert table while balancing the sweetness. Or, try serving small espresso shots or strong coffee — the bitter notes are a great contrast to Butterfinger Pie’s creamy decadence.
Creative Ways to Present
For a playful touch at parties, serve Butterfinger Pie in individual mason jars or parfait glasses, layering crust, filling, and toppings for single-serve treats. Or, turn it into a frozen pie bar by slicing and dipping each piece halfway into melted chocolate for a portable handheld delight. The options for presenting Butterfinger Pie are as endless as they are fun!
Make Ahead and Storage
Storing Leftovers
Butterfinger Pie stores beautifully in the fridge. Simply wrap the pie tightly with plastic wrap or foil and refrigerate for up to 4 days. Don’t worry if it softens a bit after a couple of days — those flavors only get richer with time! If garnished, freshen it up with an extra sprinkle of crushed Butterfinger before serving leftovers.
Freezing
Want a firmer texture or need to make Butterfinger Pie far in advance? Freeze it! Wrap the pie or individual slices securely in plastic wrap and then foil, and freeze for up to one month. Let it thaw in the refrigerator for a few hours before serving, or enjoy it straight from the freezer on a warm day for a frozen treat vibe.
Reheating
Good news: Butterfinger Pie is best served cold, so no reheating required! If you prefer a slightly softer texture, just let your slice sit at room temperature for 10 to 15 minutes before digging in. The filling will become extra creamy and luscious.
FAQs
Can I use homemade whipped cream instead of whipped topping?
Absolutely! Homemade sweetened whipped cream is a delicious substitute for store-bought whipped topping and will create a richer, more natural-tasting Butterfinger Pie. Use about 3 cups, whipped to soft peaks, and fold it in gently for the same airy effect.
Do I have to use a graham cracker crust?
Nope, you can totally switch things up! A chocolate cookie or Oreo crust makes Butterfinger Pie extra decadent, or try a pretzel crust for a sweet-salty combo. Whatever crust you pick, just make sure it’s pre-made or fully baked and cooled before adding your filling.
Can I make Butterfinger Pie ahead of time?
Certainly! In fact, Butterfinger Pie tastes even better when made a day ahead, since chilling lets the flavors meld and the filling firm up perfectly. Just keep it covered in the refrigerator and add any final garnishes right before serving for the freshest look.
Are there any nut-free options for this pie?
While the original Butterfinger bars are peanut-flavored, there are peanut-free candy bars on the market you can swap in, and you can use sunflower butter in place of peanut butter. Always check candy ingredients and labels to ensure your Butterfinger Pie is safe for nut-free diners.
How do I crush my Butterfinger bars without making too much mess?
For perfectly chunky pieces and minimal mess, place the candy bars in a sealed plastic bag and gently crush with a rolling pin or the bottom of a sturdy glass. This method lets you control the crunch factor, and any stray bits can be sprinkled over the top for extra garnish.
Final Thoughts
If you’ve made it this far, you’re officially ready to wow your family and friends with an unforgettable Butterfinger Pie. There’s something deeply comforting and joy-sparking about transforming a beloved candy into a sliceable, creamy dessert. Give it a try, share the love, and don’t forget to sneak a taste before serving — you earned it!