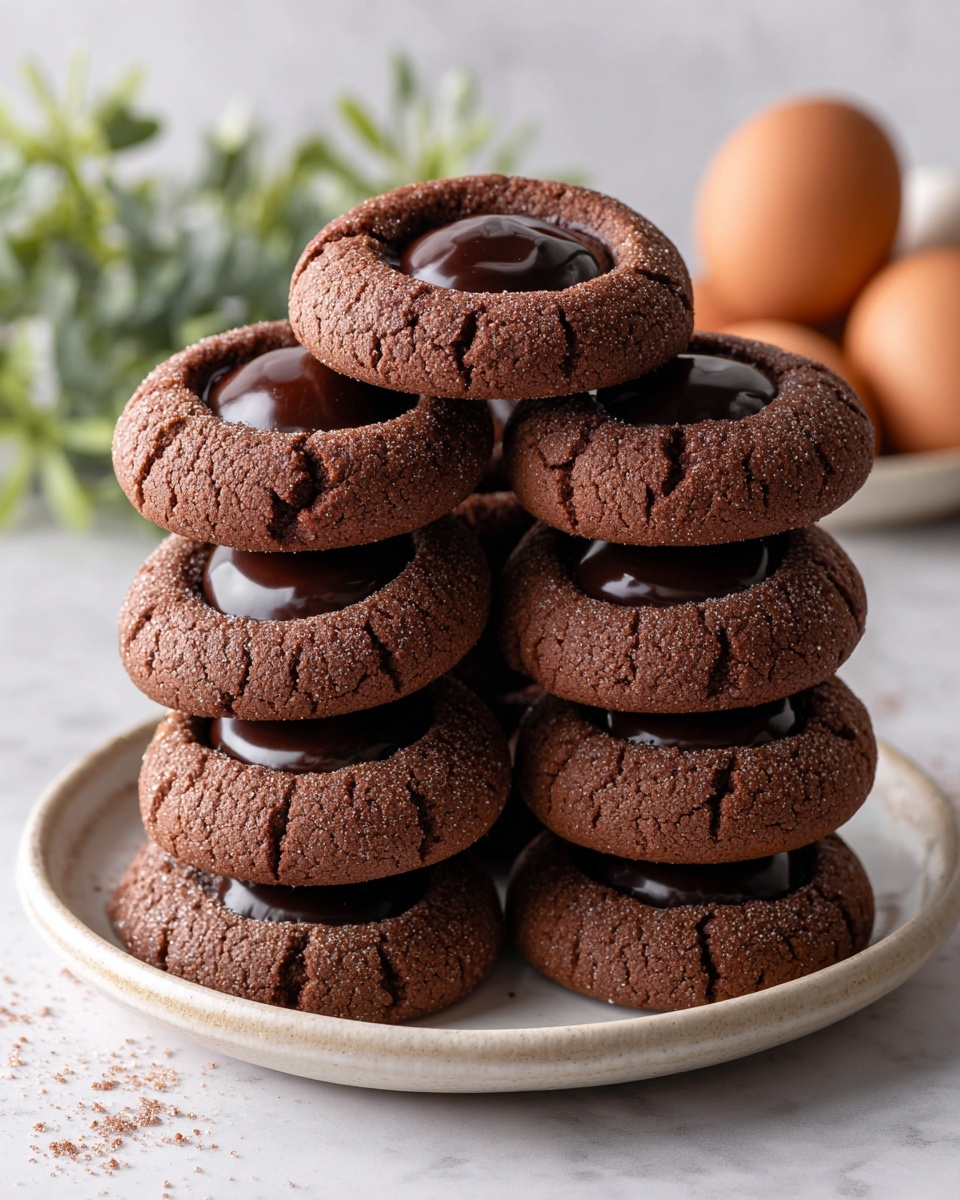
If you’re on the hunt for a cookie that perfectly balances buttery richness with a delightful nutty crunch, look no further than this Chocolate Hazelnut Thumbprint Cookies Recipe. These charming little treats bring together soft, tender dough dotted with finely chopped hazelnuts and topped with a luscious spoonful of chocolate hazelnut spread. They’re simple enough to whip up on a weeknight yet special enough to impress friends and family. Every bite melts with an irresistible harmony between sweet, nutty, and chocolate flavors, making this recipe a true favorite in my cookie repertoire.
Ingredients You’ll Need
Each ingredient in this Chocolate Hazelnut Thumbprint Cookies Recipe serves a delicious purpose, from the creamy butter that gives the cookies their tender crumb to the chocolate hazelnut spread that crowns them with gooey goodness. Here’s what you’ll gather before getting started:
- Unsalted butter (1 cup or 2 sticks): Softened for easy creaming, it ensures a rich, tender texture.
- Granulated sugar (1/2 cup): Adds sweetness and helps with browning for a golden edge.
- Light brown sugar (1/2 cup, packed): Brings moistness and a hint of caramel flavor to the dough.
- Egg yolk (1 large): Binds ingredients while adding richness and tenderness.
- Vanilla extract (1 tsp): Enhances the overall flavor with warm, sweet notes.
- All-purpose flour (2 cups): The sturdy base that holds everything together.
- Salt (1/2 tsp): Balances sweetness and intensifies flavors.
- Finely chopped hazelnuts (1/2 cup): Adds a lovely crunch and deep nutty aroma.
- Chocolate hazelnut spread (1/2 cup): The crowning glory that fills each thumbprint with decadent creaminess.
How to Make Chocolate Hazelnut Thumbprint Cookies Recipe
Step 1: Preheat and Prepare
Set that oven to a cozy 350°F (175°C), and line two baking sheets with parchment paper or silicone baking mats. This simple first step ensures your cookies won’t stick and bake evenly, setting you up for perfect cookies every time.
Step 2: Cream the Butter and Sugars
In a large mixing bowl, beat together the softened unsalted butter with granulated and brown sugars until the mixture is light and fluffy. This process incorporates air, giving your cookies that delicate, melt-in-your-mouth texture. Then, mix in the egg yolk and vanilla extract, creating a beautifully smooth base for the dough.
Step 3: Combine Dry Ingredients
Whisk together the all-purpose flour, salt, and chopped hazelnuts in a separate bowl. These dry ingredients provide structure and that irresistible nutty crunch that makes these cookies stand out.
Step 4: Mix the Dough
Gradually add your dry ingredients into the creamed butter mixture, stirring just until combined. Be careful not to overmix here; you want a soft, cohesive dough without toughening it up.
Step 5: Shape the Cookies
Roll the dough into 1-inch balls and place them spaced about 2 inches apart on your prepared baking sheets. Forming uniform balls helps the cookies bake evenly and look picture perfect.
Step 6: Create the Thumbprints
Gently press your thumb or the back of a small spoon into the center of each dough ball to make an indentation. This classic step creates the perfect little well for the chocolate hazelnut spread that’s about to make these cookies memorable.
Step 7: Bake to Perfection
Slide your trays into the oven and bake for 10-12 minutes until the edges turn a lovely light golden color. The cookies will be soft but set, ready for the final delicious touch.
Step 8: Fill the Centers
Right after removing the cookies from the oven, press gently once more to deepen any fading indentations. Let them cool on the pan for 5-10 minutes before transferring to a wire rack. When the cookies are completely cool, spoon or pipe a small dollop of chocolate hazelnut spread into each thumbprint, creating that luscious finishing touch.
Step 9: Serve and Enjoy
Allow the spread to settle slightly so it holds its shape, then get ready to dive into these nutty, chocolatey gems that are hard to resist.
How to Serve Chocolate Hazelnut Thumbprint Cookies Recipe
Garnishes
For a little extra flair, consider sprinkling crushed toasted hazelnuts or a light dusting of powdered sugar atop the cookies right before serving. A tiny sprinkle of flaky sea salt can also intensify the chocolate hazelnut spread’s richness, balancing the sweetness beautifully.
Side Dishes
These cookies pair wonderfully with a tall glass of cold milk, a steaming cup of espresso, or even a decadent hot chocolate. Their nutty and chocolate flavors complement warm beverages perfectly, making them ideal for afternoon tea or cozy dessert moments.
Creative Ways to Present
Feeling creative? Arrange these Chocolate Hazelnut Thumbprint Cookies Recipe bites on a rustic wooden board surrounded by hazelnut clusters and dark chocolate chunks for an impressive dessert platter. You can also pipe the spread into bite-sized cookie sandwiches or drizzle melted white chocolate over the top for a pretty contrast.
Make Ahead and Storage
Storing Leftovers
Store leftover cookies in an airtight container at room temperature, where they’ll stay fresh and delicious for up to five days. Keeping them sealed prevents the cookies from drying out while preserving that tender crumb and silky topping.
Freezing
If you want to enjoy these cookies later, they freeze beautifully. Arrange the baked and cooled cookies in a single layer on a baking sheet to freeze, then transfer to a freezer-safe container or bag once solid. They’ll keep for up to 3 months, perfect for holiday prep or last-minute indulgence.
Reheating
To warm frozen or refrigerated cookies, let them come to room temperature or heat gently in the oven at 300°F (150°C) for 5-7 minutes. This revives the buttery softness and refreshes the chocolate hazelnut spread without melting it entirely.
FAQs
Can I substitute the hazelnuts for another nut?
Absolutely! Pecans, almonds, or even walnuts can be used, but hazelnuts bring a unique and classic flavor that pairs exceptionally well with chocolate hazelnut spread.
Is it possible to make these cookies gluten-free?
Yes, swapping the all-purpose flour for a gluten-free blend can work well. Just choose a blend that includes xanthan gum for structure, and keep texture in mind as it may slightly affect the chewiness.
Can I use store-bought chocolate hazelnut spread?
Definitely. Whether it’s a popular brand like Nutella or a homemade version, the chocolate hazelnut spread is key to the signature flavor and gooey filling of this recipe.
How do I prevent the dough from sticking to my hands when rolling?
Lightly flour your hands or chill the dough for 10-15 minutes before rolling. This makes handling the dough easier and prevents it from becoming too sticky.
Can these cookies be made vegan?
To make a vegan version, use a plant-based butter substitute and a flax or chia egg in place of the egg yolk. Be sure to check that your chocolate hazelnut spread is vegan-friendly as well.
Final Thoughts
There’s something truly comforting and joyful about making these Chocolate Hazelnut Thumbprint Cookies Recipe — from the smell that fills your kitchen to the first bite bursting with chocolate and nutty flavors. Whether you’re baking for a special occasion or just because, this recipe never fails to brighten the day. Give it a try and watch how quickly these cookies become a beloved staple in your cookie jar.
Print
Chocolate Hazelnut Thumbprint Cookies Recipe
- Prep Time: 15 minutes
- Cook Time: 12 minutes
- Total Time: 27 minutes
- Yield: 24 cookies
- Category: Dessert
- Method: Baking
- Cuisine: American
- Diet: Vegetarian
Description
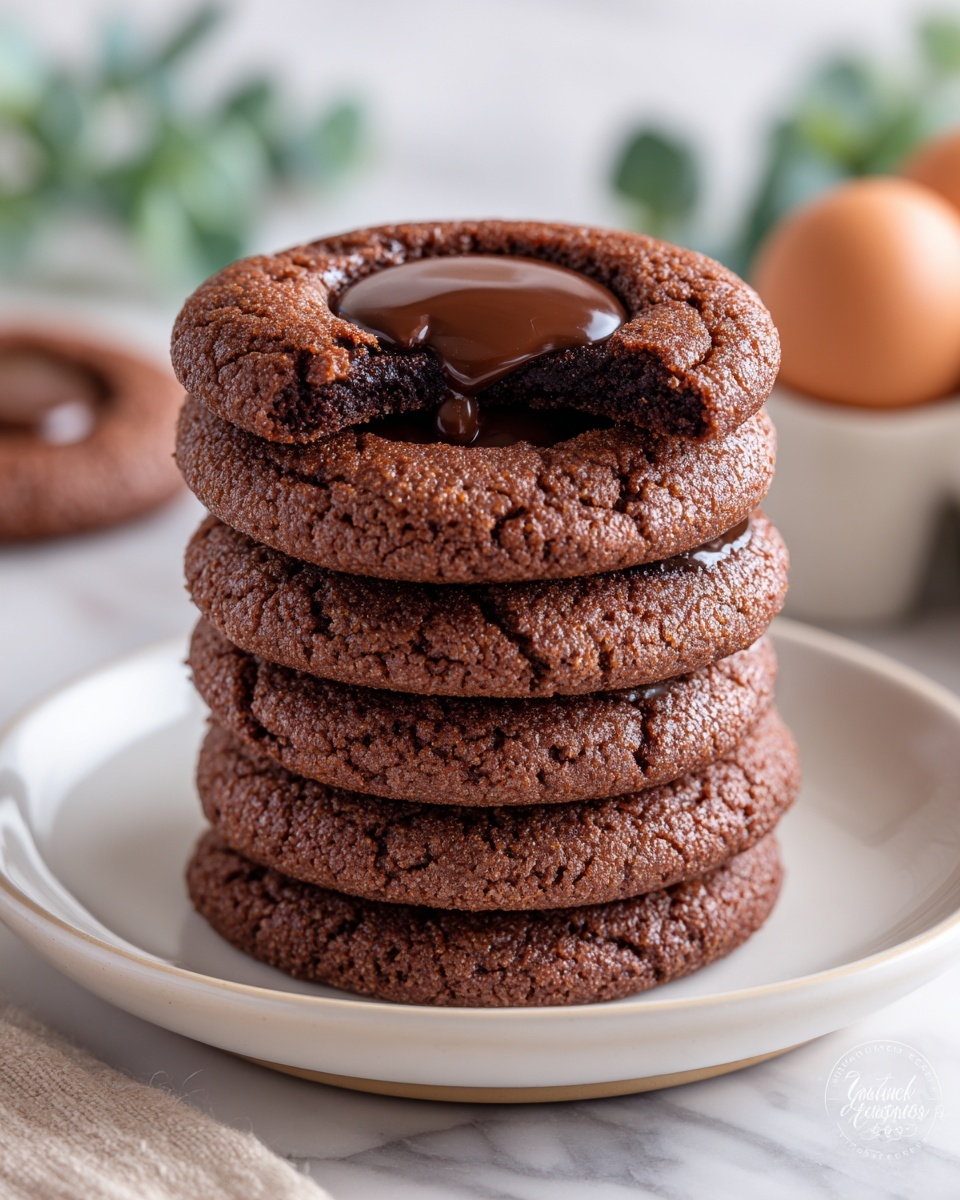
Delight in these classic Chocolate Hazelnut Thumbprint Cookies, featuring a buttery, tender cookie base filled with rich chocolate hazelnut spread and crunchy hazelnut bits. Perfectly crisp on the edges with a soft center, these cookies are a delicious treat for any occasion.
Ingredients
Cookie Dough
- 1 cup (2 sticks) unsalted butter, softened
- 1/2 cup granulated sugar
- 1/2 cup packed light brown sugar
- 1 large egg yolk
- 1 tsp vanilla extract
- 2 cups all-purpose flour
- 1/2 tsp salt
- 1/2 cup finely chopped hazelnuts (or ground hazelnuts)
Filling
- 1/2 cup chocolate hazelnut spread (like Nutella)
Instructions
- Preheat the oven: Set your oven to 350°F (175°C). Line two baking sheets with parchment paper or silicone baking mats to prevent sticking and ensure even baking.
- Cream the butter and sugars: In a large mixing bowl, beat the softened unsalted butter together with granulated sugar and light brown sugar until the mixture is light, fluffy, and creamy. Add the egg yolk and vanilla extract, and mix thoroughly until fully incorporated.
- Combine dry ingredients: In a separate bowl, whisk together the all-purpose flour, salt, and finely chopped hazelnuts to evenly distribute the dry components and nuts.
- Mix the dough: Gradually add the dry ingredient mixture to the wet ingredients, mixing until just combined. Be careful not to overmix to maintain tender cookies.
- Shape the cookies: Roll the cookie dough into 1-inch diameter balls. Arrange the balls onto the prepared baking sheets, spacing them about 2 inches apart to allow for spreading.
- Make the thumbprints: Press an indentation into the center of each dough ball using your thumb or the back of a small spoon, creating a shallow well for the filling.
- Bake the cookies: Place the baking sheets in the preheated oven and bake for 10 to 12 minutes or until the cookie edges are lightly golden but centers remain soft.
- Fill the centers: Remove cookies from the oven and if needed, gently re-indent the centers with your thumb or spoon while the cookies are still warm. Allow the cookies to cool on the baking sheet for 5 to 10 minutes before transferring them to a wire rack to cool completely.
- Add the chocolate hazelnut spread: Once the cookies have cooled fully, spoon or pipe a small amount of chocolate hazelnut spread into the thumbprint indentation of each cookie, filling the centers completely.
- Serve and store: Let the spread set slightly before serving your delicious chocolate hazelnut thumbprint cookies. Store leftovers in an airtight container at room temperature for up to 5 days, maintaining freshness and flavor.
Notes
- Ensure the butter is softened but not melted for optimal creaming and dough texture.
- Do not overmix the dough after adding flour to avoid tough cookies.
- For extra crunch, toast the hazelnuts lightly before chopping.
- The chocolate hazelnut spread should be added only after the cookies are fully cooled to prevent melting.
- Store cookies at room temperature in an airtight container to keep them fresh.
- If you prefer, substitute the chocolate hazelnut spread with jam or other fillings.


