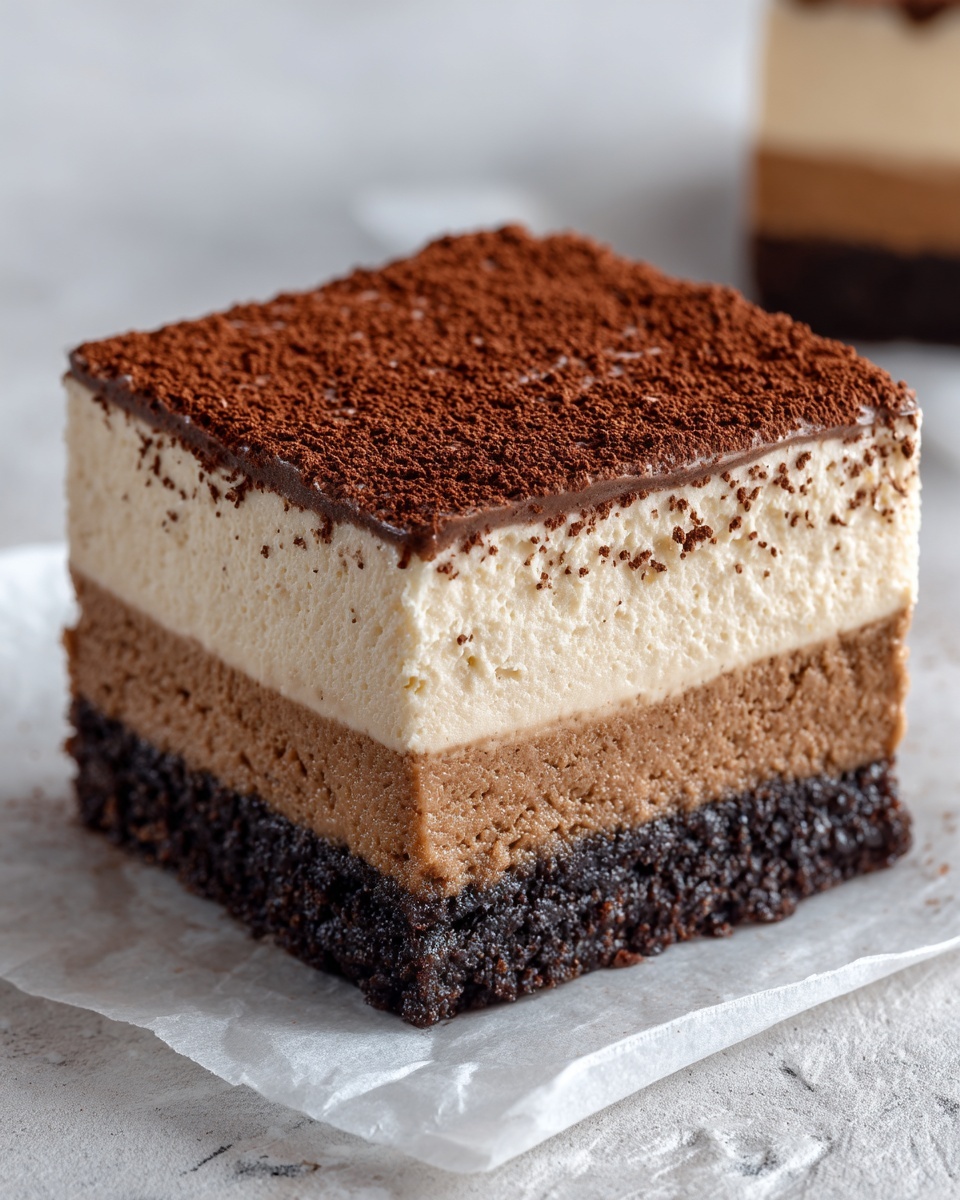
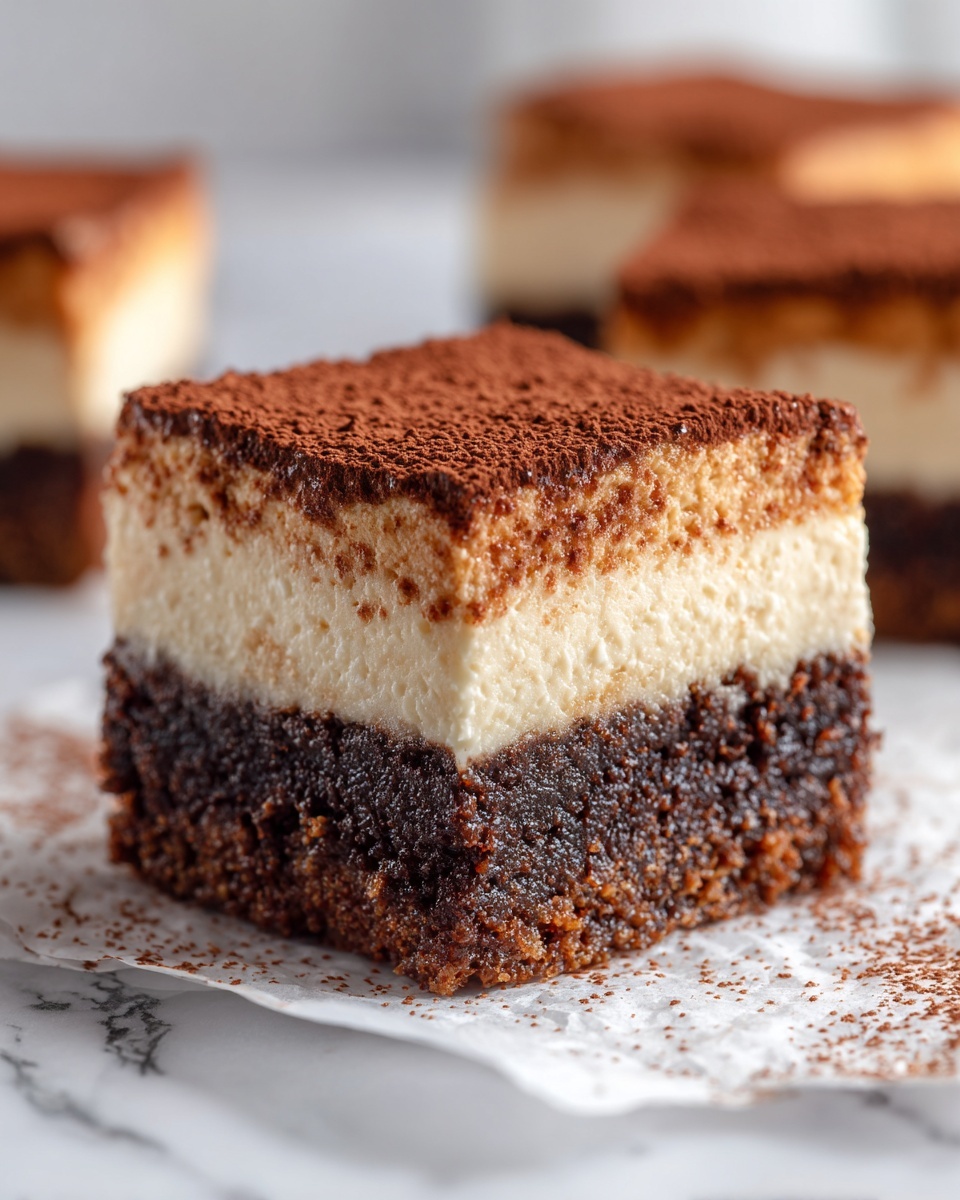
If you love the rich, indulgent flavors of classic tiramisu but also crave the fudgy satisfaction of brownies, this Tiramisu Brownies Recipe is about to become your new obsession. Combining a dense, chocolatey brownie base with a luscious mascarpone and espresso cream topping, this dessert effortlessly marries two beloved classics into one heavenly treat that’s perfect for sharing or savoring solo. Trust me, once you give it a try, you’ll find it hard to stop at just one square!
Ingredients You’ll Need
Every ingredient in this Tiramisu Brownies Recipe plays a vital role, making it straightforward yet wonderfully satisfying. From the fudgy brownie base to the creamy tiramisu topping, each component builds layers of flavor, creating a perfect balance of sweet, bitter, and creamy textures.
- Unsalted butter: Melted to add richness and moisture to the brownie base.
- Granulated sugar: Sweetens the batter and helps with that classic chewy brownie texture.
- Large eggs: Bind the ingredients and add structure for the perfect fudgy bite.
- Vanilla extract: Enhances all the flavors with a warm and inviting aroma.
- All-purpose flour: The backbone of the brownie providing just enough density without heaviness.
- Unsweetened cocoa powder: Infuses deep chocolate flavor into the base.
- Baking powder: Lightly aerates the batter for a soft crumb.
- Salt: Balances sweetness and intensifies the chocolate taste.
- Semi-sweet chocolate chips (optional): Adds gooey chocolate pockets throughout the brownies.
- Mascarpone cheese: Creates the luscious, creamy tiramisu layer with a subtle tang.
- Heavy cream: Whipped into the mascarpone for lightness and volume.
- Powdered sugar: Sweetens the tiramisu layer smoothly without grittiness.
- Espresso or strong coffee (cooled): Provides that iconic tiramisu kick with a hint of bitterness.
- Unsweetened cocoa powder (for dusting): Adds a finishing touch of chocolate intensity on top.
How to Make Tiramisu Brownies Recipe
Step 1: Prepare the Brownie Base
Start by preheating your oven to 350°F (175°C) and greasing an 8×8-inch baking pan, lining it with parchment paper for easy removal. In a medium bowl, whisk together the melted unsalted butter and granulated sugar until smooth—this step ensures a shiny, tender crumb. Add the eggs one at a time along with the vanilla extract, mixing to achieve a luscious, combined batter.
Step 2: Combine Dry Ingredients
In a separate bowl, sift together the all-purpose flour, unsweetened cocoa powder, baking powder, and salt. Gradually incorporate this dry mix into your wet batter, stirring gently until just combined—overmixing can lead to tough brownies, so be careful here.
Step 3: Add Chocolate Chips and Bake
For an extra rich chocolate experience, fold in semi-sweet chocolate chips if you like. Pour the batter evenly into the prepared pan and smooth the top with a spatula. Bake for 18 to 22 minutes; look for moist crumbs when a toothpick is inserted—avoid overbaking to keep the brownies delightfully fudgy. Once baked, let them cool completely in the pan set on a wire rack before moving to the next step.
Step 4: Make the Tiramisu Layer
While the brownies cool, whip up the tiramisu topping. In a large bowl, combine mascarpone cheese, heavy cream, powdered sugar, cooled espresso or strong coffee, and vanilla extract. Use a hand or stand mixer to beat this mixture until smooth, creamy, and slightly thickened—this luscious topping will bring all the classic tiramisu flavors alive.
Step 5: Assemble the Tiramisu Brownies Recipe
Once your brownie base has completely cooled, spread the tiramisu cream evenly over the surface using a spatula. Make sure to smooth it out nicely for a beautiful finish. Then, refrigerate the layered brownies for at least 2 hours to allow the flavors to meld and the cream to set up perfectly.
Step 6: Serve
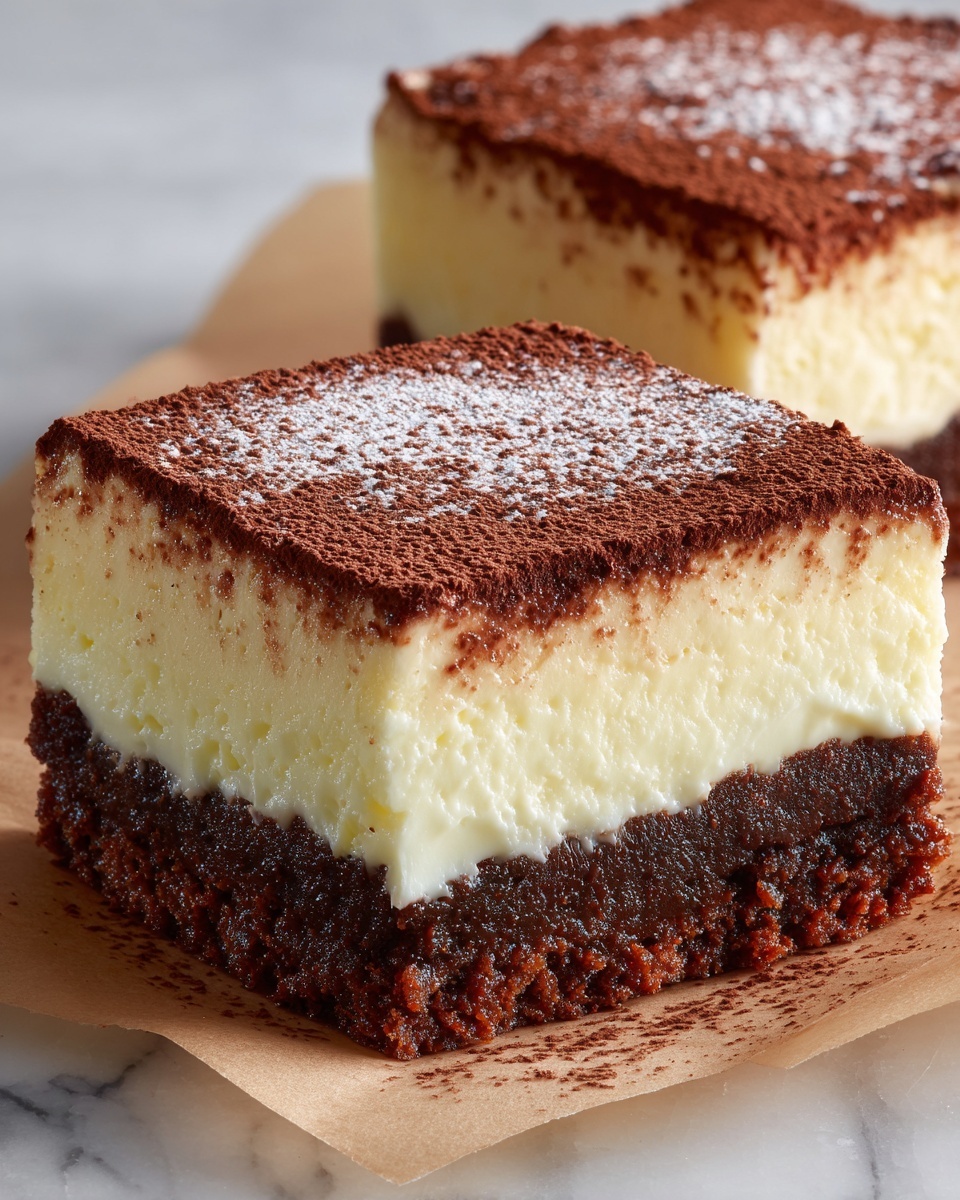
Just before serving, dust the top liberally with unsweetened cocoa powder to give it that iconic tiramisu look and a touch of bitterness that balances the sweetness. Slice into squares and enjoy every blissful bite of your homemade Tiramisu Brownies Recipe!
How to Serve Tiramisu Brownies Recipe
Garnishes
Adding a little garnish takes these brownies to the next level. A dusting of cocoa powder is a must for an authentic finish. For extra flair, try sprinkling some finely grated dark chocolate or even a few coffee beans on top. Fresh mint leaves also add a lovely pop of color and a refreshing twist.
Side Dishes
Serve these rich brownies with a simple scoop of vanilla bean ice cream or a dollop of lightly sweetened whipped cream. A side of fresh berries adds brightness and balance, perfect if you want to contrast the deep chocolate and creamy coffee flavors with some fruity acidity.
Creative Ways to Present
If you’re bringing these brownies to a gathering, consider plating individual portions in elegant dessert dishes, dusted with cocoa and garnished with a sprig of mint. Or assemble them as mini parfaits by layering brownie cubes with the tiramisu cream in small glasses for a stunning presentation that’s sure to impress your guests.
Make Ahead and Storage
Storing Leftovers
Tiramisu Brownies Recipe leftovers keep wonderfully in the refrigerator, tightly covered with plastic wrap or stored in an airtight container. They’re best enjoyed within 3 to 4 days to maintain freshness and texture.
Freezing
If you want to save your Tiramisu Brownies Recipe for later, you can freeze the fully assembled dessert. Wrap individual portions or the whole pan tightly with plastic wrap and aluminum foil, then store in the freezer for up to 2 months. Thaw overnight in the refrigerator before serving to preserve the creamy topping.
Reheating
Since this dessert features a delicate tiramisu layer, reheating isn’t necessary or recommended as it may alter the texture and flavor. Instead, serve chilled or at room temperature for the best experience.
FAQs
Can I use regular coffee instead of espresso in this Tiramisu Brownies Recipe?
Absolutely! Strong brewed coffee works well as a substitute if you don’t have espresso on hand. Just make sure it’s cooled before adding to avoid curdling the cream.
Is mascarpone cheese necessary in this recipe?
Mascarpone is key to achieving that authentic tiramisu flavor and creamy texture. However, if unavailable, a good-quality cream cheese blended with a little heavy cream can be a reasonable substitute, though the taste will differ slightly.
Can I make these brownies gluten-free?
Yes! Simply swap the all-purpose flour for a gluten-free flour blend that measures cup-for-cup. Make sure your cocoa powder and other ingredients are also gluten-free certified.
What if I don’t like chocolate chips in brownies?
Feel free to leave out the chocolate chips altogether. The brownies will still be fudgy and delicious, and the tiramisu layer provides plenty of flavor and richness.
How long can I prepare the Tiramisu Brownies Recipe in advance?
You can prepare the entire dessert up to a day ahead and refrigerate it. This not only saves time but also allows the flavors to deepen, making it even more delightful when served.
Final Thoughts
I cannot recommend this Tiramisu Brownies Recipe enough if you want a dessert that’s a guaranteed crowd-pleaser with a sophisticated twist. The creamy coffee-infused topping on top of a fudgy brownie base is a match made in heaven that’s both comforting and indulgent. Make a batch soon—you’ll be receiving compliments for days!
Print
Tiramisu Brownies Recipe
- Prep Time: 10 minutes
- Cook Time: 20 minutes
- Total Time: 35 minutes
- Yield: 9 servings
- Category: Dessert
- Method: Baking
- Cuisine: Italian-American
Description
Deliciously rich Tiramisu Brownies combine a fudgy chocolate brownie base with a creamy, coffee-flavored tiramisu layer, topped with a dusting of cocoa powder. This easy-to-make dessert marries the best of Italian tiramisu and classic brownies for a decadent treat perfect for any occasion.
Ingredients
For the Brownie Base:
- 1/2 cup unsalted butter, melted
- 1 cup granulated sugar
- 2 large eggs
- 1 teaspoon vanilla extract
- 1/2 cup all-purpose flour
- 1/4 cup unsweetened cocoa powder
- 1/2 teaspoon baking powder
- 1/4 teaspoon salt
- 1/4 cup semi-sweet chocolate chips (optional)
For the Tiramisu Layer:
- 1 cup mascarpone cheese
- 1 cup heavy cream
- 1/4 cup powdered sugar
- 2 tablespoons espresso or strong coffee, cooled
- 1 teaspoon vanilla extract
- Unsweetened cocoa powder, for dusting
Instructions
- Preheat Oven: Preheat your oven to 350°F (175°C). Grease and line an 8×8-inch baking pan with parchment paper to prevent sticking and for easy removal.
- Prepare Brownie Batter: In a medium bowl, whisk together the melted butter and granulated sugar until smooth and well combined. Then, add the eggs and vanilla extract, mixing thoroughly.
- Combine Dry Ingredients: In a separate bowl, whisk together the flour, unsweetened cocoa powder, baking powder, and salt. Gradually add these dry ingredients to the wet mixture, stirring just until combined to avoid overmixing.
- Add Chocolate Chips: Fold in the semi-sweet chocolate chips if using, distributing them evenly throughout the batter.
- Bake Brownies: Pour the batter into the prepared baking pan, spreading it evenly. Bake for 18-22 minutes or until a toothpick inserted in the center comes out with a few moist crumbs. Remove from oven and allow to cool completely on a wire rack.
- Prepare Tiramisu Layer: In a large mixing bowl, whisk together mascarpone cheese, heavy cream, powdered sugar, cooled espresso or coffee, and vanilla extract until smooth and creamy. Using a hand or stand mixer speeds up the process.
- Assemble: Once brownies are fully cooled, spread the tiramisu mixture evenly over the brownie base. Use a spatula to smooth the top for an even layer.
- Chill: Refrigerate the assembled brownies for at least 2 hours or until the tiramisu layer firms up and sets. This chilling step helps the flavors meld beautifully.
- Serve: Before serving, dust the top of the tiramisu layer with unsweetened cocoa powder. Slice into squares and enjoy this luxurious dessert!
Notes
- Ensure brownies are completely cooled before adding the tiramisu layer to prevent it from melting.
- Use fresh espresso or strongly brewed coffee for the best authentic flavor.
- Optional chocolate chips add extra texture and richness but can be omitted for a smoother brownie.
- For easier slicing, chill the brownies well and use a sharp knife wiped clean between cuts.
- Store leftover brownies covered in the refrigerator for up to 3 days to maintain freshness.

