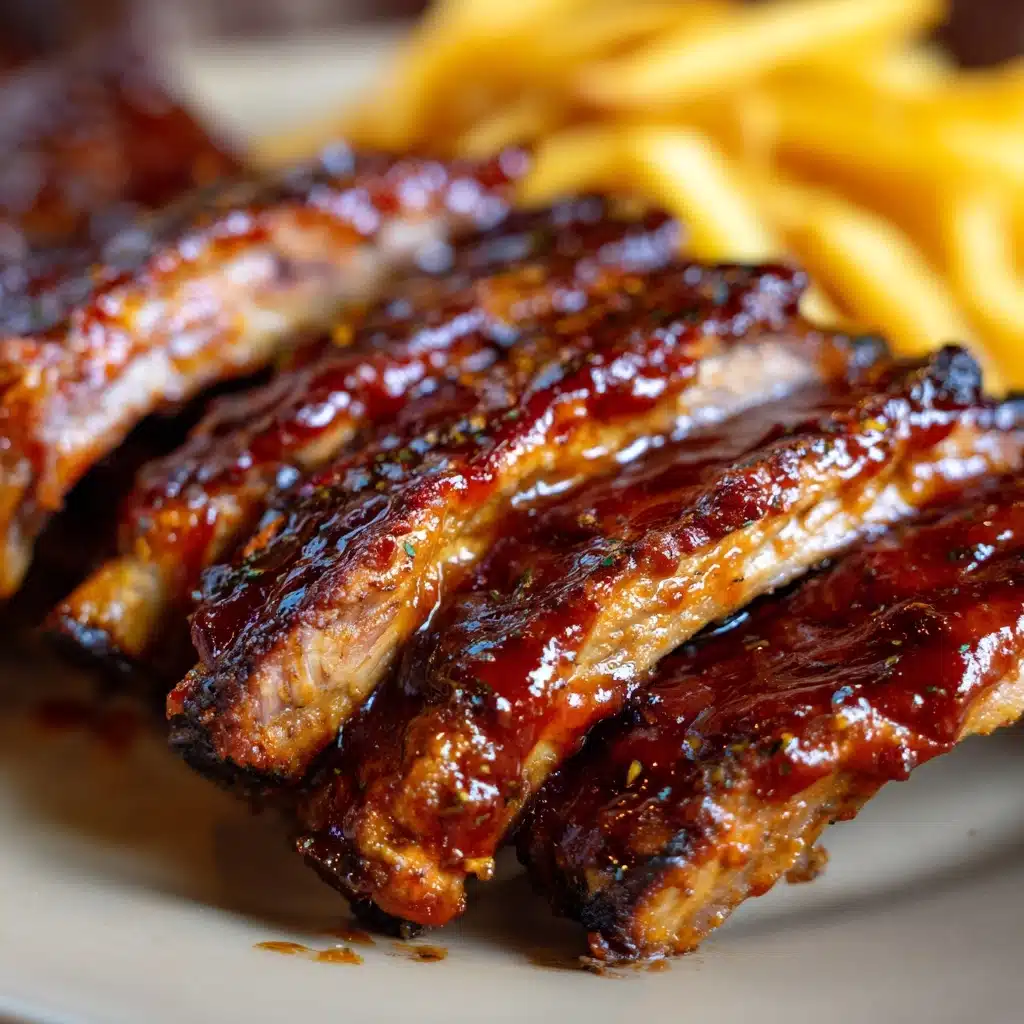
Get ready to meet your new backyard barbecue obsession: Dr Pepper Ribs. These meaty, irresistibly tender racks are slowly simmered in that iconic soda before being slathered in a finger-licking glaze and baked to caramelized perfection. The result? A sweet, smoky, and tangy flavor combination that will have everyone at the table reaching for seconds. Whether you’re a rib rookie or a seasoned pitmaster, Dr Pepper Ribs are guaranteed to win you major points at your next gathering.
Ingredients You’ll Need
This recipe is all about simple, bold flavors coming together—each ingredient brings something special to the party, so don’t skip a thing! From the richness of the ribs to the sweet fizz of Dr Pepper, every component creates layers of taste and texture you’ll savor in every bite.
- Baby back ribs (2 racks, about 4 pounds): Choose meaty racks for juicy, tender results—these are the star of the show!
- Dr Pepper (2 liters, divided): The not-so-secret ingredient; it tenderizes the meat and infuses it with signature sweetness and subtle spice.
- Barbecue sauce (1 cup): Pick your favorite brand or homemade for the base of that sticky, mouthwatering glaze.
- Brown sugar (1/4 cup): Adds deep, caramel notes and helps the sauce thicken and cling to the ribs.
- Apple cider vinegar (2 tablespoons): A splash of tang to balance out all the sweetness.
- Worcestershire sauce (1 tablespoon): Brings umami depth and a savory backbone to the glaze.
- Garlic powder (1 teaspoon): Simple but essential for that gentle aromatic kick.
- Onion powder (1 teaspoon): Gives a mellow, savory base that rounds out the sauce.
- Smoked paprika (1 teaspoon): Lends a subtle smokiness that makes these taste like they came off the grill.
- Black pepper (1/2 teaspoon): Adds gentle heat and complexity.
- Salt (1/2 teaspoon): Brings all the flavors together and enhances the meatiness of the ribs.
How to Make Dr Pepper Ribs
Step 1: Simmer the Ribs in Dr Pepper
To kick off your Dr Pepper Ribs journey, grab a large pot and nestle the racks of ribs inside. Pour enough Dr Pepper over them to cover completely (just remember to save 1 cup for the sauce). Bring the liquid to a boil, then reduce the heat and let the ribs simmer gently for about an hour. Skim off any foam that rises—this ensures your ribs stay beautifully tender and clean. By the end of this step, the meat will be infused with the unmistakable flavors of Dr Pepper and almost melting off the bone.
Step 2: Pat Dry and Preheat the Oven
Once the ribs are amazingly tender, carefully lift them out of the pot—tongs are your best friend here! Place them on a tray lined with paper towels and pat them dry. This will help the glaze stick later. While the ribs rest, preheat your oven to 300°F (150°C), so it’s perfectly hot and ready for the next stage.
Step 3: Make the Dr Pepper Glaze
Now for the magic sauce that makes Dr Pepper Ribs unforgettable! In a saucepan, combine the reserved cup of Dr Pepper, barbecue sauce, brown sugar, apple cider vinegar, Worcestershire, garlic powder, onion powder, smoked paprika, salt, and black pepper. Bring everything to a simmer over medium heat and let it bubble away for about 10–12 minutes. The sauce will thicken slightly and turn glossy—try not to eat it all with a spoon!
Step 4: Glaze and Bake the Ribs
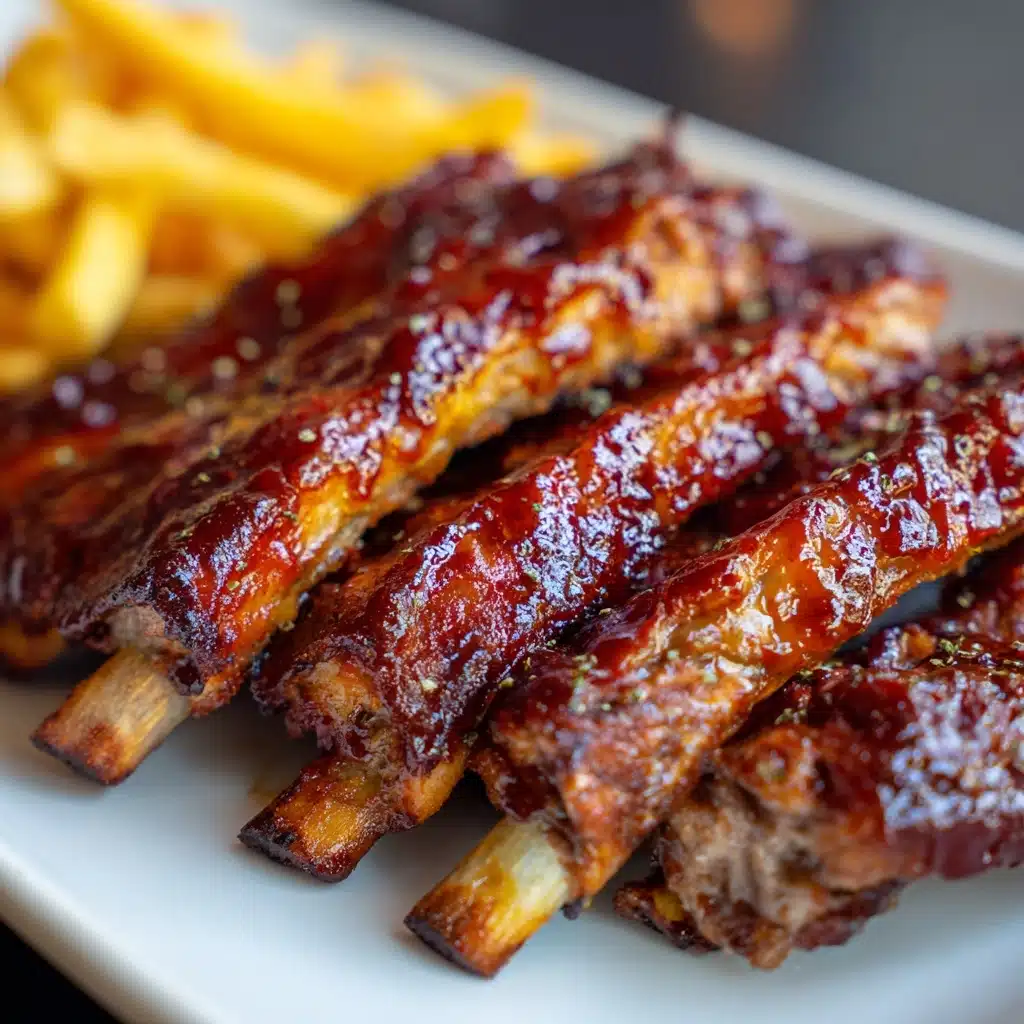
Line a baking sheet with foil for easy cleanup, then arrange your ribs meat-side up. Brush them generously with the Dr Pepper glaze, making sure to coat every nook and cranny. Cover the tray with foil and bake for an hour, letting the sauce seep into the meat. Afterward, remove the foil, brush on a bit more glaze, and bake uncovered for another 20–30 minutes. This final roast caramelizes the sauce into a sticky, finger-licking crust that defines great Dr Pepper Ribs.
Step 5: Slice and Serve
Once your ribs have reached caramelized perfection, let them rest for a few minutes to lock in the juices. Slice between the bones, pile them onto a platter, and serve with extra sauce on the side. Get ready for applause—these Dr Pepper Ribs are pure barbecue bliss.
How to Serve Dr Pepper Ribs
Garnishes
Give your Dr Pepper Ribs an extra burst of color and flavor with a sprinkle of chopped fresh parsley or cilantro right before serving. If you like a little zip, thinly sliced green onions or a few rings of pickled jalapeños take things to the next level. And don’t forget a few lemon or lime wedges for a bright, tangy finish!
Side Dishes
When it comes to sides, think classic cookout companions. Creamy coleslaw, buttery corn on the cob, or a big bowl of baked beans all work beautifully alongside Dr Pepper Ribs. For something a bit lighter, a crisp green salad or roasted vegetables add freshness and balance to the plate.
Creative Ways to Present
Turn your Dr Pepper Ribs into a show-stopping platter by stacking them high with plenty of extra glaze drizzled over the top. For a fun twist, slice the ribs into individual pieces and serve them as finger food at a party, complete with toothpicks and little ramekins of extra sauce for dipping. You can even tuck the rib meat into soft sandwich rolls with pickles and slaw for out-of-this-world barbecue sliders.
Make Ahead and Storage
Storing Leftovers
If you find yourself with leftover Dr Pepper Ribs (lucky you!), store them in an airtight container in the refrigerator. They’ll keep beautifully for up to 3 days, and the flavors often get even richer as they sit overnight.
Freezing
Want to save Dr Pepper Ribs for a rainy day? Let the ribs cool completely, then wrap them tightly in foil and place in a freezer-safe bag or container. They’ll stay delicious in the freezer for up to 2 months. Thaw overnight in the fridge before reheating for best results.
Reheating
To bring those ribs back to life, place them in a baking dish, brush with a little extra sauce, and cover with foil. Heat in a 300°F (150°C) oven until warmed through, about 20 minutes. For extra caramelization, uncover for the last 5 minutes. You can also reheat single servings in the microwave, but the oven will keep them tender and juicy.
FAQs
Can I use a different type Main Course
Absolutely! While Dr Pepper adds a unique blend of flavors, you can experiment with root beer or cola for a slightly different twist. Each soda brings its own personality, but the sweet, slightly spicy notes of Dr Pepper are tough to beat for these ribs.
Do I need to remove the membrane from the ribs?
Yes, it’s a good idea to remove the thin, silvery membrane from the back of the ribs before cooking. This helps the meat become even more tender and allows the flavors to penetrate deeply. A butter knife and a paper towel make this step quick and easy.
Can I make Dr Pepper Ribs in a slow cooker?
Definitely! Place the ribs in your slow cooker, pour over the Dr Pepper, and cook on low for 6–7 hours. When they’re tender, glaze them with sauce and finish under the broiler or on the grill for that signature caramelized crust.
What’s the best way to get a smoky flavor?
If you’re craving that authentic smoky barbecue taste, finish your Dr Pepper Ribs on the grill instead of the oven. After baking, brush on more glaze and grill over medium heat for a few minutes per side until beautifully charred and smoky.
Can I make these ribs ahead of time for a party?
Yes! You can cook and glaze the ribs a day ahead, then store them in the fridge. Before serving, simply reheat, brush with extra sauce, and finish under the broiler or on the grill for that fresh-from-the-oven flavor and texture.
Final Thoughts
I can’t wait for you to try these Dr Pepper Ribs and see just how easy and delicious homemade barbecue can be. Don’t be surprised if these become your signature dish—everyone will be asking for your secret! Fire up your oven or grill and treat yourself to ribs that are as fun to make as they are to eat.