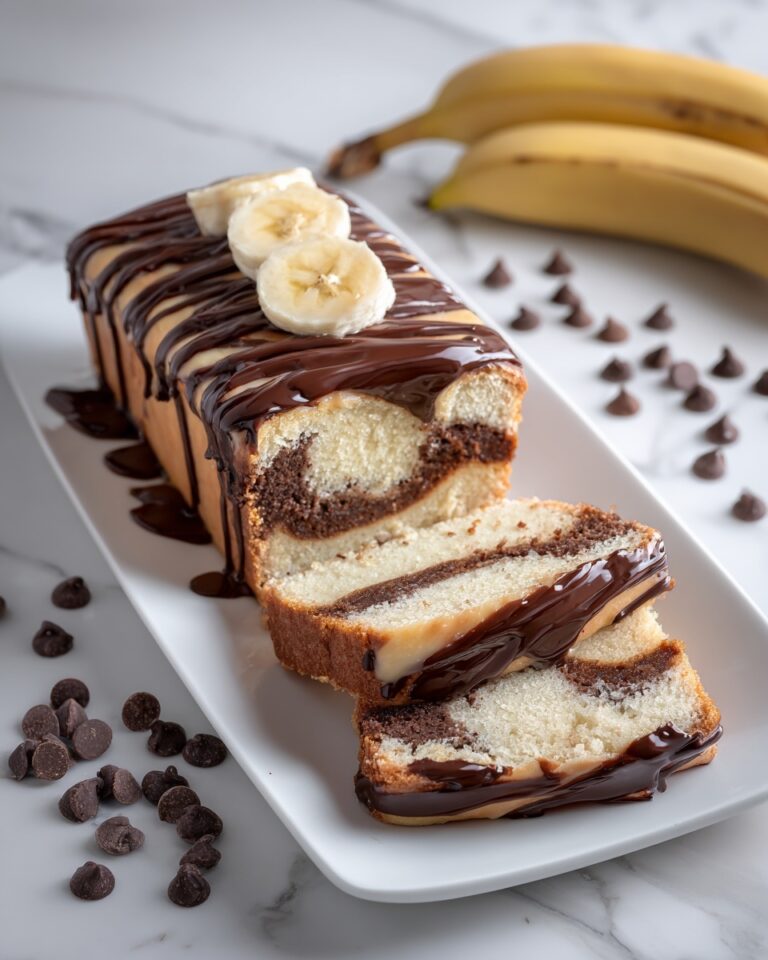
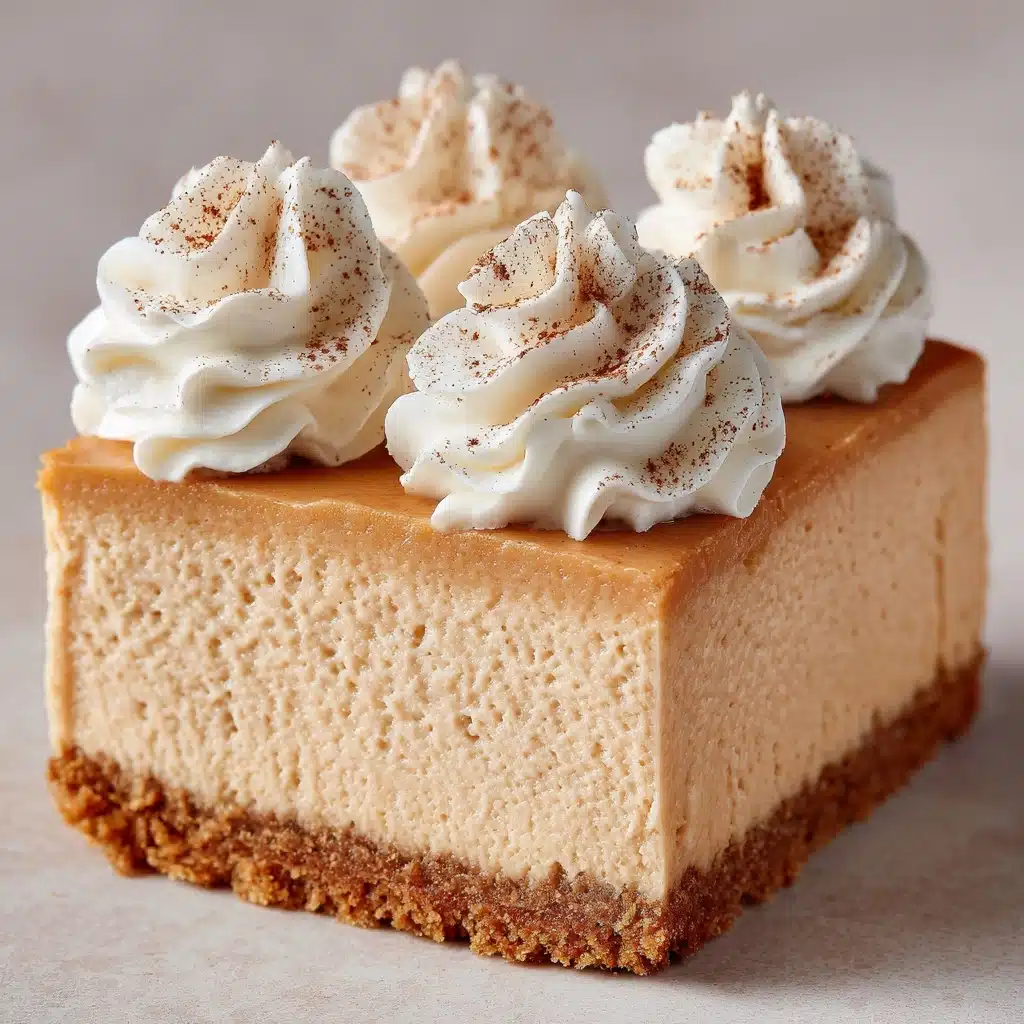
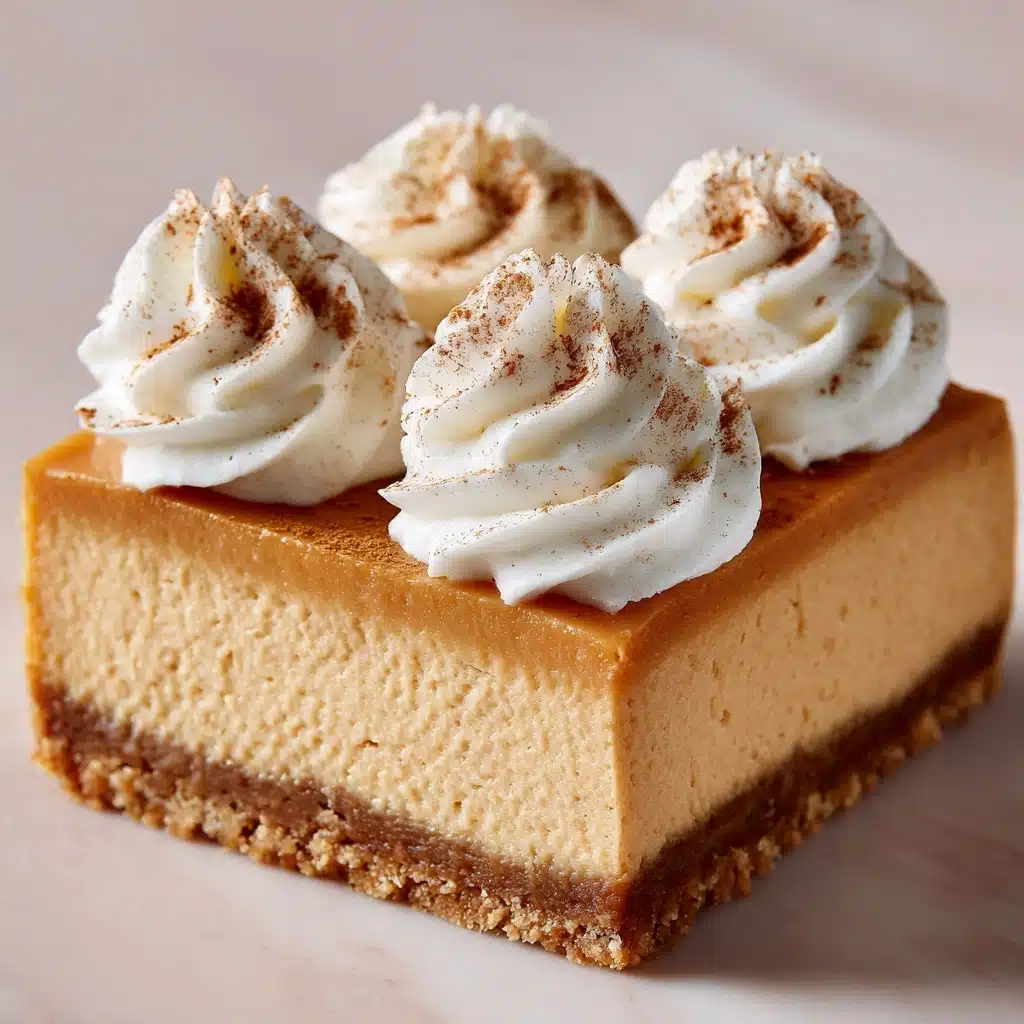
If you’re looking for a show-stopping dessert that perfectly blends autumn coziness with luscious creaminess, the Classic Pumpkin Pie Cheesecake is the answer to your sweet tooth dreams. Imagine the smooth tang of cheesecake mingling with warm pumpkin pie spices, all nestled on a buttery graham cracker crust—this dessert truly brings together the best of two worlds. Whether you’re planning a festive gathering or simply want to treat yourself, this Classic Pumpkin Pie Cheesecake never fails to impress with its golden hue, irresistible aroma, and decadently creamy texture.
Ingredients You’ll Need
Each ingredient in this recipe is chosen with purpose, coming together to create a dessert that’s rich, flavorful, and perfectly spiced. Even though the list is simple, every component plays an important role in the taste, texture, and color of your Classic Pumpkin Pie Cheesecake masterpiece.
- Graham cracker crumbs: These provide the classic, crunchy base that supports all the creamy filling above.
- Granulated sugar: Sweetens both the crust and the cheesecake, balancing the tang of cream cheese and warmth of spices.
- Unsalted butter, melted: Binds the graham cracker crumbs together and adds rich flavor to the crust.
- Cream cheese, softened: The heart of the cheesecake, lending that silky, luxurious texture and signature tangy flavor.
- Vanilla extract: Deepens the flavor profile and rounds out the sweetness.
- Large eggs: Essential for setting the filling and creating a creamy, custard-like texture.
- Canned pumpkin puree: Brings that gorgeous autumn color and classic pumpkin flavor.
- Ground cinnamon: Adds warmth and spice that’s unmistakably fall.
- Ground ginger: Offers a gentle, zesty kick that complements the cinnamon.
- Ground nutmeg: Gives a sweet, nutty aroma that’s key to pumpkin desserts.
- Ground cloves: Adds depth and a touch of earthiness to the spice blend.
- All-purpose flour: Helps thicken the batter just enough for the perfect slice.
- Sour cream: Provides a tangy finish and a smooth top layer or garnish.
- Whipped cream, for topping: The ultimate finishing touch, adding lightness and a touch of celebration.
How to Make Classic Pumpkin Pie Cheesecake
Step 1: Prepare the Crust
Start by preheating your oven to 325°F and greasing a 9-inch springform pan. In a medium bowl, combine the graham cracker crumbs, 1/4 cup of the sugar, and your melted butter. Mix until the crumbs are evenly moistened, then press the mixture firmly and evenly into the bottom of the pan. This crust is the sturdy, flavorful foundation for your Classic Pumpkin Pie Cheesecake, so take a moment to smooth it out so every slice holds together beautifully.
Step 2: Make the Cheesecake Filling
In a large mixing bowl, beat the softened cream cheese, remaining 1 cup sugar, and vanilla extract until the mixture is smooth and creamy with no lumps. This step is all about patience—well-blended cream cheese ensures every bite is silky and decadent. Next, add the eggs one at a time, mixing on low speed and making sure each egg is fully incorporated before adding the next. This gentle mixing keeps the batter light and prevents overmixing, which can lead to cracks later on.
Step 3: Mix in the Pumpkin and Spices
In a separate bowl, stir together the pumpkin puree, cinnamon, ginger, nutmeg, cloves, and flour. This spicy pumpkin mixture will infuse the cheesecake with that unmistakable fall flavor and beautiful orange color. Gently fold the pumpkin mixture into the cream cheese batter until everything is fully blended—take care not to overmix, as you want to keep the filling airy and smooth.
Step 4: Bake the Cheesecake
Pour the cheesecake batter over your prepared crust, smoothing the top with a spatula. For the best results and to prevent cracks, you can bake your Classic Pumpkin Pie Cheesecake in a water bath by wrapping the pan in foil and placing it in a larger pan with hot water. Bake for 55 to 65 minutes, until the edges are set but the center still has a slight jiggle. Turn off the oven, crack the door, and let the cheesecake cool inside for an hour—this gentle cooling helps prevent sinking or cracking.
Step 5: Chill and Finish
Once the cheesecake has cooled, transfer it to the refrigerator and chill for at least 4 hours, or ideally overnight. This resting time allows the flavors to meld and the texture to set to creamy perfection. Before serving, spread a layer of sour cream over the top or garnish with a generous swirl of whipped cream to add a touch of elegance and extra indulgence.
How to Serve Classic Pumpkin Pie Cheesecake
Garnishes
The simplest and most classic way to finish off your Classic Pumpkin Pie Cheesecake is with a crown of whipped cream. For a festive touch, sprinkle on a little extra cinnamon or grate a bit of nutmeg over the top. Toasted pecans or a drizzle of caramel sauce would also make a decadent finish if you want to add contrast and crunch.
Side Dishes
Since this cheesecake is rich and flavorful, it pairs wonderfully with lighter sides like fresh fruit—think crisp apple slices or juicy pear wedges. A hot cup of coffee or spiced chai tea also makes a delightful companion, balancing the sweetness and warming up your autumn gathering.
Creative Ways to Present
If you’re serving a crowd, try cutting the Classic Pumpkin Pie Cheesecake into slim bars instead of wedges for a modern twist. Individual mini cheesecakes baked in muffin tins also make adorable single-serve desserts. For special occasions, decorate the top with piped whipped cream rosettes, sugared cranberries, or even edible flower petals for a truly memorable presentation.
Make Ahead and Storage
Storing Leftovers
Keep any leftover Classic Pumpkin Pie Cheesecake tightly covered in the refrigerator. It stays fresh and delicious for up to 5 days, making it perfect for enjoying a little luxury all week long. Just be sure to use an airtight container or wrap the pan well to prevent the cheesecake from absorbing other refrigerator odors.
Freezing
This cheesecake freezes beautifully! After chilling completely, you can wrap individual slices or the whole cake in a double layer of plastic wrap and foil. Freeze for up to 2 months. When you’re ready to serve, thaw overnight in the fridge—the flavor and texture will be just as lovely as the day it was baked.
Reheating
Cheesecake is best enjoyed chilled or at room temperature, but if you prefer it slightly warm, let slices sit out for 20 to 30 minutes before serving. Avoid microwaving, as it can alter the creamy texture; gentle room temperature brings out the best in every bite of your Classic Pumpkin Pie Cheesecake.
FAQs
Can I use homemade pumpkin puree instead of canned?
Absolutely! Homemade pumpkin puree works beautifully in this recipe. Just be sure to drain any excess moisture so the cheesecake sets properly and doesn’t become watery.
Do I really need a springform pan?
While a springform pan makes removing the cheesecake much easier and gives it that classic look, you can use a deep pie dish or cake pan in a pinch. Just be sure to line it with parchment for easier removal.
What’s the purpose of the water bath?
Baking your cheesecake in a water bath helps prevent cracks and promotes even cooking by adding gentle humidity to the oven. It’s not strictly necessary, but it can make a noticeable difference in the final texture and appearance.
Can I make Classic Pumpkin Pie Cheesecake gluten-free?
Yes, simply substitute gluten-free graham crackers for the crust and use a gluten-free all-purpose flour blend in the filling. Your cheesecake will be just as delicious and safe for gluten-sensitive guests.
How do I know when the cheesecake is done baking?
The edges should look set while the center still jiggles slightly when you gently shake the pan. The cheesecake will continue to set as it cools, giving you that creamy, dreamy texture everyone loves.
Final Thoughts
This Classic Pumpkin Pie Cheesecake is truly a celebration of everything we love about fall desserts: cozy spices, creamy texture, and a hint of nostalgia in every bite. Whether you’re making it for a special occasion or just because, I hope you’ll fall in love with this recipe and share it with friends and family. Happy baking!