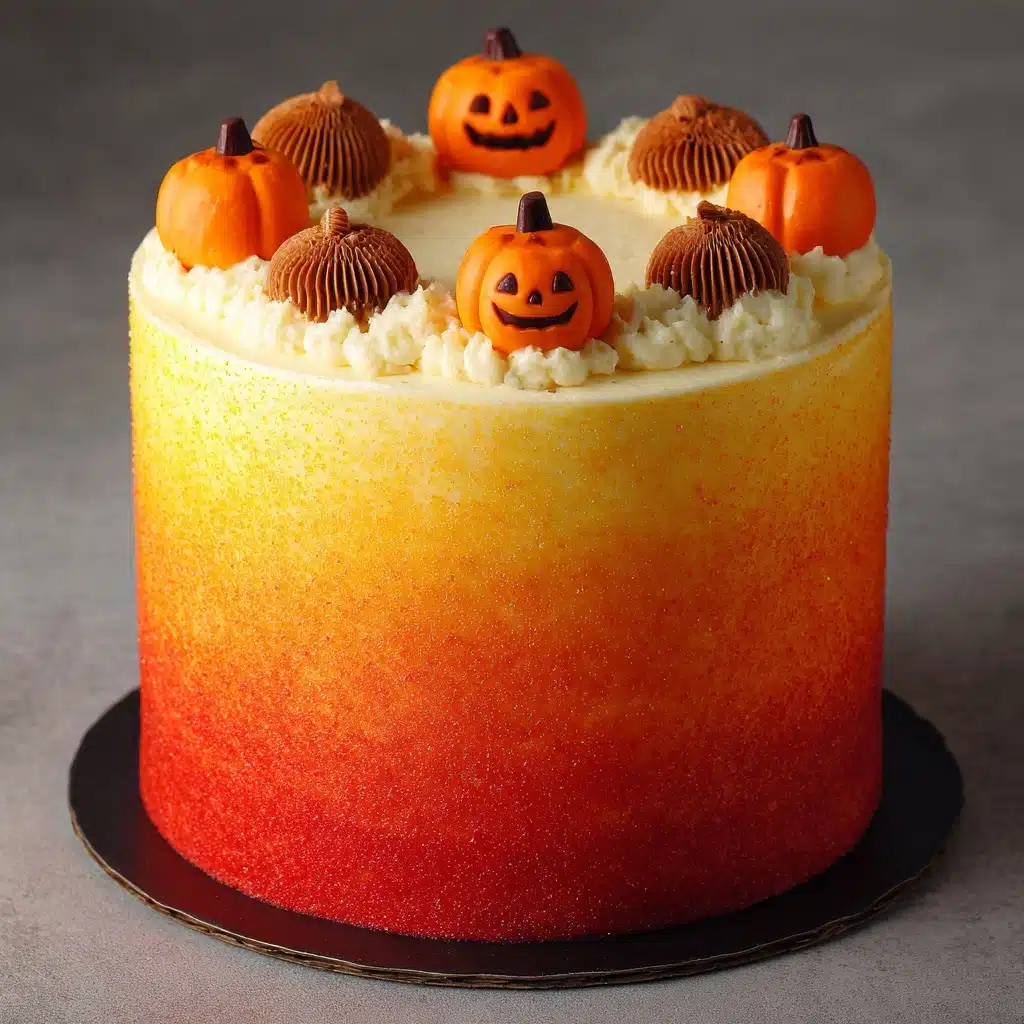
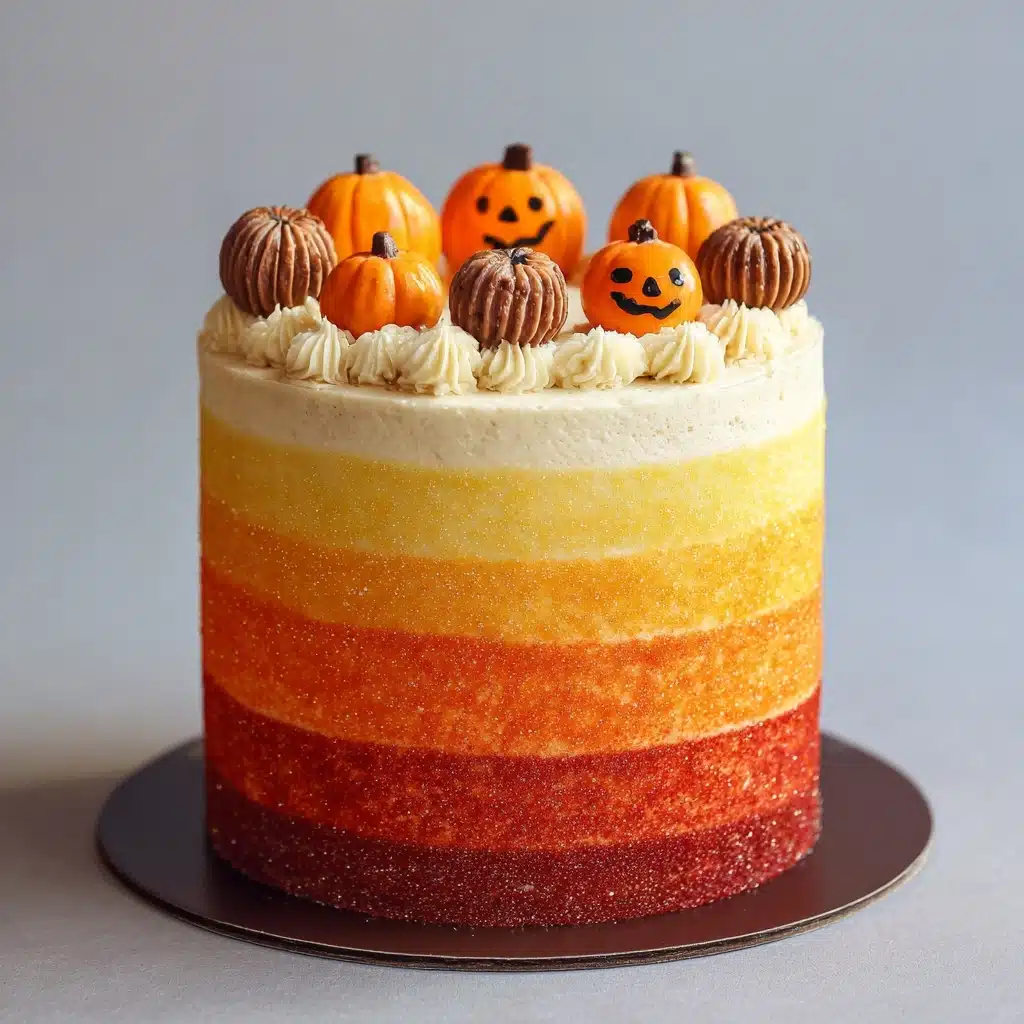
Let the spooky season shine on your dessert table with this Stenciled Halloween Sprinkle Cake! This show-stopping cake is a playful celebration of all things Halloween, blending classic vanilla flavor, a generous swirl of colorful sprinkles inside and out, and a dramatic stenciled design dusted right on top. Whether you’re planning a festive party or just want to bring a little magic to your family table, this cake delivers delicious fun and a dash of Halloween creativity, all in one irresistible slice.
Ingredients You’ll Need
Even though the Stenciled Halloween Sprinkle Cake looks like a bakery masterpiece, the ingredients are straightforward pantry staples that truly let each flavor shine. Every element builds texture, color, and that perfect crumb, while the vibrant sprinkles and creamy buttercream take it over the top. Here’s what you’ll need:
- All-purpose flour: The backbone of the cake, providing structure and a tender, fluffy crumb.
- Baking powder & baking soda: These leaveners team up to help the cake rise beautifully and stay light.
- Salt: A pinch enhances all the other flavors in the cake.
- Unsalted butter (softened): Supplies rich flavor and keeps the crumb moist and soft.
- Granulated sugar: Sweetens the cake and helps with that tender texture.
- Large eggs: Bind everything together and add richness.
- Vanilla extract: Gives the cake its classic, crowd-pleasing aroma and flavor.
- Whole milk: Adds moisture for a soft, delicate crumb.
- Sour cream: Contributes a slight tang and extra tenderness to every bite.
- Halloween-themed sprinkles: These festive bits create bursts of color inside and on top of the cake.
- Powdered sugar: Essential for the buttercream and for dusting over your stencil.
- Heavy cream: Makes the frosting ultra-lush and easy to spread.
- Black gel food coloring (optional): For a hauntingly dramatic buttercream base—perfect for stenciling.
- Halloween-themed stencil: Choose bats, spider webs, or pumpkins to instantly set the mood.
- Cocoa powder (optional): Use instead of powdered sugar for stenciling on lighter frostings.
- Additional sprinkles: To ring the base or edges of your cake for extra sparkle and crunch.
How to Make Stenciled Halloween Sprinkle Cake
Step 1: Prepare and Preheat
Get started by preheating your oven to 350°F. Grease and line two 8-inch round cake pans with parchment paper—this helps ensure your layers come out cleanly, making assembly a breeze. Gathering and prepping your ingredients now will make the rest of the process smooth and stress-free.
Step 2: Mix the Dry Ingredients
In a medium bowl, whisk together the flour, baking powder, baking soda, and salt. This simple step guarantees even distribution, so your Stenciled Halloween Sprinkle Cake bakes up light and even from edge to center.
Step 3: Cream the Butter and Sugar
In a large mixing bowl, beat the softened butter and granulated sugar until light and fluffy—about 2 to 3 minutes. This aerates the batter, which is key for that soft, bakery-style crumb. Add the eggs one at a time, mixing well after each, then blend in the vanilla extract for an irresistible aroma.
Step 4: Combine Wet and Dry Ingredients
Whisk together the milk and sour cream in a separate bowl. Alternate adding the dry ingredients and the milk mixture to the butter mixture, starting and ending with the dry ingredients. Mixing in stages keeps the batter smooth and lump-free. Gently fold in the Halloween-themed sprinkles, being careful not to overmix—this keeps the colors vibrant and the crumb tender.
Step 5: Bake the Cake Layers
Divide the batter evenly between your prepared pans and smooth the tops. Bake for 30 to 35 minutes, or until a toothpick inserted in the center comes out clean. Let the cakes cool in their pans for about 10 minutes, then carefully transfer them to wire racks to cool completely. This step ensures your layers are sturdy and ready for decorating.
Step 6: Make the Buttercream Frosting
Beat the softened butter until it’s creamy and pale. Gradually add the powdered sugar, heavy cream, vanilla extract, and a pinch of salt, mixing until the frosting is light and fluffy. For a true Halloween vibe, blend in a few drops of black gel food coloring until you reach your desired level of spooky!
Step 7: Frost and Chill
Once the cakes are completely cool, spread a thick, even layer of buttercream between the two layers and over the top and sides. Use a spatula or bench scraper to smooth the surface. Pop the cake in the refrigerator for about 20 minutes—this helps the frosting firm up so it’s ready for stenciling.
Step 8: Stencil and Decorate
Lay your chosen Halloween stencil gently on top of the chilled cake. Use a fine mesh sieve to dust powdered sugar (over dark frosting) or cocoa powder (over light frosting) evenly across the stencil. Carefully lift the stencil straight up to reveal your festive design. Finish your Stenciled Halloween Sprinkle Cake by circling the base or edges with extra Halloween sprinkles for major wow factor!
How to Serve Stenciled Halloween Sprinkle Cake
Garnishes
A playful sprinkle border around the base or scattered mini candies on top is always a hit. For a touch of elegance, consider edible glitter or a few candy eyeballs peeking out from the stenciled design. These simple, festive garnishes make your Stenciled Halloween Sprinkle Cake the centerpiece of any spooky celebration!
Side Dishes
Pair this cake with a scoop of vanilla ice cream or a dollop of whipped cream—both balance the sweetness and add a creamy counterpoint. If you’re hosting a party, serve alongside bowls of caramel corn, candied apples, or even a mug of hot chocolate for peak fall comfort.
Creative Ways to Present
Set your cake on a black cake stand and surround it with mini pumpkins, faux spiders, or eerie candles for an instant Halloween tablescape. Or slice and serve on orange and purple plates for extra color pop. Individual slices wrapped in cellophane, tied with ribbon, make adorable party favors that guests will remember (and crave).
Make Ahead and Storage
Storing Leftovers
Leftover Stenciled Halloween Sprinkle Cake is best kept in an airtight container at room temperature for up to two days. If your kitchen is particularly warm, store it in the fridge to keep the buttercream fresh and the stenciled design crisp.
Freezing
You can freeze the unfrosted cake layers: wrap them tightly in plastic wrap and foil, and freeze for up to two months. Thaw overnight in the fridge before assembling and decorating. For frosted cake, freeze individual slices on a tray, then wrap and store—this way, you always have a festive treat ready for a last-minute craving.
Reheating
While cake is typically enjoyed at room temperature, if your slices have been refrigerated, let them sit out for about 30 minutes before serving to bring back their soft, tender crumb. Avoid microwaving frosted slices, as it can melt the buttercream and blur your beautiful stencil design.
FAQs
Can I use a boxed cake mix for this recipe?
Absolutely! If you’re pressed for time, a vanilla or yellow boxed cake mix works as a great base. Just stir in the Halloween sprinkles before baking and follow the same decorating steps for that signature Stenciled Halloween Sprinkle Cake look.
What kind of sprinkles are best for baking inside the cake?
Jimmies (the longer, rod-shaped sprinkles) are the best for folding into cake batter—they hold their color well and don’t bleed as much as nonpareils or sugar pearls. Choose Halloween-themed jimmies for super festive pops of orange, purple, and black.
How do I get a clean stencil design on the cake?
Make sure your frosted cake is well chilled before you stencil; this prevents smudging. Hold the stencil flat and steady, then sift the powdered sugar or cocoa powder evenly. Lift the stencil straight up for crisp, dramatic lines—practice on a plate first if you’re nervous!
Can I make the buttercream in advance?
Yes! Prepare the buttercream up to two days ahead and store it in an airtight container in the refrigerator. Bring it to room temperature and re-whip briefly before frosting your Stenciled Halloween Sprinkle Cake for the fluffiest texture.
What if I don’t have a Halloween stencil?
No worries! You can cut simple shapes out of parchment paper or use cookie cutters as makeshift stencils. Even freehanding a spooky design with sprinkles or colored sugar can give your cake that magical Halloween touch.
Final Thoughts
If you’re craving a centerpiece that’s as playful as it is delicious, you can’t go wrong with this Stenciled Halloween Sprinkle Cake. It’s a guaranteed conversation starter and a sweet way to bring everyone together for a little seasonal fun. Give it a try—you’ll love the smiles (and the cake crumbs) it brings!