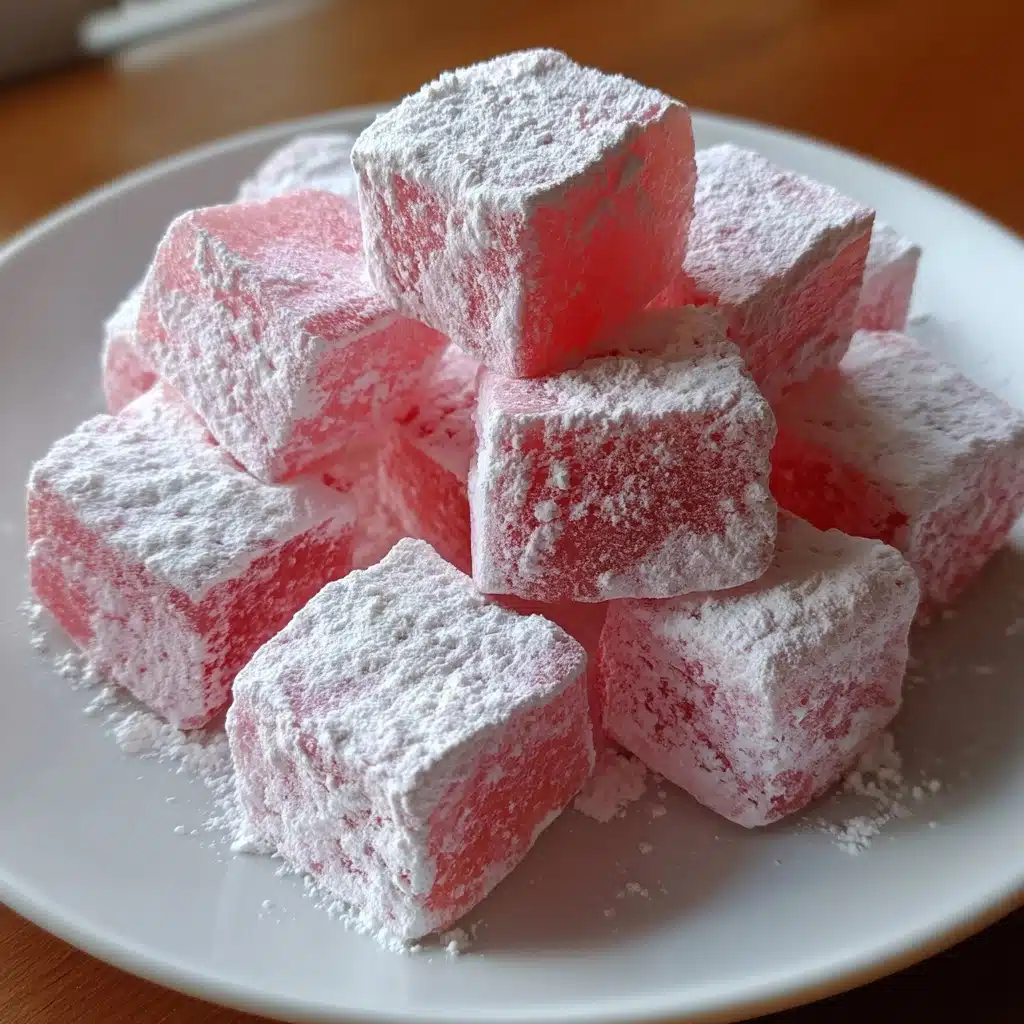
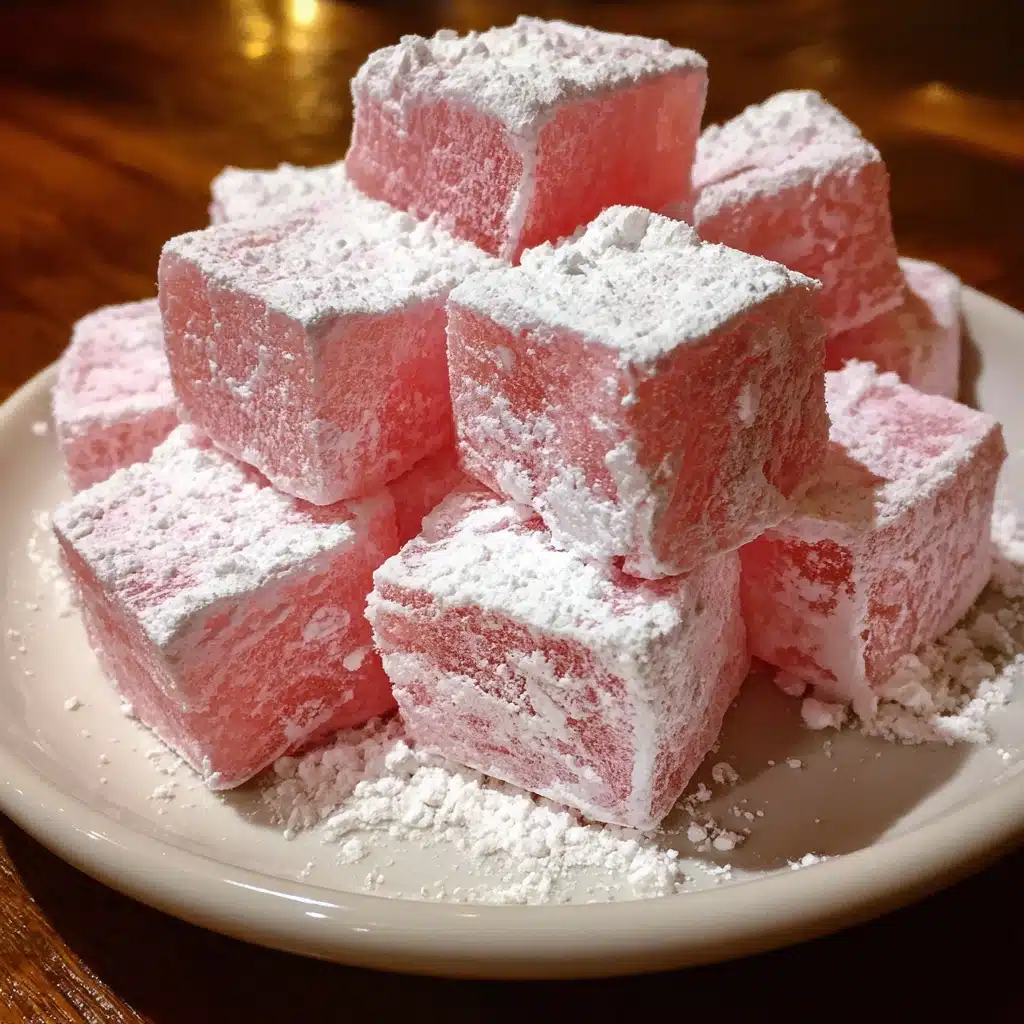
Dreaming of a refreshing summer treat that’s equal parts playful and delicious? Meet Watermelon Mochi, a Japanese-inspired dessert that transforms everyone’s favorite juicy fruit into soft, chewy bites bursting with watermelon flavor. This recipe is everything you want in a homemade sweet: fast, fun, and impossibly cute. Using just a handful of ingredients and a trusty microwave, you’ll create morsels that are as gorgeous as they are irresistible. If you’re a fan of mochi or simply love all things watermelon, this recipe is about to become your go-to fruity indulgence.

Ingredients You’ll Need
-
Mochi Dough:
- 1 cup sweet rice flour (mochiko)
- 3/4 cup watermelon juice (strained from fresh watermelon)
- 1/4 cup granulated sugar
- 2–3 drops red or pink food coloring (optional)
For Assembly:
- cornstarch or potato starch (for dusting)
- optional: mini chocolate chips or black sesame seeds for ‘seeds’
How to Make Watermelon Mochi
Step 1: Whisk Together the Batter
Start by grabbing a microwave-safe bowl. Into this, whisk your sweet rice flour, watermelon juice, sugar, and a drop or two of food coloring if you’re feeling fancy. Keep whisking until the mixture is silky and perfectly lump-free—a little patience here means ultra-smooth Watermelon Mochi later!
Step 2: Microwave the Mochi Dough
Cover your bowl loosely with plastic wrap or a microwave-safe plate. Zap it on high for 1 minute, then give it a really good stir. You’ll see it start to thicken, but it needs a little more time. Microwave again in 30-second bursts—stirring each time—until the dough is thick, glossy, and slightly see-through. Typically, this takes 2 to 3 more intervals. Your kitchen will start to smell like pure summer bliss!
Step 3: Dust and Cool
While the mochi is piping hot, dust a clean surface (or a sheet of parchment) generously with cornstarch or potato starch. Scoop the mochi dough onto the starchy surface, dust the top as well, and let it cool for a few minutes. You want it just cool enough to handle comfortably—still soft and pliable, but not scalding.
Step 4: Shape Into Bites
Now for the fun: use a knife or bench scraper to cut the mochi into bite-sized squares, or, if you’re feeling playful, roll them into little balls with your hands. If you’d like to mimic true watermelon seeds, gently press mini chocolate chips or black sesame seeds into the top of each mochi bite. Dust all over with starch to keep them from sticking together.
Step 5: Enjoy or Store
Your handmade Watermelon Mochi is ready to transport you to peak summer! Enjoy them right away, or store in an airtight container at room temperature for up to one day, or in the fridge for two to three days. Each bite is impossibly soft, fruity, and fun to eat.
How to Serve Watermelon Mochi

Garnishes
Take your Watermelon Mochi over the top with cute finishing touches! A sprinkle of powdered sugar adds a gentle coating, or you can scatter a few extra chocolate chips around the serving plate for playful contrast. Fresh mint leaves also look lovely and offer a pop of refreshing green alongside those watermelon hues.
Side Dishes
Pair your mochi with a bowl of chilled fresh watermelon or summer berries for an even more vibrant dessert platter. For something creamy, try a scoop of coconut milk ice cream. The subtle richness balances the fruity chewiness of the mochi in the most delightful way.
Creative Ways to Present
Don’t be afraid to get whimsical! Arrange your Watermelon Mochi pieces in a wedge or semicircle to resemble an actual watermelon slice. If you’re hosting a party, thread individual pieces onto festive skewers for a grab-and-go treat, or layer with other fruit mochi flavors for a dazzling dessert rainbow.
Make Ahead and Storage
Storing Leftovers
Keep any leftover Watermelon Mochi in an airtight container. They’re happiest at cool room temperature for the first day, but you can also refrigerate them for two to three days. The starch coating is key for avoiding stickiness, so don’t be shy with it before storage.
Freezing
If you need to keep your mochi longer, freezing works surprisingly well. Arrange the pieces on a parchment-lined tray (not touching), freeze until solid, then transfer to a freezer bag or container. When ready to eat, let them thaw at room temperature for 30 to 40 minutes for perfectly soft, chewy results.
Reheating
Mochi is best when soft and slightly warm. If your Watermelon Mochi has become a bit firm in the fridge, give them just 10 to 15 seconds in the microwave. Watch closely—you want them pliable, not molten! Dust with a touch more starch as needed before serving.
FAQs
Can I use regular rice flour instead of sweet rice flour?
For true Watermelon Mochi that’s soft and stretchy, sweet rice flour (often labeled “mochiko”) is a must. Regular rice flour won’t create that classic chewy mochi texture—it’ll turn out crumbly instead of bouncy.
How do I get the most flavor into my watermelon juice?
Choose the ripest, sweetest watermelon you can find and strain the juice well to remove pulp. If your juice tastes a bit watery, you can simmer it gently to concentrate the flavor before adding to your mochi batter.
Is the food coloring necessary?
Not at all! The food coloring is purely optional. If your watermelon juice is nicely pink, you might not need it. But for that cartoon-perfect look, a drop or two brings out a playful, watermelon-inspired blush.
Can I fill my Watermelon Mochi with something extra?
Absolutely! Wrap your mochi dough around a tiny spoonful of watermelon jam or fruity bean paste for an exciting burst of flavor inside each bite. Just take care not to overfill, so shaping the mochi stays easy.
What’s the best way to prevent my mochi from sticking?
Generous dusting with cornstarch or potato starch is your friend! Dust the work surface, your hands, and each finished piece so everything stays delightfully non-sticky and ready to serve.
Final Thoughts
If you’re craving a homemade treat that’s equal parts beautiful and utterly delicious, don’t miss out on Watermelon Mochi. It’s a summer showstopper that’s surprisingly simple and always brings smiles. Gather your ingredients, invite some friends, and let this playful recipe add a juicy twist to your next dessert adventure!


