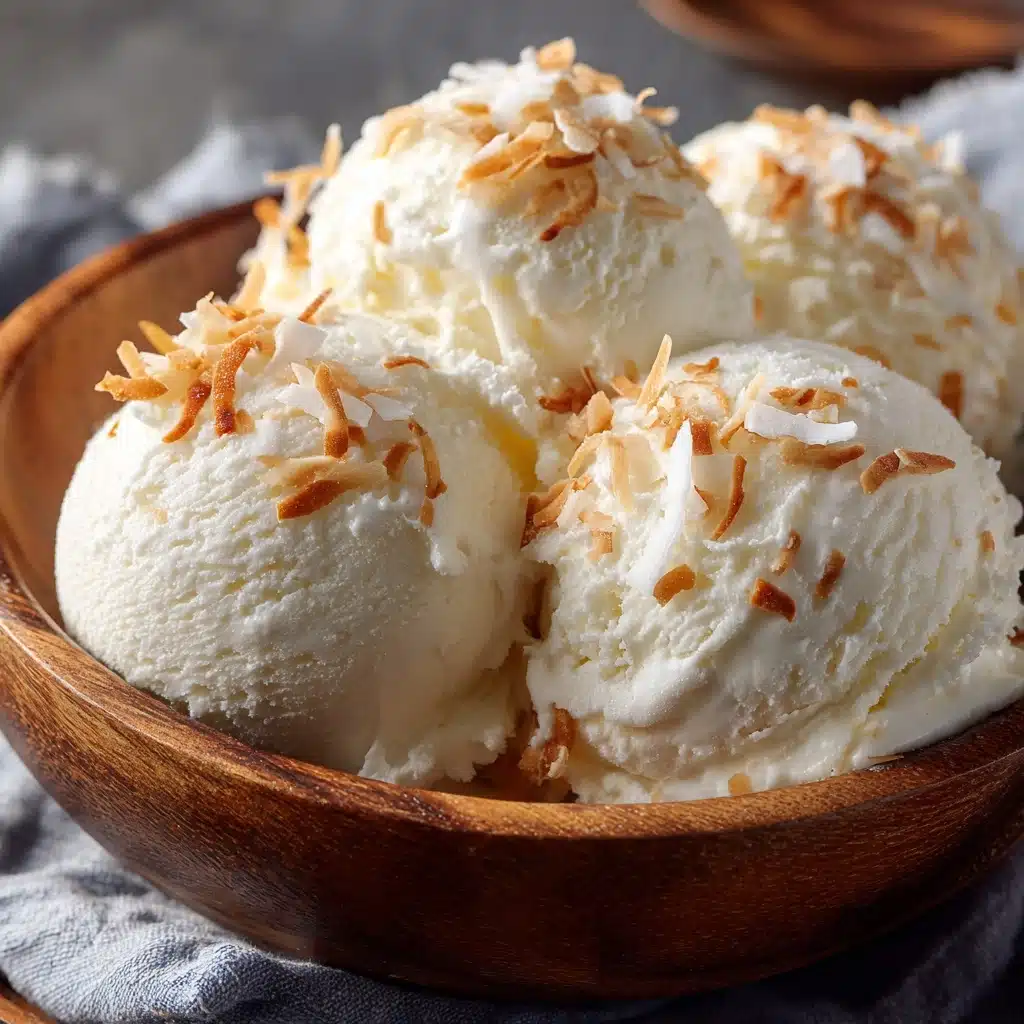
If you’re searching for the ultimate summer treat, this Coconut Milk Ice Cream is here to sweep you off your feet! Naturally creamy, refreshingly rich, and totally dairy-free, it hits that magic sweet spot between indulgence and lightness. Whether you’re vegan, lactose-intolerant, or just a coconut lover at heart, this ice cream brings velvety texture and tropical flavor with only a handful of ingredients. It’s a dessert you’ll come back to again and again, delighting everyone at your table—no fancy ingredients, no fuss, just pure, coconutty bliss with every scoop.
Ingredients You’ll Need
The beauty of this Coconut Milk Ice Cream is how wonderfully simple yet effective the ingredient list is. Each component plays an important role—offering silkiness, sweetness, warmth, or a new flavor twist to every bite.
- Full-fat coconut milk: This is the star of the show, giving the ice cream its creamy base and luscious mouthfeel.
- Granulated sugar or maple syrup: Sweetens your ice cream and balances the pure coconut flavor. Maple syrup adds extra depth if you prefer!
- Vanilla extract: Brings warmth and rounds out all the flavors, making the treat smell like a bakery in paradise.
- Pinch of salt: Believe it or not, a little salt sharpens the sweetness and makes each flavor pop.
- Optional add-ins: Try shredded coconut for toasted flavor, dark chocolate for decadence, chopped fresh fruit for brightness, or a spoonful of matcha or cocoa powder for an exciting twist.
How to Make Coconut Milk Ice Cream
Step 1: Whisk It All Together
Start by grabbing a medium-sized bowl and whisking together your full-fat coconut milk, sugar (or maple syrup), vanilla extract, and a pinch of salt. Whisk with gusto! The goal is to dissolve the sugar completely and get a smooth, silky mixture without any lumps. You’ll know it’s ready when the texture looks perfectly creamy and there’s no grainy sugar settling at the bottom.
Step 2: Chill the Mixture
The next step is all about patience. Cover your bowl and pop it into the refrigerator for at least 4 hours, or even better—overnight. This deep chill helps the flavors meld together and ensures your ice cream freezes with that coveted creamy texture. Don’t skip this part, because it’s worth every second of anticipation.
Step 3: Churn Until Dreamy
When your mixture is icy cold, pour it into your ice cream maker. Churn according to the ice cream maker’s instructions—this typically takes about 20 to 25 minutes. If you’re adding any fabulous mix-ins (like chocolate, fruit, or coconut), toss them in during the last 5 minutes of churning so they’re evenly distributed but don’t get pulverized.
Step 4: Freeze to Set
Once it’s thick and cloud-like, transfer your Coconut Milk Ice Cream into an airtight container. Level the surface and press a piece of parchment directly onto the ice cream to keep ice crystals at bay. Freeze for another 2 to 4 hours until firm but still scoopable. For picture-perfect scoops, let the container sit at room temperature for 5 to 10 minutes before serving.
Step 5: No-Churn Alternative
No ice cream maker? No problem! Simply pour your chilled ice cream base into a freezer-safe dish, and for the next couple of hours, stir the mixture every 30–45 minutes. This breaks up any ice crystals and helps it stay smooth. After a final overnight freeze, you’ll still get luscious, homemade Coconut Milk Ice Cream—no gadgets required.
How to Serve Coconut Milk Ice Cream
Garnishes
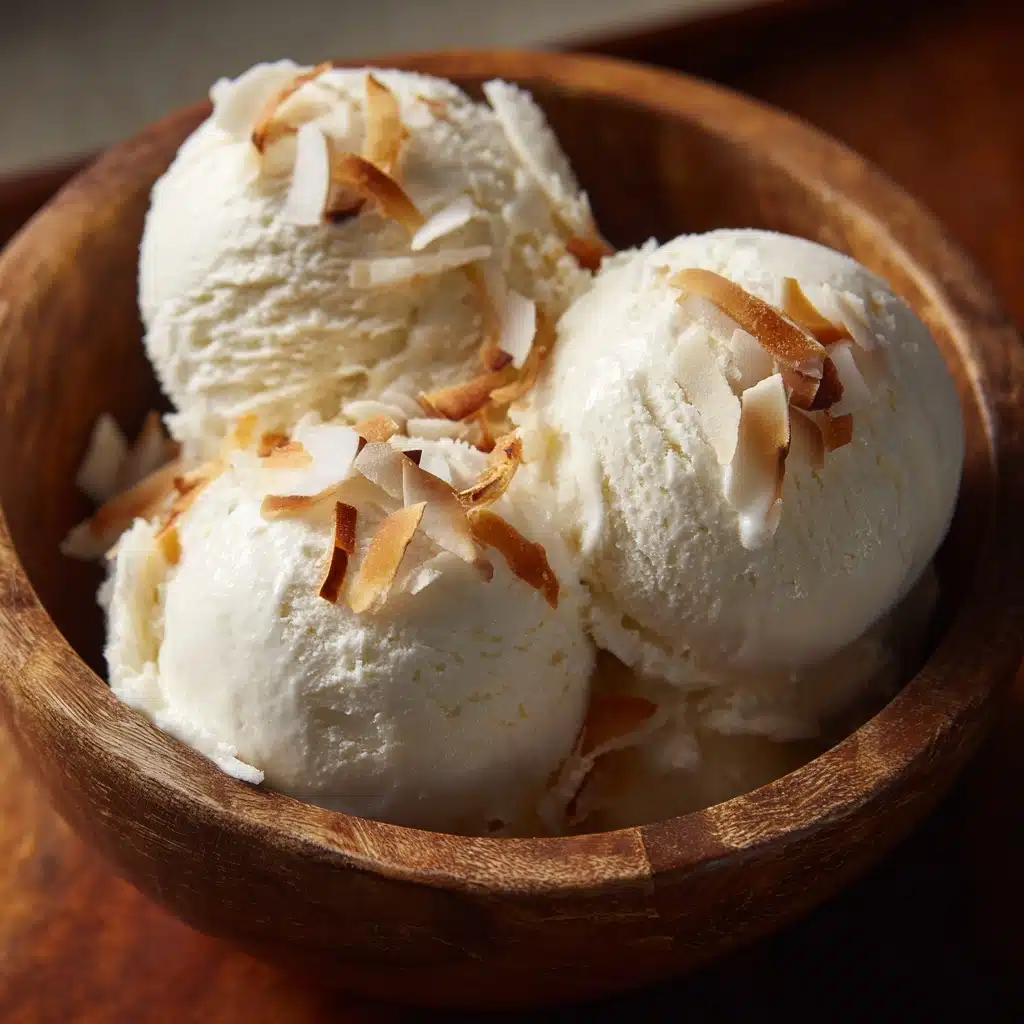
The fun really begins when it’s time to serve! Try topping your Coconut Milk Ice Cream with toasted coconut flakes, a handful of roasted nuts, chocolate shavings, or a drizzle of honey (or vegan caramel sauce). A few bright, fresh berries are pure joy on a hot day, too. Let your toppings channel your mood—playful, elegant, or outright decadent!
Side Dishes
This ice cream goes beautifully beside slices of ripe mango, grilled pineapple, or even sandwiched between two vegan cookies for the ultimate summer dessert. Pair it with a fudgy brownie or enjoy a scoop next to a warm fruit crisp for a contrast in temperatures and textures that has everyone asking for seconds.
Creative Ways to Present
Don’t just serve it plainly—have fun with presentation! Pile generous scoops into fresh coconut shells for a tropical vibe, or layer it in parfait glasses with fruit and crunchy granola. You could even whip up mini ice cream sandwiches or serve in edible chocolate bowls for extra pizzazz at your next gathering.
Make Ahead and Storage
Storing Leftovers
Leftover Coconut Milk Ice Cream can be kept in an airtight container in the freezer for up to two weeks. Press a piece of parchment or wax paper against the surface to prevent freezer burn and keep the texture as dreamy as the day it was made.
Freezing
The great news with this recipe is that it freezes beautifully thanks to the coconut milk base. Just make sure your container is well-sealed, and if you’ve added chunks of fruit or chocolate, distribute them evenly so every scoop is loaded with surprises.
Reheating
While you don’t need to reheat Coconut Milk Ice Cream, if it’s a bit too firm straight from the freezer, let it rest on the counter for about 10 minutes. This softens the ice cream so you can scoop effortlessly, making every serving feel fresh and inviting.
FAQs
Can I make Coconut Milk Ice Cream without an ice cream maker?
Absolutely! Just use the no-churn method: pour your chilled base into a freezer-safe dish and stir every 30–45 minutes for a few hours before fully freezing. This keeps the texture creamy and prevents ice crystals from forming.
Can I use light coconut milk instead of full-fat?
Full-fat is highly recommended for richness and the classic creamy texture. Using light coconut milk can result in an icier, less decadent ice cream, but if you prefer a lighter treat, you can certainly give it a try—just expect a different texture.
What sweeteners work best in this recipe?
Granulated sugar keeps flavors clean and lets the coconut shine, but pure maple syrup adds a lovely, caramel-like undertone. You could also try agave or coconut sugar, just remember: the color and flavor of the ice cream will change slightly based on your sweetener choice.
Can I add other flavors to my Coconut Milk Ice Cream?
Definitely! Fold in everything from shredded coconut and dark chocolate to chunks of tropical fruit or a dash of matcha powder. The creamy coconut base is the perfect canvas for all sorts of flavor adventures.
Is Coconut Milk Ice Cream suitable for special diets?
Yes—it’s naturally dairy-free, vegan, and gluten-free, making it a wonderful dessert for almost any crowd. Just make sure to double-check your optional add-ins if allergies or sensitivities are a concern.
Final Thoughts
If you haven’t tried making Coconut Milk Ice Cream yet, you’re truly in for a treat. It’s fun to prepare, endlessly customizable, and irresistibly creamy—plus, it fits just about every diet. Give it a whirl and prepare to be swept away by the tropical, dreamy flavors in every bite!
