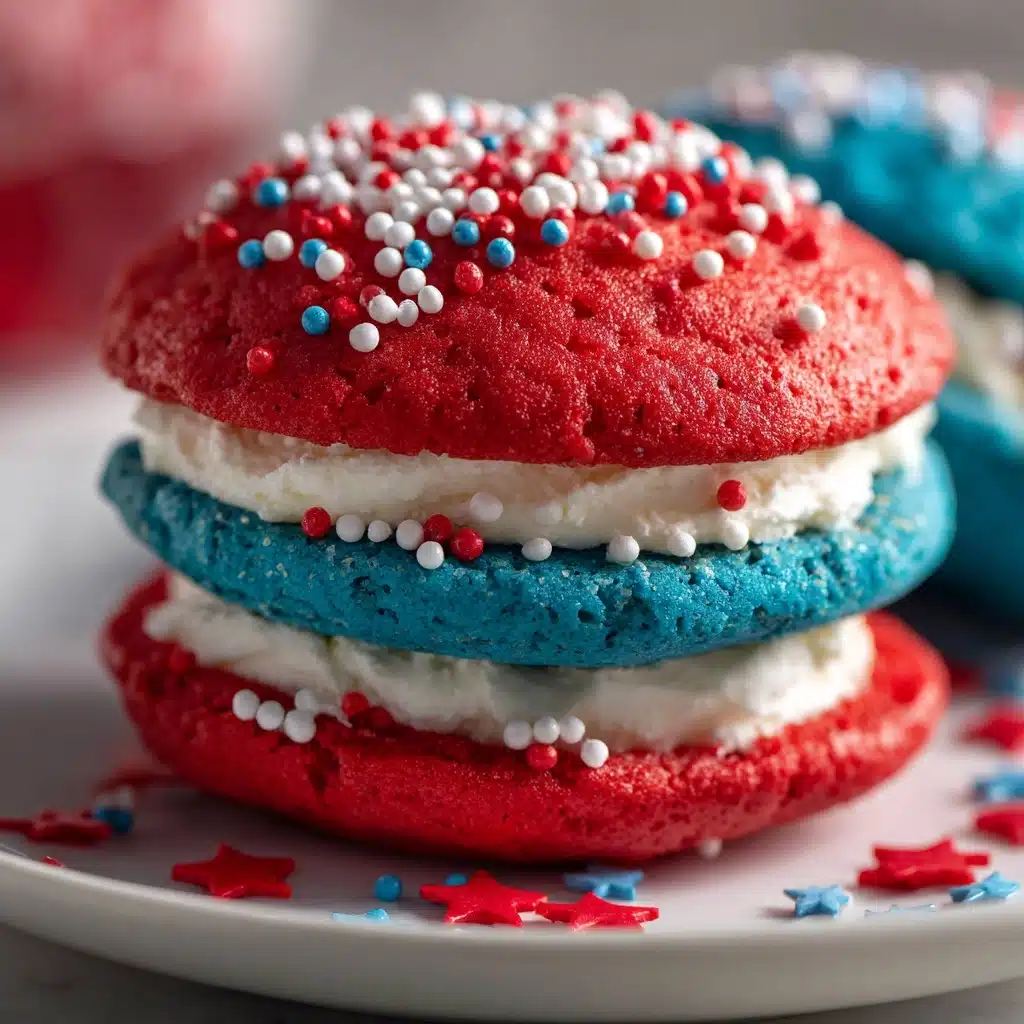
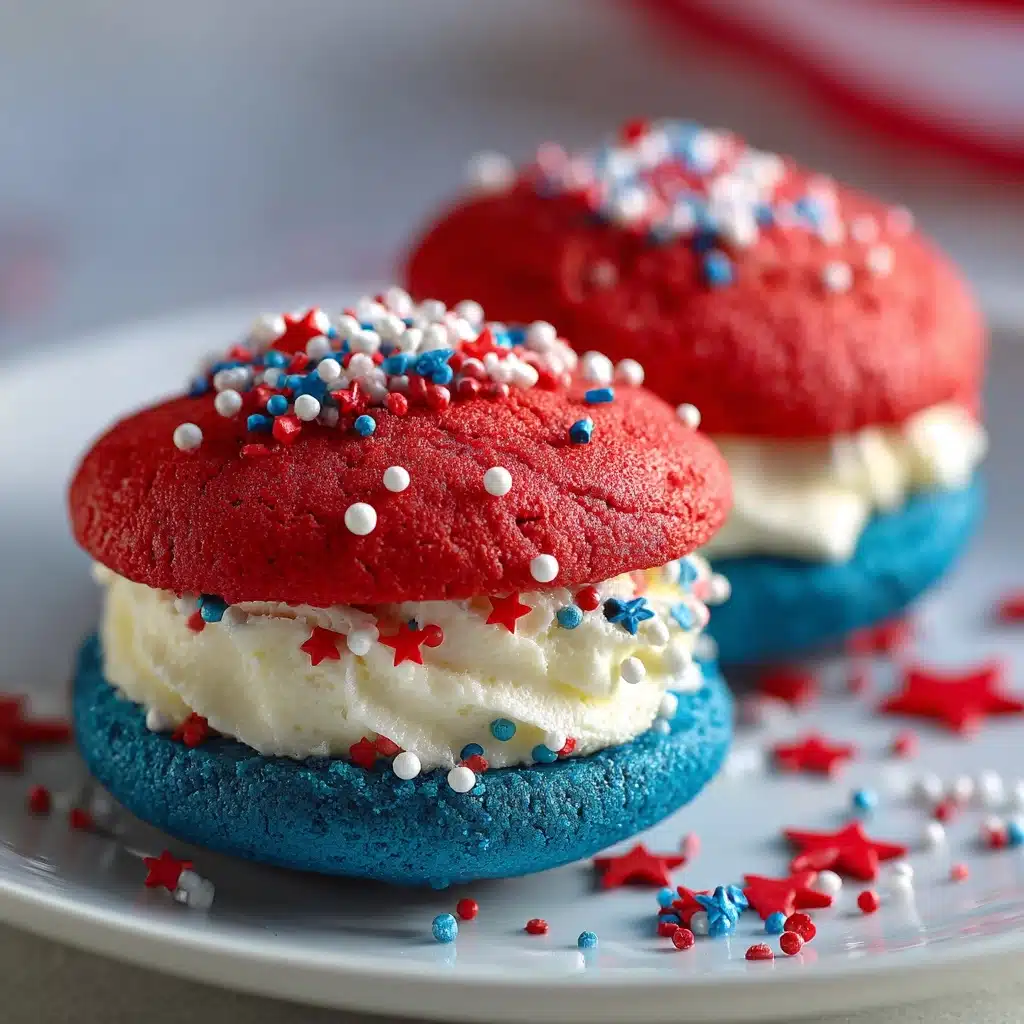
Sweet, festive, and irresistibly fluffy, this Red, White and Blue Whoopie Pies Recipe is the perfect treat to light up any celebration. Each bite is a delightful combination of pillowy chocolate cakes dyed in vibrant patriotic colors, sandwiched around a cloud-like marshmallow filling. These whoopie pies are simply fun to make and even more fun to share, whether you’re hosting a backyard barbecue, a summer party, or just want to add a pop of color to your dessert table. It’s a recipe designed to delight your eyes as much as your taste buds!
Ingredients You’ll Need
You only need a handful of classic but essential ingredients to make this vibrant treat, but each one plays a star role, lending flavor, tenderness, or those signature eye-catching colors. Gather everything below, because every ingredient helps create the softest cakes and the fluffiest, most nostalgic filling for your Red, White and Blue Whoopie Pies Recipe.
- All-purpose flour: The backbone of your cakes, flour creates the perfect moist-yet-structured base for holding in that luscious filling.
- Unsweetened cocoa powder: Gives the chocolatey richness, deep flavor, and cookie-cake crumb everyone loves in a classic whoopie pie.
- Baking soda: Ensures your cakes rise beautifully so they’re fluffy, not flat.
- Baking powder: Adds extra lift to give the cakes their signature pillowy texture.
- Salt: Just a little salt perks up the chocolate and balances the sweetness in every bite.
- Unsalted butter (softened): Essential for both the cakes and the filling, butter brings richness and that melt-in-your-mouth feel.
- Granulated sugar: Sweetens the cakes and helps them bake up with those beautiful, delicate domes.
- Large egg: Binds the batter together for a cohesive, tender crumb in each cake.
- Vanilla extract: Brings classic warm flavor to both the cakes and the filling—never skip the vanilla!
- Buttermilk: Provides moisture and tenderness, plus a subtle tang to balance the chocolate.
- Red and blue gel food coloring: For vivid, show-stopping hues that truly pop—gel coloring gives the best results without thinning your batter.
- Marshmallow fluff: The key to a dreamy, nostalgic filling with a soft, sticky-sweet twang.
- Powdered sugar: Makes the filling extra fluffy and sweet, while blending in seamlessly for a cloud-like texture.
- Heavy cream: Used as needed in the filling to create the perfect spreadable consistency.
- Red, white, and blue sprinkles (optional): Adds that extra burst of festive flair to the finished pies—totally optional, but highly encouraged!
How to Make Red, White and Blue Whoopie Pies Recipe
Step 1: Prep Your Baking Sheets and Ingredients
Start by preheating your oven to 350°F (175°C). Line two baking sheets with parchment paper—this guarantees your cakes won’t stick, plus it keeps the bottoms perfectly soft. While the oven warms up, measure out all your ingredients. Having everything set out makes the process much smoother, so you can focus on having fun with the colors!
Step 2: Make the Cake Batter
In a medium bowl, whisk together the flour, cocoa powder, baking soda, baking powder, and salt. This step evenly distributes the leavening, so every cake puffs like a dream. In a large bowl, cream the softened butter and sugar together until light and fluffy. Add the egg and vanilla extract, blending well. Next, alternate adding the dry mixture and buttermilk, beginning and ending with the dry mix. This alternating method keeps the batter tender, never tough.
Step 3: Divide and Color the Batter
Split your finished cake batter evenly into two bowls. Now for the fun—use red gel food coloring in one bowl and blue in the other, mixing each until you have bold, vibrant colors. Gel coloring gives you the brightest shades without affecting the batter’s thickness, so the cakes bake up perfectly.
Step 4: Shape and Bake the Cakes
Drop heaping tablespoons of each colored batter onto your prepared pans, leaving about 1 1/2 inches between cookies so they have room to rise and spread. Pop the pans in the oven and bake for 10 to 12 minutes, or until the cakes are puffed and just spring back when touched. Cool the cakes on wire racks so they’re ready for filling.
Step 5: Make the Creamy Filling
While your cakes cool, make the dreamy filling. In a fresh bowl, beat together the softened butter and marshmallow fluff until smooth and creamy. Add powdered sugar and vanilla extract, whipping everything until fluffy. Drizzle in the heavy cream a tablespoon at a time until the filling is easy to spread or pipe. It should be light, sweet, and cloud-like.
Step 6: Assemble and Decorate
Once the cakes are completely cool, it’s time for assembly! Spread or pipe a generous dollop of filling onto the flat side of half the cakes, then gently sandwich them with the remaining cakes. For the finishing patriotic touch, roll the exposed filling in red, white, and blue sprinkles if using. Now you’ve got a batch of Red, White and Blue Whoopie Pies that look as good as they taste!
How to Serve Red, White and Blue Whoopie Pies Recipe
Garnishes
Dress up your whoopie pies with a dusting of extra powdered sugar, a scatter of fresh berries around the platter, or—my personal favorite—a little drizzle of melted white chocolate. A sprinkle of patriotic sprinkles around each pie always makes them pop, and a few fresh mint leaves add a special summery touch.
Side Dishes
Pair these colorful treats with a refreshing scoop of vanilla ice cream, a fruity berry salad, or tall glasses of lemonade for a perfect party spread. They’re also adorable on a dessert table with other red, white, and blue sweets, like macarons or mini cheesecakes, for a dessert buffet no one will forget.
Creative Ways to Present
Pile your Red, White and Blue Whoopie Pies high on a tiered cake stand for instant centerpiece appeal, or wrap each sandwich in clear cellophane with a ribbon for a sweet party favor. For a big gathering, arrange them in a flag-shape on a tray using fresh strawberries and blueberries, or stack them up on a tall platter with tiny American flags for extra pizzazz.
Make Ahead and Storage
Storing Leftovers
Leftover whoopie pies can be kept in an airtight container at room temperature for up to two days, or in the fridge for slightly longer—just note the cakes will firm up a bit when chilled. They’re still irresistibly delicious, and perfect for snacking whenever your sweet tooth strikes!
Freezing
Want to keep the festive fun going even longer? Freeze assembled (or unassembled) whoopie pies by wrapping each one tightly in plastic wrap and placing them in a freezer bag. They freeze beautifully for up to two months. Thaw a pie overnight in the fridge or for an hour at room temp, and you’re ready to serve.
Reheating
While these treats are the best when enjoyed fresh or at room temperature, if you like a slightly softer cake, let refrigerated or frozen whoopie pies sit out for about 20 minutes before serving. There’s no need to actually heat them, but if you want a gooier bite, a few seconds in the microwave (about 5–10 seconds) will do the trick!
FAQs
Can I use different colors for holidays other than the 4th of July?
Absolutely! The Red, White and Blue Whoopie Pies Recipe is endlessly customizable—try pastel shades for spring, orange and black for Halloween, or shades of green for St. Patrick’s Day. The base batter works beautifully with any color you like!
How can I make the cakes extra soft and fluffy?
The secret is to avoid overmixing the batter—just blend until the ingredients are combined. Also, using room temperature butter and buttermilk creates a tender, cake-like texture that stays soft for days.
What if I don’t have buttermilk on hand?
No worries! Just mix 1 cup of milk with 1 tablespoon of lemon juice or white vinegar, let it sit for five minutes, and you’ve got an easy homemade buttermilk substitute that gives similar moistness and tang.
Can I make mini whoopie pies with this recipe?
Yes! Use a teaspoon or small cookie scoop to drop mini portions of batter, and reduce the baking time to about 7–8 minutes. You’ll have adorable, bite-sized treats that are perfect for parties or sharing with a crowd.
Do I need a mixer for the filling?
While a hand or stand mixer makes the process quicker and the filling extra fluffy, you can definitely make it by hand—just be ready for a little workout as you beat everything to a smooth, creamy finish!
Final Thoughts
I hope you have as much fun baking, decorating, and devouring this Red, White and Blue Whoopie Pies Recipe as I do. Each batch brings smiles and sparks a little joy, whether you’re celebrating or just craving something delightfully different. Give it a try, and let your kitchen burst with color and happy memories!