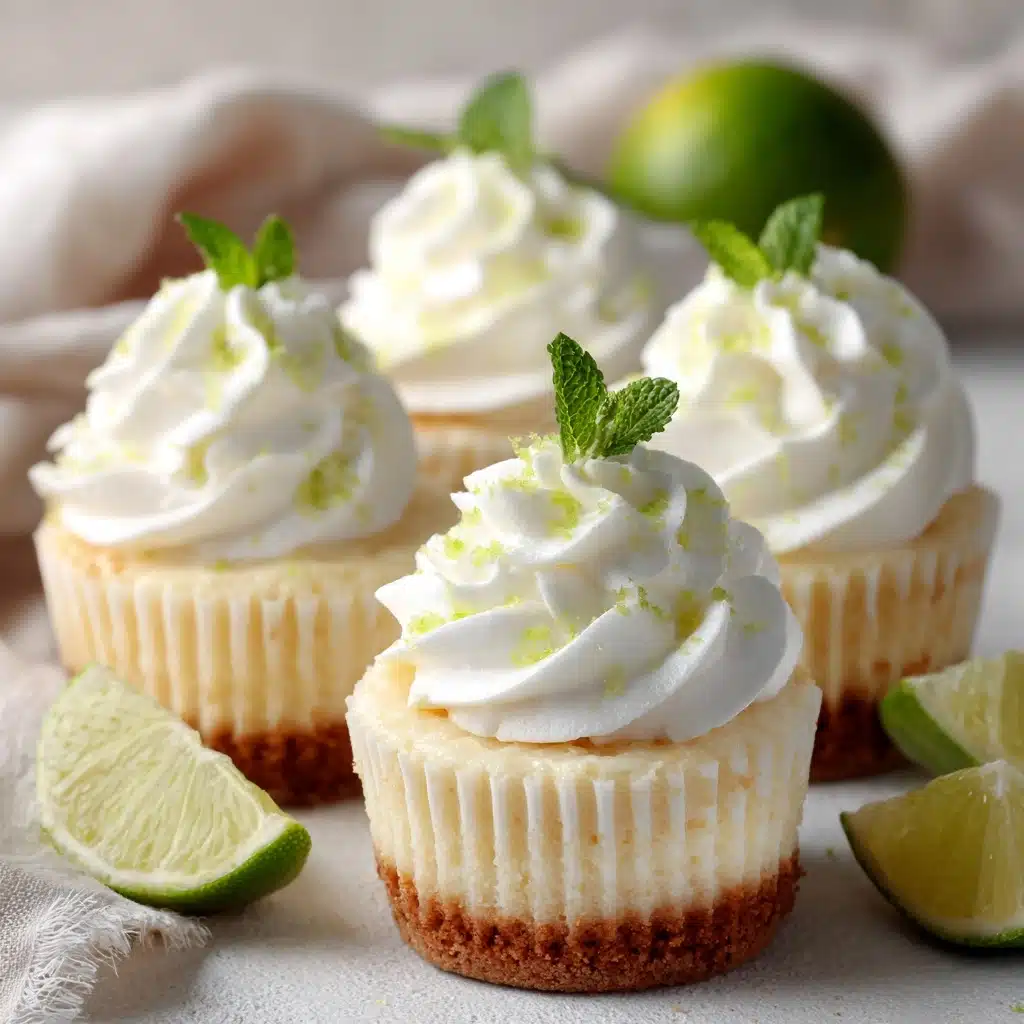
If you’re looking for a dessert that’s both refreshingly zesty and supremely simple to put together, these No-Bake Mini Key Lime Pies are your new go-to treat! Each bite delivers tangy citrus sweetness wrapped in a buttery graham cracker crust, crowned with a cloud of whipped cream. They look gorgeous, feel fun and special for gatherings of any size, and best of all, you can make them ahead of time—no oven needed! Whether you’re a key lime fanatic or just need a slice of sunshine, this recipe is an absolute joy from start to finish.
Ingredients You’ll Need
The beauty of No-Bake Mini Key Lime Pies is how you only need a handful of pantry and fridge staples. Each ingredient brings something essential to the table: the crust sets the stage, the filling dazzles with flavor, and the toppings make every bite irresistible.
- Graham cracker crumbs: These create the iconic sweet-and-salty base that perfectly complements the lime filling.
- Granulated sugar: Adds a touch of sweetness and helps the crust set up nicely.
- Unsalted butter (melted): Binds everything together and gives the crust its rich, toasty flavor.
- Sweetened condensed milk: The secret to that ultra-creamy, luscious filling; it also sweetens the pies just right.
- Key lime juice (fresh or bottled): Delivers the signature tartness—use real key limes if you can find them, but bottled will also do the trick.
- Key lime zest: Packs even more punchy citrus flavor and bright green flecks for visual appeal.
- Heavy whipping cream: Gives the topping its dreamy, fluffy texture—homemade whipped cream really makes a difference!
- Powdered sugar: Sweetens the whipped cream and helps it stabilize.
- Vanilla extract: Adds depth and pure, aromatic deliciousness to the cream topping.
- Extra lime zest or lime slices (optional): For garnishing and that vibrant pop right before serving.
How to Make No-Bake Mini Key Lime Pies
Step 1: Mix the Graham Cracker Crust
Start by combining your graham cracker crumbs, sugar, and melted butter in a bowl. Give everything a thorough mix so that every crumb is coated in buttery goodness. This combination forms the foundation of your pies, lending them that classic sweet-and-salty crunch you expect from key lime pie. Don’t worry if the mixture feels a little crumbly—the butter will help it set up beautifully in the fridge.
Step 2: Press and Chill the Crusts
Line a standard 12-cup muffin tin with paper liners or use silicone molds for easy release. Spoon the graham cracker mixture evenly among the cups, then press it down firmly with your fingers or the bottom of a glass to create a solid, compact crust layer. Pop the muffin tin in the fridge while you work on the filling. This little rest period gives the crusts time to firm up and hold together perfectly.
Step 3: Whisk the Key Lime Filling
In a separate medium bowl, add your sweetened condensed milk, key lime juice, and the lime zest. Whisk everything together until smooth and just slightly thickened. This mellow, creamy filling is where the pies get all their zingy magic, and whipping it by hand makes clean-up a breeze. The mixture will thicken a little more as it chills, so don’t worry if it looks pourable at this stage.
Step 4: Assemble and Chill
Divide your key lime filling evenly among the refrigerated pie crusts. Use a spoon to smooth the tops or give them a little swirl for fun. Slide the whole tin back into the fridge and let the pies chill for at least four hours—or overnight. This is when the magic happens: everything sets up into ultra-creamy, tangy perfection!
Step 5: Make the Whipped Cream Topping
Right before serving, whip your heavy cream in a cold bowl until it just starts to thicken. Add in the powdered sugar and vanilla extract, then keep whipping until stiff peaks form. Homemade whipped cream turns these No-Bake Mini Key Lime Pies into absolute showstoppers, adding lightness and an extra touch of decadence.
Step 6: Top and Garnish
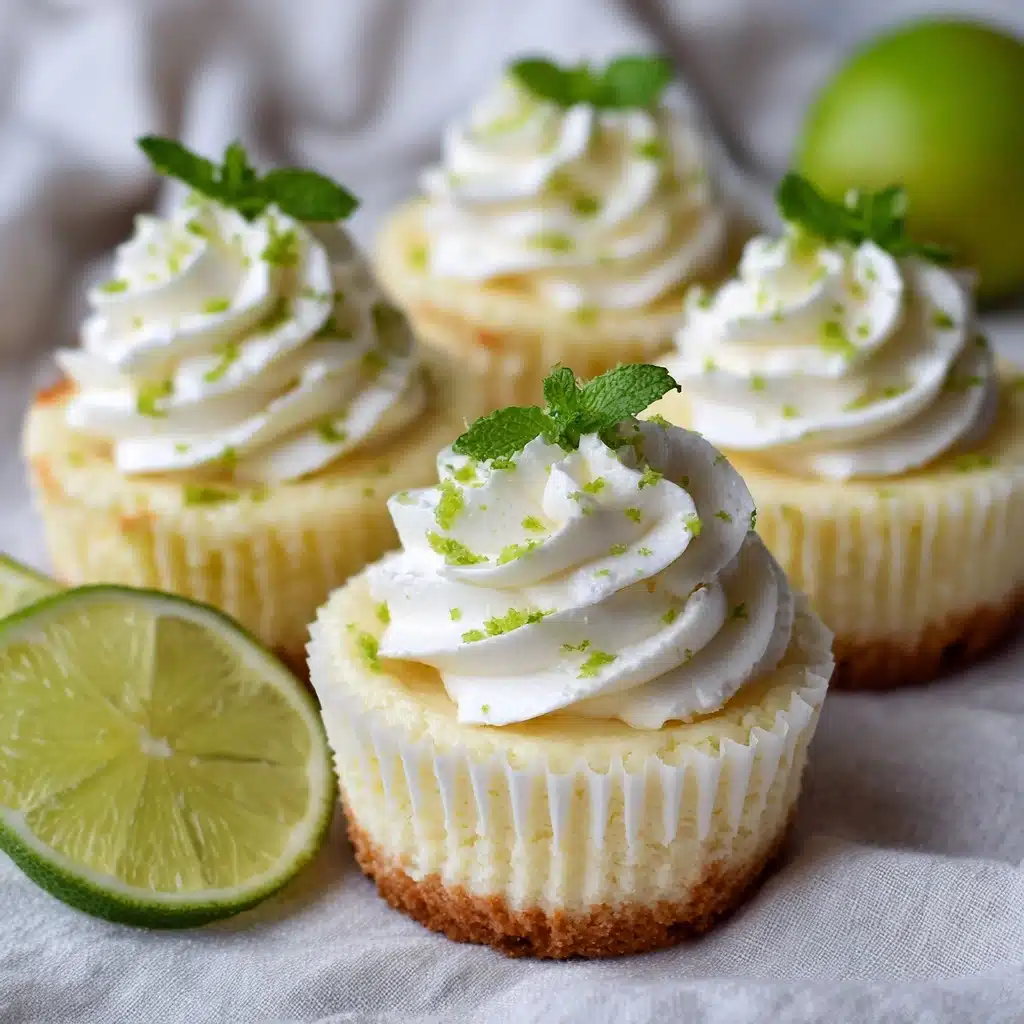
Dollop or pipe the whipped cream generously onto each pie, then finish with a sprinkle of extra lime zest or a tiny wedge of lime. Not only does this make them look irresistible, it adds a lovely freshness right at the very end. Serve these tiny delights chilled for the ultimate summery treat.
How to Serve No-Bake Mini Key Lime Pies
Garnishes
Garnishing your No-Bake Mini Key Lime Pies is all about adding color and a touch of elegance. I love showering each one with a little extra lime zest, which brings both fragrance and a pop of bright green. A tiny lime wedge perched on top also looks beautiful—and lets your guests know exactly what flavor to expect inside!
Side Dishes
These are the star of the dessert table already, but if you’d like to serve something alongside, go for fresh berries, a platter of tropical fruit, or even a scoop of coconut sorbet. The tartness of the pies is fantastic with just a little sweet or creamy counterpoint from simple side treats.
Creative Ways to Present
Mini desserts beg for creative displays! Arrange your No-Bake Mini Key Lime Pies on a tiered cake stand for a party, or nestle them in pretty cupcake wrappers for a picnic. For an extra wow factor, add edible flowers or candied lime slices. You can even package individual pies in clear boxes and tie them with ribbon as adorable edible gifts.
Make Ahead and Storage
Storing Leftovers
No-Bake Mini Key Lime Pies store beautifully in the refrigerator, making them perfect for prepping ahead. Keep them in an airtight container or covered in plastic wrap, and they’ll stay fresh for up to three days. If you know you’ll have extras, hold off on adding the whipped cream topping until just before serving for best texture.
Freezing
You can absolutely freeze these pies! Place the assembled, un-topped pies on a baking sheet and freeze until firm, then transfer to a freezer-safe container. They can be frozen for up to two months. To serve, thaw them in the fridge for several hours or briefly at room temperature, then add the whipped cream and enjoy as a chilled or even semi-frozen treat.
Reheating
There’s no need to reheat these pies since they’re made to be eaten cold. If you’ve stored them in the freezer, just allow them to thaw until they’re creamy and ready to enjoy. For best flavor and texture, always garnish with fresh whipped cream after thawing.
FAQs
Can I make No-Bake Mini Key Lime Pies with regular limes instead of key limes?
Absolutely! Regular (Persian) limes work well in a pinch, though key limes impart a more distinct, floral flavor. Either option yields delicious results, so use what you have on hand.
Are there any shortcuts if I’m in a hurry?
If you’re pressed for time, you can use pre-made mini graham cracker crusts and bottled key lime juice. Both shortcuts will shave minutes off your prep without sacrificing too much on flavor or texture.
How do I know when the filling has set?
The filling should look firm and hold its shape when you peel away the liner. Refrigerating for at least four hours is crucial, but overnight is even better for clean, picture-perfect pies.
What if I want to make fewer than 12 pies?
You can easily halve the recipe for six pies, or divide among fewer muffin cups for slightly larger servings. Just keep an eye on the proportions so the crust and filling balance stays spot-on.
Can I add other flavors to the filling?
Absolutely! A hint of coconut extract, a swirl of raspberry puree, or a touch of extra zest can all be stirred into the filling. Don’t be afraid to get creative with your No-Bake Mini Key Lime Pies!
Final Thoughts
There’s something wonderfully joyful about sharing a tray of homemade No-Bake Mini Key Lime Pies—especially when they’re as easy and foolproof as these. Whether you’re celebrating a special occasion or just craving a burst of citrusy sunshine, these mini desserts are sure to become a favorite. Give them a try and let your kitchen be filled with happiness!