If you’ve ever dreamed of making light, airy, and irresistibly creamy treats right in your own kitchen, Homemade Twinkies Vanilla Cakes are the surprise hit you didn’t know you needed. These beloved snack cakes blend golden, tender sponge with a lush marshmallow-vanilla filling, creating a nostalgic dessert that’s a guaranteed crowd-pleaser. With a handful of pantry staples and a few simple steps, these cakes will transport you back to childhood lunches, but even better since you made them yourself! Homemade Twinkies Vanilla Cakes showcase all the comforting flavors you love, but with the fresh, homemade touch you can truly savor.
Ingredients You’ll Need
It’s amazing how just a few simple ingredients can create such joy! Each ingredient here plays a crucial role in achieving that fluffy cake, delicate flavor, and creamy vanilla center. Let’s celebrate the magic behind every bite of Homemade Twinkies Vanilla Cakes.
- All-purpose flour: This is the base of your sponge, giving the cakes their soft, tender crumb.
- Baking powder: Provides lift for that classic, airy texture you expect in Twinkies.
- Salt: Just a pinch sharpens the sweetness and makes all the flavors pop.
- Large eggs: Four eggs add rich flavor and essential structure, making the cakes extra light.
- Granulated sugar: Brings just the right amount of sweetness and helps aerate the batter beautifully.
- Whole milk: Adds moisture and a lovely, subtle richness to every bite.
- Vanilla extract: This is where the cakes get their signature vanilla flavor—don’t skimp!
- Unsalted butter (melted and cooled): Adds flavor and that melt-in-your-mouth texture we crave.
- Heavy cream: Whips up into a dreamy, fluffy filling that’s utterly irresistible.
- Powdered sugar: Sweetens the cream without making it gritty, keeping the filling smooth.
- Vanilla extract for filling: Doubles down on the vanilla essence in the luscious center.
- Marshmallow creme: The secret ingredient that gives the filling its signature cloud-like texture!
How to Make Homemade Twinkies Vanilla Cakes
Step 1: Prep Your Pan and Oven
Set yourself up for success by preheating your oven to 350°F and greasing your cream canoe or Twinkie-shaped pan. If you don’t have one, no worries—simply line a muffin tin with foil and gently mold the foil into oval shapes for that perfect classic look. This extra step is worth it for ensuring easy release and pretty cakes.
Step 2: Whisk the Dry Ingredients
In a small bowl, combine the all-purpose flour, baking powder, and salt. Whisking them together first guarantees they’ll be evenly distributed in your batter, which means a soft, uniform sponge—exactly what you want in Homemade Twinkies Vanilla Cakes.
Step 3: Beat Eggs and Sugar
Add your eggs and sugar to a large mixing bowl, then crank the speed up to high and beat for about five minutes. You’re looking for the mixture to become thick, pale, and almost tripled in volume. This step is where the magic happens: the airy texture starts here!
Step 4: Fold in the Dry Ingredients
Gently fold the flour mixture into your beaten eggs and sugar. Be careful not to over-mix—light hands keep your cakes fluffy. The goal is just to incorporate all the dry bits without deflating the lovely, airy base you created.
Step 5: Add the Warm Milk Mixture
In a small saucepan, warm the milk and vanilla just until steaming, then stir in the melted, cooled butter. Fold this fragrant mixture into your batter. It makes the cakes beautifully rich while enhancing that unmistakable vanilla flavor!
Step 6: Fill and Bake
Fill each prepared mold about two-thirds full. Pop them in the oven and bake for 12 to 15 minutes, until a toothpick comes out clean. The kitchen will smell sweet and buttery—exactly how Homemade Twinkies Vanilla Cakes should!
Step 7: Cool the Cakes
Let your cakes cool in the pan for a few minutes before turning them out onto a wire rack. This helps preserve their shape and keeps the bottoms delightfully soft. Patience, my friend—the wait will be so worth it.
Step 8: Make the Marshmallow-Vanilla Filling
Using a mixer, whip the heavy cream, powdered sugar, and vanilla until slightly thick and cloud-like. Fold in the marshmallow creme for that classic filling—sticky, dreamy, and impossibly smooth. Chill it briefly if you want to make piping even easier.
Step 9: Fill Your Cakes
Spoon your filling into a piping bag fitted with a small round tip. Gently insert it into the underside of each cake in three spots, squeezing just enough to fill but not overstuff. That surprise bite of vanilla cream is what makes Homemade Twinkies Vanilla Cakes so unforgettable!
How to Serve Homemade Twinkies Vanilla Cakes
Garnishes
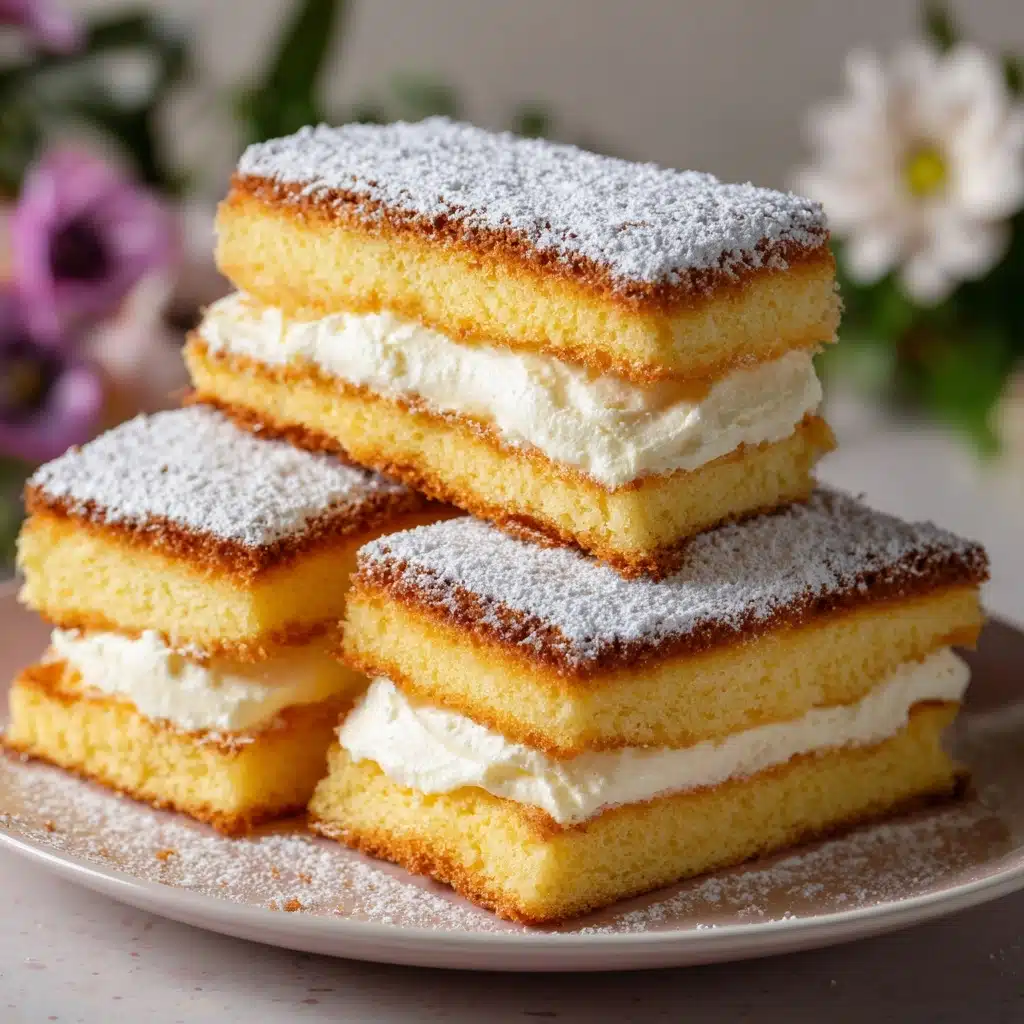
While these cakes are plenty delicious solo, you can dress them up with a dusting of powdered sugar, a shimmer of edible glitter, or even a drizzle of melted white chocolate. A few fresh berries add a colorful, zesty touch if you’re feeling fancy! Each garnish highlights the golden color and rich filling of your Homemade Twinkies Vanilla Cakes.
Side Dishes
Pair your cakes with a cold glass of milk for the ultimate nostalgic treat. Coffee or hot chocolate bring out the vanilla notes, turning snack time into a mini celebration. For a fun twist, serve alongside fruit salad or scoops of vanilla ice cream to double down on creamy goodness.
Creative Ways to Present
Stack your Homemade Twinkies Vanilla Cakes on a tiered dessert stand for a party centerpiece everyone will talk about. Wrap them individually in baking paper or cellophane for the cutest lunchbox or picnic surprise. You can even tuck them into a festive treat box for homemade gifts that spark all the smiles!
Make Ahead and Storage
Storing Leftovers
To keep your Homemade Twinkies Vanilla Cakes at their very best, store leftovers in an airtight container at room temperature for up to two days. The sponge will stay soft and the filling fresh, so you can keep snacking on your homemade creations just a little longer!
Freezing
If you need your cakes to last, freezing works beautifully. Simply wrap each cake tightly in plastic wrap, place them in a freezer-safe bag, and freeze for up to two months. Thaw at room temperature for a couple of hours before enjoying, and they’ll taste just as dreamy as the day they were made.
Reheating
While Homemade Twinkies Vanilla Cakes are delightful straight from the container, you can warm them gently if you’d like. Pop individual cakes in the microwave for 5 to 10 seconds—just enough to soften the sponge and nudge the filling toward gooey bliss. Avoid overheating so the filling doesn’t melt out!
FAQs
Can I make Homemade Twinkies Vanilla Cakes without a special pan?
Absolutely! Just use a regular muffin tin and shape foil liners into ovals for that classic look. It’s easy, and your cakes will still bake up soft and golden.
How do I know when my cakes are done baking?
A toothpick inserted in the center should come out clean, and the tops will spring back lightly when pressed. They should be a lovely pale gold—not too dark or dry.
Is there an alternative for marshmallow creme in the filling?
If you can’t find marshmallow creme, you can use homemade marshmallow fluff or even omit it for a simple whipped cream filling, although the texture and flavor will be slightly different.
Can I flavor the filling for a twist on classic Homemade Twinkies Vanilla Cakes?
Yes! Add a dash of almond, citrus zest, or even instant coffee granules to the filling for fun variations. Just remember, a little goes a long way so the vanilla remains the star.
Are Homemade Twinkies Vanilla Cakes suitable for parties or gifting?
Definitely! They hold up well, look impressive on a platter, and can be individually wrapped for adorable party favors or edible gifts. Everyone loves a homemade, nostalgic treat!
Final Thoughts
If you’re ready to experience a beloved classic in the freshest, fluffiest way, don’t wait to try these Homemade Twinkies Vanilla Cakes. Sharing them with friends or family is pure, oven-baked joy—these cakes just might become your most requested treat!