The Easter Jell-O Pie is just about the most cheerful, effortless dessert you could hope to serve for spring celebrations. Imagine a dreamy pastel filling—cloudy and cool—with that sweet, wobbly tang of your favorite flavored gelatin, all nestled in a buttery graham cracker crust. With just a handful of ingredients and absolutely no oven required, this pie brings a pop of color and a bit of whimsy to your Easter table. Whether you’re crafting a nostalgic centerpiece for your family or just craving a playful treat on a sunny day, this dessert is pure joy in every slice.
Ingredients You’ll Need
Ingredients You’ll Need
Every piece of the puzzle plays its part in making Easter Jell-O Pie such a fun and delicious treat. These ingredients are simplicity itself, but each brings something special—crunch, creaminess, vibrant hues, or that finishing sparkle on top.
- Graham cracker crust: This prepared shell gives the pie a sweet, crumbly base that holds everything together and saves time.
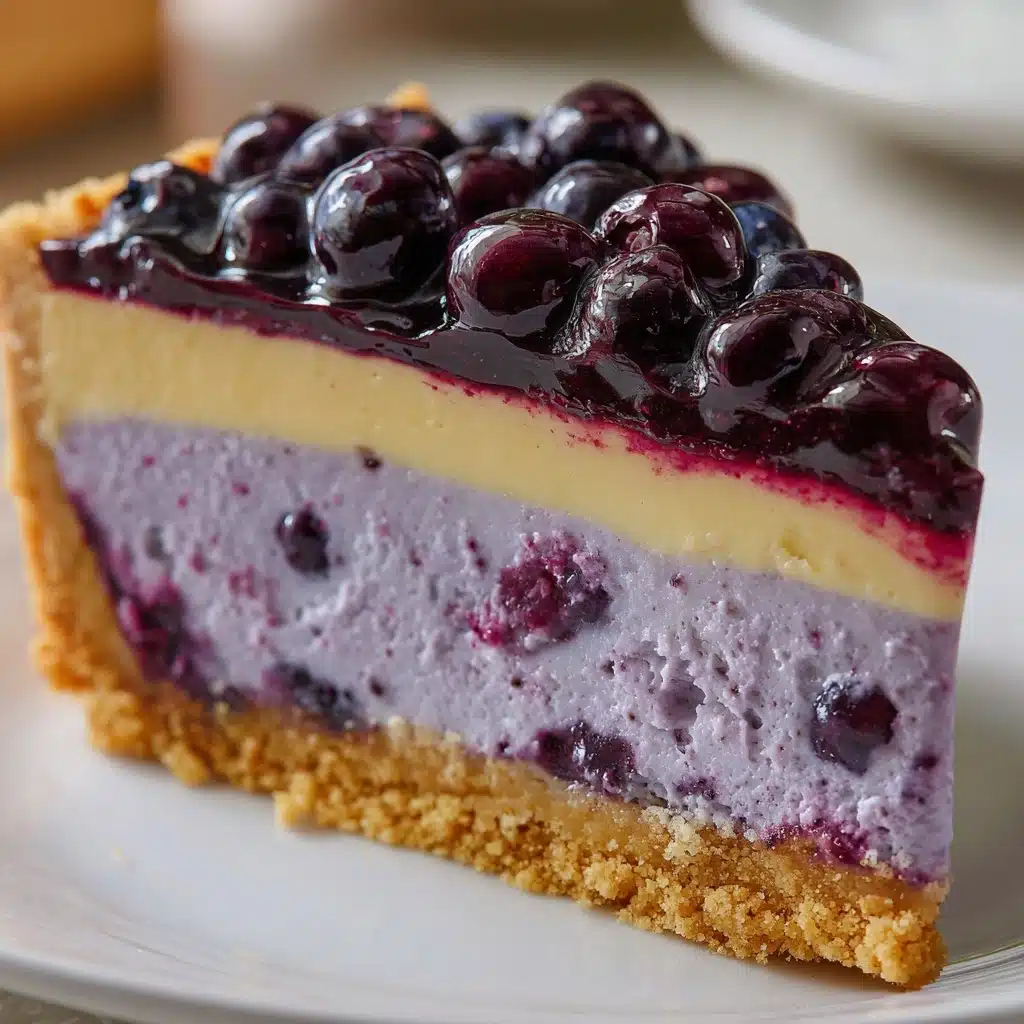
- Pastel-colored Jell-O gelatin: Pick a flavor and color that sings “spring” to you—strawberry, lemon, or berry blue all look and taste amazing.
- Boiling water: Essential for dissolving the gelatin perfectly so you avoid any grainy bits.
- Whipped topping: Thawed and fluffy, it merges with the gelatin to create that dreamy, mousse-like texture everyone loves.
- Pastel sprinkles or candy eggs (optional): A fun way to dress up your finished pie and make it extra festive.
How to Make Easter Jell-O Pie
Step 1: Dissolve the Jell-O
Start by pouring your pastel-colored Jell-O gelatin into a medium bowl. Add 2/3 cup of boiling water and stir, making sure all those little crystals are fully dissolved. This is the foundation of your Easter Jell-O Pie, so don’t rush—give it at least 2 minutes of stirring until the mix is completely clear and smooth. The aroma will let you know something wonderful is in the works!
Step 2: Cool to Perfection
Let the Jell-O mixture sit at room temperature for 20 to 30 minutes, until it thickens just a little but hasn’t fully set. You want it to have some body, so it folds beautifully with the whipped topping. If you forget and it gets too firm, just stir it vigorously to loosen things up!
Step 3: Fold in the Fluff
Once cooled, grab your whipped topping. Gently fold it into the slightly thickened Jell-O mixture using a spatula or large spoon. The goal is to combine them until the filling is a creamy, even color with no streaks—airy but not deflated. This is what gives the Easter Jell-O Pie its luscious, mousse-like bite.
Step 4: Fill and Smooth
Pour the fluffy filling into your prepared graham cracker crust. Use a spatula to smooth the top so it’s even and pretty. At this point, your pie already looks like a pastel cloud waiting to be enjoyed!
Step 5: Chill Until Set
Transfer your pie to the refrigerator and let it chill for at least 4 hours, or until the filling is completely set and holds its shape when sliced. This is the hardest part—waiting. But trust me, it’s well worth it!
Step 6: Garnish and Serve
Just before serving, scatter pastel sprinkles or nestle a few candy eggs on top to give your Easter Jell-O Pie that special holiday sparkle. Slice, serve chilled, and watch everyone smile.
How to Serve Easter Jell-O Pie
Garnishes
Sprinkles, candy eggs, or even a scattering of edible flowers can take your Easter Jell-O Pie from delightful to downright festive. Try using pastel nonpareils or mini chocolate eggs for a classic Easter look, or pipe a swirl of whipped cream on each slice for extra flair. Even a simple dusting of shredded coconut lends a pretty spring touch.
Side Dishes
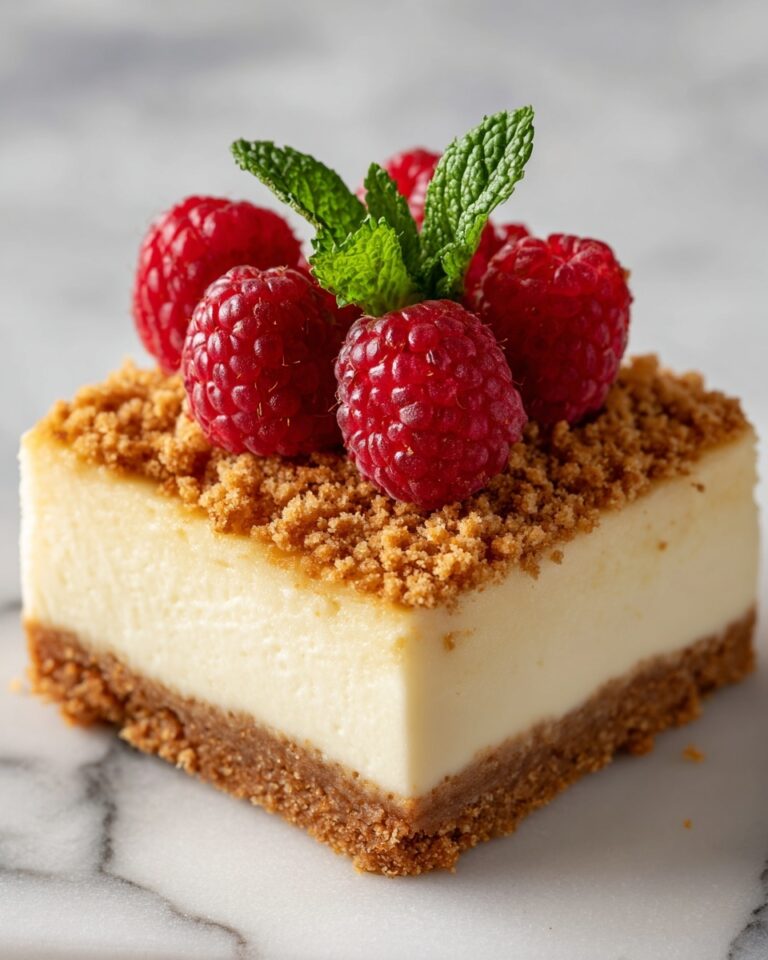
Although the pie is a showstopper on its own, pairing it with fresh fruit—like sliced strawberries or juicy mandarin oranges—adds brightness and contrast. A pot of herbal tea or a chilled lemonade makes the perfect companion for a lighthearted afternoon dessert.
Creative Ways to Present
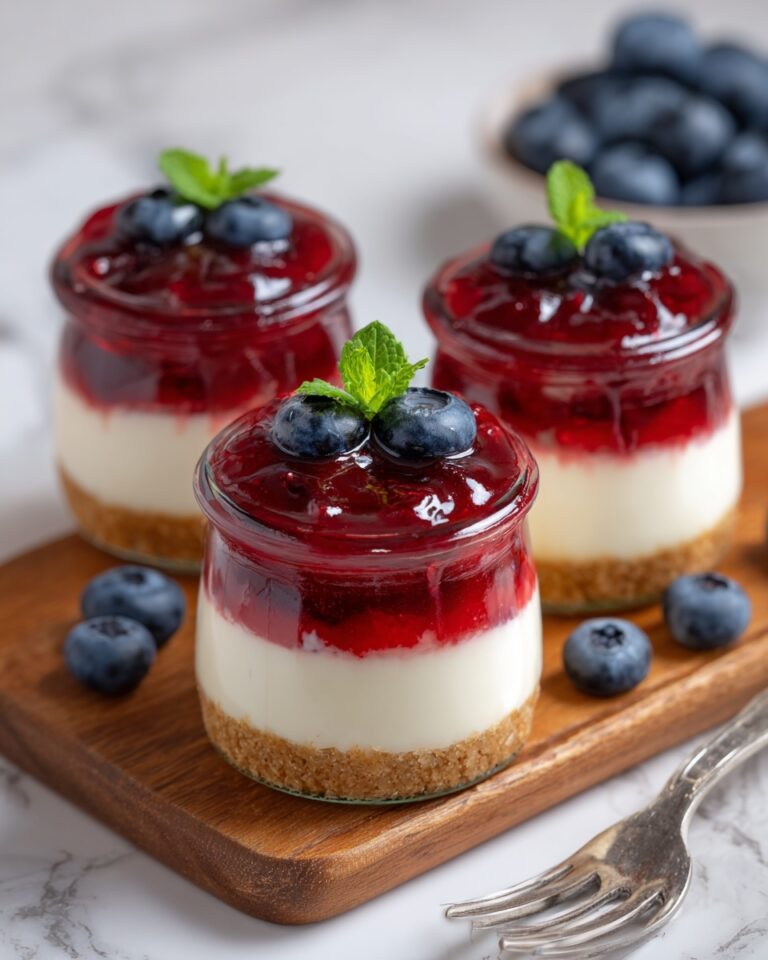
Try making several Easter Jell-O Pies in different pastel shades and setting them together for a whimsical rainbow display. For individual servings, prepare the recipe in mini tart shells or clear cups for a cute, party-ready treat that guests can grab and go. Top each with an edible flower or a tiny candy chick for a playful surprise!
Make Ahead and Storage
Storing Leftovers
Any leftover Easter Jell-O Pie should be stored in the refrigerator, covered lightly with plastic wrap or in an airtight container. It’s best enjoyed within three days—the crust stays crisp and the filling remains fresh and creamy. A tightly sealed pie will also prevent any fridge odors from sneaking into your dessert.
Freezing
While freezing is possible, note that the texture of the whipped topping may change after thawing, becoming a bit icier and less airy. If you do freeze, wrap the pie well and eat it slightly frozen, almost like an ice cream pie for a cool twist!
Reheating
No reheating is needed—or recommended—for Easter Jell-O Pie! This is a chilled dessert, and it’s meant to be served straight from the fridge. Simply let it sit out for a minute if it’s very cold, then slice and enjoy.
FAQs
Can I use homemade whipped cream instead of whipped topping?
Absolutely! Homemade whipped cream gives a wonderfully rich flavor and a little extra elegance to your Easter Jell-O Pie. Just whip your cream to stiff peaks and fold it in gently, just as you would with the store-bought version.
What flavors of Jell-O work best for Easter?
Pastel shades are the star of the show, so think strawberry, lemon, berry blue, or even peach for a soft, springy vibe. Mixing and matching for a multicolored, layered pie is also a guaranteed crowd-pleaser.
Can I make Easter Jell-O Pie ahead of time?
Definitely! In fact, making the pie a day before serving is ideal since it gives the filling plenty of time to firm up and allows the flavors to meld. Just keep it covered and chilled until you’re ready to add the final garnishes.
Is Easter Jell-O Pie gluten free?
The pie itself can be gluten free if you choose a certified gluten free graham cracker crust. Double-check your labels to make sure, and you’ll have a treat that just about everyone can enjoy!
How can I layer different colors or flavors?
It’s easy! Prepare each Jell-O flavor separately, allowing the first layer to firm up in the fridge before gently adding the next layer on top. This creates a beautiful rainbow or ombré effect that kids and adults alike will adore.
Final Thoughts
If you’re looking for an unbelievably simple, joyfully nostalgic dessert to brighten up your spring table, you can’t go wrong with Easter Jell-O Pie. Its pastel colors, creamy texture, and playful presentation have a knack for making everyone feel like a kid again. Give it a try—and don’t be surprised if it becomes an annual tradition!