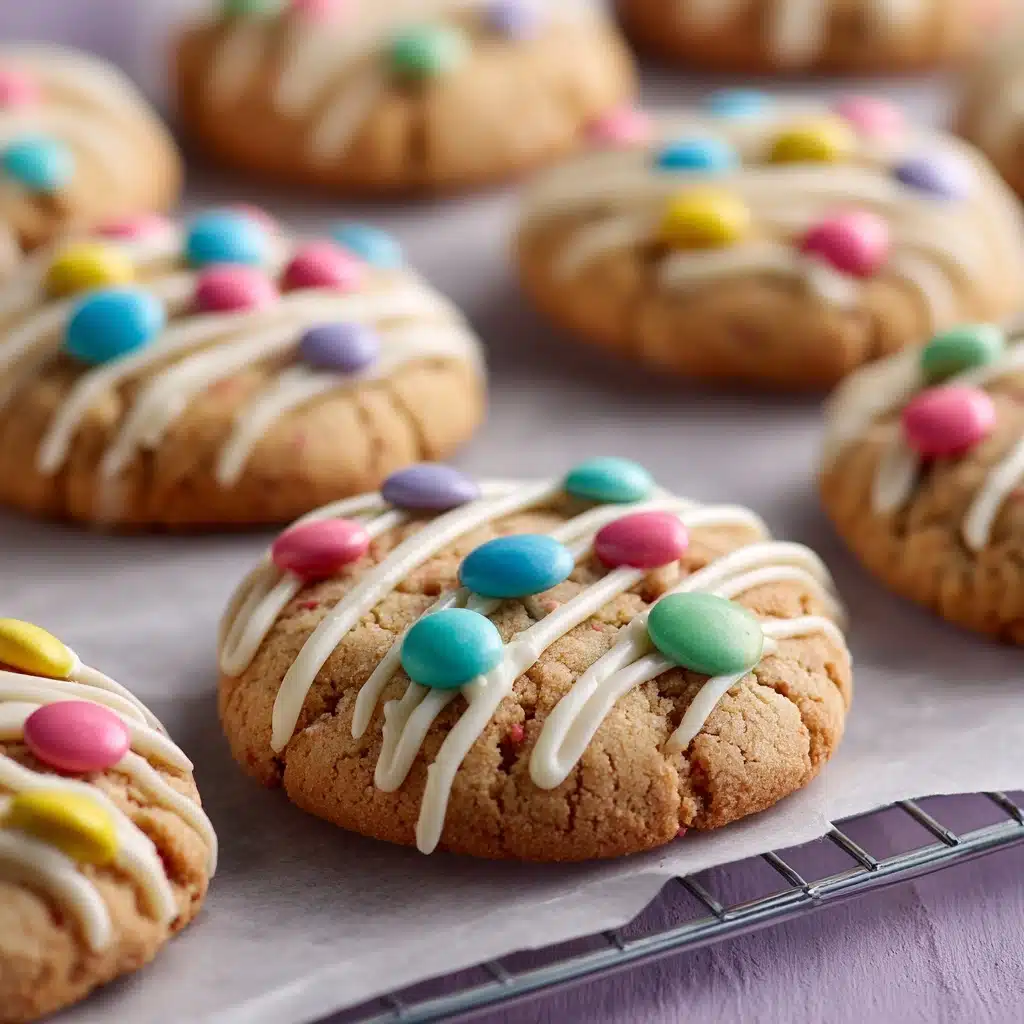
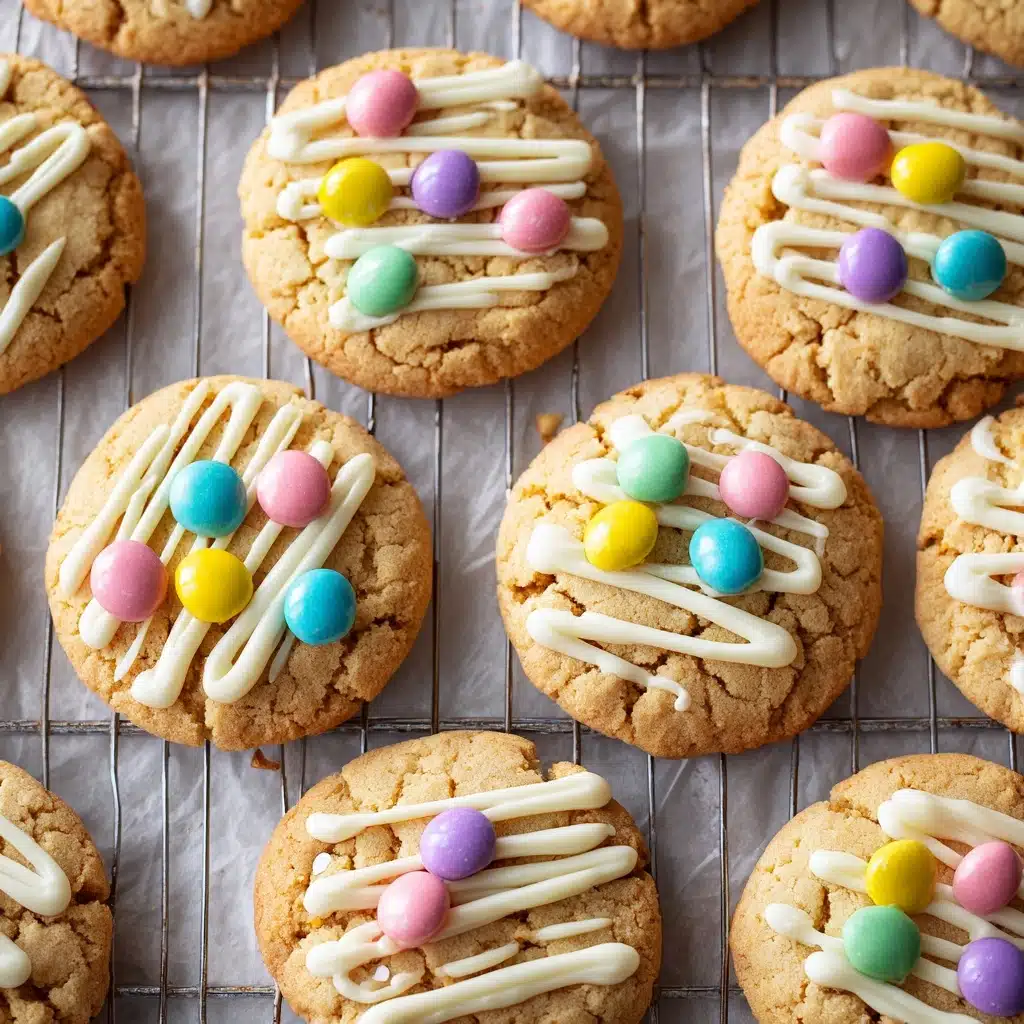
Bright, buttery, and delightfully whimsical, Pastel Candy-Centered Butter Cookies are pure joy in every bite! Each tender, melt-in-your-mouth cookie wraps around a jewel of pastel candy at the center, making these treats just as fun to look at as they are to eat. With their gorgeous pops of color and the perfect blend of sweet creamy dough and a crisp candy crunch, these cookies simply light up dessert tables. Whether you’re baking for spring, Easter, birthday parties, or any festive gathering, you’ll find yourself reaching for this recipe again and again—not just because they’re adorable, but because they taste utterly irresistible.
Ingredients You’ll Need
The magic behind these gorgeous Pastel Candy-Centered Butter Cookies comes from the simple, quality ingredients that let both the buttery base and colorful candies shine. Each one adds a layer of flavor, texture, or color that’s essential for that perfect, bakery-style bite.
- Unsalted Butter (1 cup): Always use softened butter for the creamiest, richest cookie dough—it makes the cookies ultra-tender and carries the flavor beautifully.
- Granulated Sugar (3/4 cup): The right amount of sweetness and just the right texture to help the cookies spread slightly without losing their shape.
- Large Egg (1): Binds everything together and adds lovely moisture for that classic, melt-in-your-mouth effect.
- Vanilla Extract (1 teaspoon): Just a splash makes the whole batch sing with warmth and depth—don’t skip it!
- All-Purpose Flour (2 1/4 cups): The backbone of your dough for structure, yet tender enough for a delicate crumb.
- Salt (1/4 teaspoon): A pinch balances sweetness and brings out the buttery notes.
- Baking Powder (1/2 teaspoon): Helps lift the dough ever so slightly for a soft, thick cookie.
- Pastel-Colored Candy-Coated Chocolates (1/2 cup): These are the magic centers—choose your favorites (like pastel M&Ms) for a pop of color and a hint of crunch.
- Colored Sanding Sugar (optional): Roll the edges for an extra festive sparkle and sweet finish—perfect for parties or holidays!
How to Make Pastel Candy-Centered Butter Cookies
Step 1: Prep Your Baking Gear
Begin by preheating your oven to 350°F (175°C). Line your baking sheets with parchment paper; this not only prevents sticking but also makes cleanup a breeze. Having your prep work done ahead means the rest of your cookie adventure is smooth sailing!
Step 2: Cream Butter and Sugar
In a large bowl, use a hand mixer or stand mixer on medium speed to beat together the softened butter and granulated sugar. Whip until the mixture is pale, fluffy, and has increased slightly in volume—this step is key for cookies that are light but rich, just like all great Pastel Candy-Centered Butter Cookies should be!
Step 3: Add Egg and Vanilla
Crack in the egg and pour in your vanilla extract. Beat again until everything is completely incorporated and silky smooth. You’ll notice the dough becoming shiny and cohesive, which means it’s ready for the dry ingredients.
Step 4: Combine the Dry Ingredients
In a separate bowl, whisk together all-purpose flour, salt, and baking powder. This ensures the leavening and salt are evenly distributed—no clumps! Gradually add the dry ingredients to your wet mixture, mixing just until the dough comes together and no flour streaks remain.
Step 5: Shape and Center the Candy
Scoop tablespoon-sized portions of dough and gently roll them into balls in your hands. Press one or two pastel candy-coated chocolates into the center of each cookie—this gives Pastel Candy-Centered Butter Cookies their signature look and surprise in the center. Then, gently flatten the tops for even baking.
Step 6: Add Festive Sparkle (Optional)
If you want to make your cookies even more eye-catching, roll the dough balls (just the edges) in colored sanding sugar before placing them on the baking sheet. It adds a gorgeous shimmer and an extra touch of sweetness—perfect for celebrations!
Step 7: Bake to Perfection
Arrange your cookies on the prepared sheets, leaving about 2 inches between each. Bake for 10 to 12 minutes, or until the edges are just starting to turn golden brown. You want the centers to look slightly soft—that’s how you get the irresistible, tender bite Pastel Candy-Centered Butter Cookies are famous for.
Step 8: Cool and Enjoy
Let the cookies cool on the baking sheet for about 5 minutes (they’ll be fragile at first, but will firm up as they cool), then transfer to a wire rack. Enjoy the burst of color and that classic bakery aroma wafting through your kitchen!
How to Serve Pastel Candy-Centered Butter Cookies
Garnishes
For a truly showstopping finish, sprinkle a bit more colored sanding sugar on top before serving or add a drizzle of melted white chocolate for a chic touch. Fresh edible flowers or a dusting of powdered sugar also add an elegant, whimsical flair perfect for afternoon teas or festive brunches.
Side Dishes
These cookies are wonderful with a cold glass of milk, a frothy vanilla latte, or a cup of fruity herbal tea. For a dessert platter, pair with tangy lemon bars or fresh berries to highlight the creamy sweetness of your Pastel Candy-Centered Butter Cookies.
Creative Ways to Present
Arrange your cookies in pastel paper cups, tuck them into cellophane bags tied with pastel ribbons, or stack them in a pretty cookie tin for gifting. For a party, display them on tiered cake stands with pastel candies scattered between levels—or let kids decorate plain cookies with extra candies for an interactive dessert table!
Make Ahead and Storage
Storing Leftovers
Keep your Pastel Candy-Centered Butter Cookies fresh by storing them in an airtight container at room temperature for up to 5 days. Be sure to cool them completely before packing, and if stacking, use parchment paper between layers to preserve their colorful charm and tender texture.
Freezing
These cookies freeze beautifully both baked and unbaked. To freeze the dough, shape and flatten, adding the candy center, then store on a tray in the freezer until solid. Transfer to a zip-top bag or container and freeze up to 2 months—bake straight from the freezer, adding a minute or two to the bake time! Baked cookies can also be frozen, layered with parchment, for up to 2 months.
Reheating
If you like your Pastel Candy-Centered Butter Cookies warm and meltingly soft, a few seconds in the microwave (5-10 seconds) will make them taste freshly baked again. For a larger batch, pop them on a tray in a 275°F oven for 3-5 minutes, just until just warmed through.
FAQs
Can I use different colored candies for other holidays?
Absolutely! Swap in red and green candies for Christmas, orange and black for Halloween, or even school colors for graduation parties. These cookies are infinitely versatile—the pastel color theme is just the beginning.
What’s the best way to get perfectly shaped cookies every time?
Rolling dough into evenly sized balls and gently flattening before baking really matters. If you want extra precision, use a cookie scoop for consistent portions so all your Pastel Candy-Centered Butter Cookies bake at the same rate.
Can I make these cookies without eggs?
If you need an egg-free version, you can substitute with a commercial egg replacer or use 1/4 cup unsweetened applesauce. The texture may be slightly softer, but you’ll still get a delicious result.
Why are my cookies spreading too much?
Usually, this happens if the butter is too warm or if there’s too little flour. Chill your dough for 10-15 minutes before baking, and double-check your measurements—for these cookies, that pillowy thickness really makes them shine!
Can I add different extracts to the dough?
Definitely! Along with vanilla, a drop or two of almond extract is a fantastic upgrade. It adds extra richness that pairs beautifully with the buttery base and the colorful candy centers of these Pastel Candy-Centered Butter Cookies.
Final Thoughts
If you’re looking for the ultimate sweet treat to brighten up any celebration, you can’t go wrong with Pastel Candy-Centered Butter Cookies. They’re as pretty as they are delicious, and so much fun to make and share. Give this recipe a try—you’ll be amazed at how quickly they disappear!