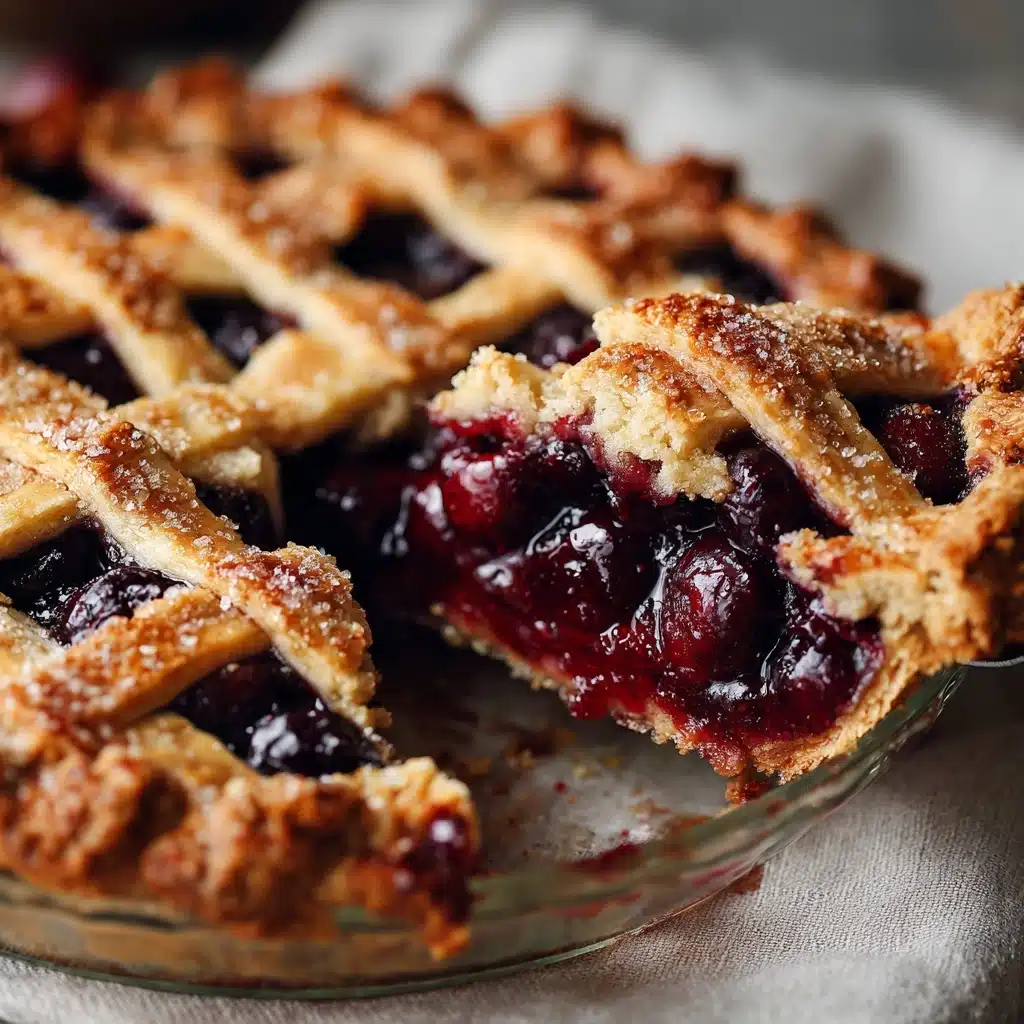
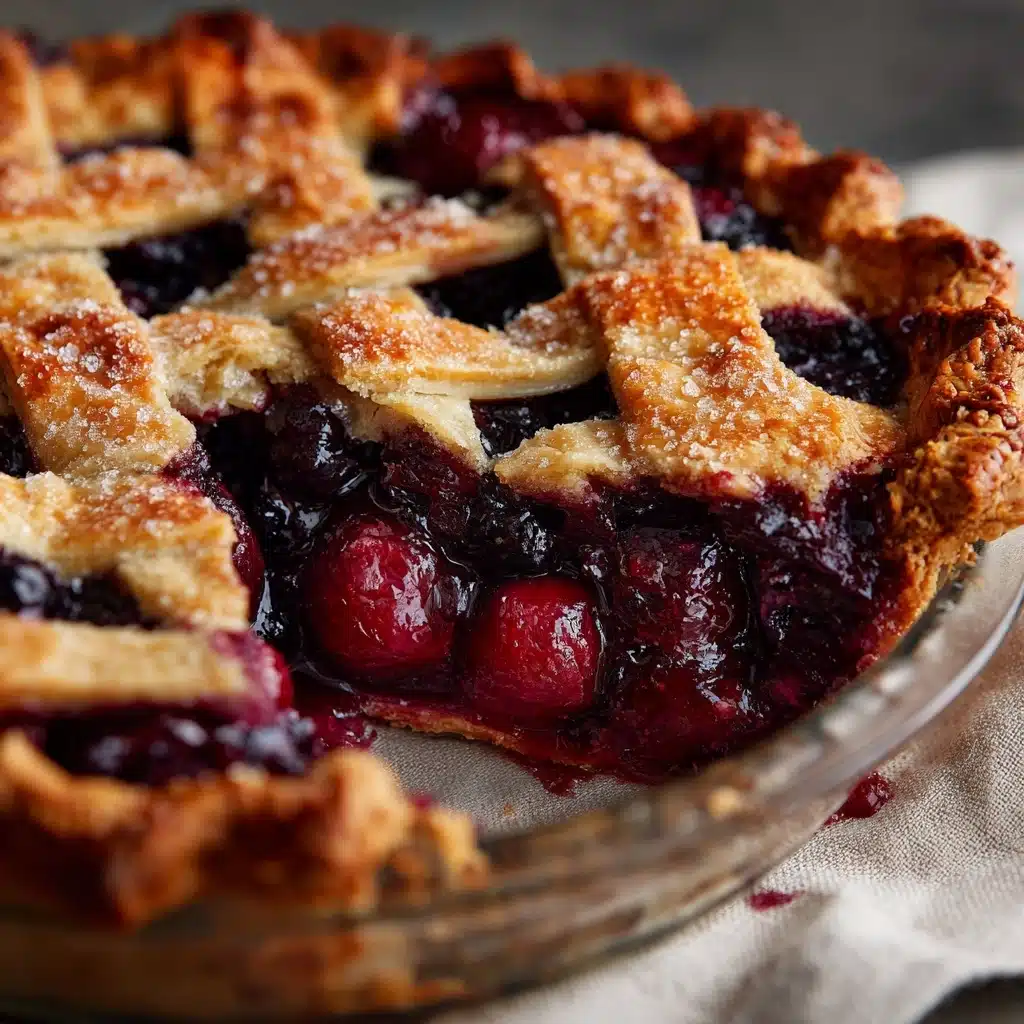
There’s nothing quite like slicing into a deep, bubbling Homemade Cherry Pie (With Thick Filling), its sweet-tart fruit packed between layers of golden, flaky crust. This recipe captures the essence of classic American baking, celebrating bright cherries enveloped in lush, thickened syrup. It’s a pie that stands tall and proud on any dessert table, with each slice sturdy enough to hold its shape yet deliciously juicy with every forkful. If you’re seeking the ultimate cherry pie experience—the kind you dream about all year—consider this your new go-to.

Ingredients You’ll Need
The beauty of this Homemade Cherry Pie (With Thick Filling) is that it relies on just a handful of simple, honest ingredients. Every component serves a purpose, contributing either depth of flavor or perfect texture—don’t skip a thing! Here’s what you’ll need, with a quick tip for each:
- 2 9-inch pie crusts: Use your favorite homemade recipe for extra love, or grab store-bought for a helpful shortcut—both deliver delicious results.
- 6 cups fresh or frozen tart cherries (pitted): Sour cherries (like Montmorency) are ideal for authentic flavor and that quintessential pie tang.
- 1 cup granulated sugar: Sweetens the fruit but still lets the cherries shine; adjust slightly if your cherries are very tart or sweet.
- 1/4 cup cornstarch: This is the magic trick for a thick, luscious filling that holds its shape when sliced.
- 1 tablespoon lemon juice: Just a splash brightens up the whole pie and balances cherry sweetness beautifully.
- 1/2 teaspoon almond extract: The secret ingredient—just a touch brings out the cherry flavor and adds a subtle floral note.
- 1/4 teaspoon ground cinnamon: A pinch gives the filling extra warmth and depth without overpowering the fruit.
- 1 tablespoon unsalted butter (cut into small pieces): Adds richness and helps create a silky finish to the filling.
- 1 egg (for egg wash): Brushed over the crust for that irresistible golden sheen.
- 1 tablespoon coarse sugar (optional, for topping): Crunchy, sparkly, and just plain fun for the ultimate bakery look.
How to Make Homemade Cherry Pie (With Thick Filling)
Step 1: Prep the Cherries
If you’re starting with frozen cherries, make sure to thaw and drain them thoroughly—excess water is not your friend here. This extra minute ensures your Homemade Cherry Pie (With Thick Filling) ends up with a perfectly thick, never runny, filling. Fresh cherries just need to be pitted and checked for stems.
Step 2: Cook the Cherry Filling
Grab a large saucepan and combine your cherries, sugar, cornstarch, lemon juice, almond extract, and cinnamon. Cook everything over medium heat, stirring gently but frequently. Watch as the cherries release their juices and the mixture starts to bubble and transform—it’ll take about 8 to 10 minutes. You’ll know it’s ready when the mixture looks glossy and thick, almost like jam. Remove from heat and let it cool, so it doesn’t melt your crust later on.
Step 3: Prepare the Crust
Roll out your first pie crust and lovingly drape it into a 9-inch pie dish, gently pressing it into every corner. Don’t worry about perfection here—once it’s filled, nobody notices minor flaws, and that’s the magic of a rustic, homemade pie.
Step 4: Assemble and Fill
Spoon the cooled, thickened cherry filling into your prepared pie crust, spreading it evenly. Dot the top of the filling with small pieces of butter, which melt and mingle with the juices, giving your Homemade Cherry Pie (With Thick Filling) that glossy, luxurious finish we all adore.
Step 5: Top and Seal
Roll out your second pie crust and lay it over the filling, or cut it into strips for a pretty lattice design (both taste amazing, so go with your mood!). Trim the excess dough, pinch the edges together securely, and crimp for classic pie style. Don’t forget to cut a few vents if you’re using a full crust so steam can escape.
Step 6: Egg Wash and Sugar Sprinkle
Beat your egg and brush it over the top crust for that gorgeous shine. If you like, sprinkle with coarse sugar—this creates the beloved crunchy topping that makes Homemade Cherry Pie (With Thick Filling) look straight out of a bakery window.
Step 7: Bake to Perfection
Place your pie on a baking sheet (to catch any bubbly juices) and bake in a preheated 400°F (200°C) oven for 40 to 45 minutes. You’ll know it’s ready when the crust is deeply golden and the filling is bubbling—lift the aroma with every oven door peek! Let it cool for several hours—this patience guarantees clean slices and that thick, jammy filling.
How to Serve Homemade Cherry Pie (With Thick Filling)

Garnishes
For a simple touch, a scoop of vanilla ice cream or a dollop of softly whipped cream is pure joy atop a warm slice. You might also shower a few toasted almonds or a light dusting of powdered sugar for showstopper appeal at the table.
Side Dishes
This pie shines on its own but pairs beautifully with a cup of dark roast coffee or a glass of cold milk. For a full dessert spread, offer alongside lemon bars or a buttery shortbread to balance the cherry’s brightness with some creamy or citrusy notes.
Creative Ways to Present
Try baking individual mini-pies for personal servings, or stack thick slices with a scoop of cherry sorbet for an elegant plated dessert. For parties, dust with powdered sugar and serve on a wooden board, garnished with fresh cherries for a rustic, inviting touch.
Make Ahead and Storage
Storing Leftovers
Homemade Cherry Pie (With Thick Filling) keeps well at room temperature for a day, covered loosely with foil. For longer storage, move it to the refrigerator, where it stays fresh and delicious for up to 4 days. The crust remains flaky and the filling thick—simply blissful even on day three!
Freezing
If you want to bake ahead, this pie freezes like a dream. Wrap the fully cooled pie securely in plastic wrap, then foil, and freeze for up to two months. Thaw overnight in the refrigerator for best texture, then rewarm slightly if desired before serving.
Reheating
To enjoy a warm wedge, pop leftover slices into a 325°F (165°C) oven for about 10 minutes. This revives the flakiness of the crust and gently warms that luscious, thick filling—your kitchen will smell amazing all over again.
FAQs
Can I use sweet cherries instead of tart?
Yes, you can, but tart cherries yield that classic pie flavor. If using sweet cherries, decrease the sugar to about 2/3 cup and add an extra tablespoon of lemon juice to keep the pie’s flavor bright and not overly sweet.
How do I keep my cherry pie filling from being runny?
Cooking the filling before baking, as in this recipe, activates the cornstarch and ensures a thick, set filling. If your cherries are extra juicy, add another tablespoon of cornstarch for good measure. Always allow the pie to cool completely for clean slices!
What’s the best way to pit cherries quickly?
A cherry pitter is the easiest tool for the job and saves tons of time. If you don’t have one, you can use a clean paperclip or even a sturdy straw to push out the pits—just be prepared for a little mess (but it’s worth it!).
Can I make the filling ahead of time?
Absolutely. The thick cherry filling can be prepared up to two days ahead and kept refrigerated in an airtight container. Bring it to room temperature before assembling your Homemade Cherry Pie (With Thick Filling) for even baking.
Do I need to blind bake the bottom crust?
For this recipe, it’s not necessary—as long as your filling is thickened first and your oven is fully preheated, the bottom crust will bake through without becoming soggy. Baking on a lower rack and using a metal or glass pie plate helps achieve a crisp base.
Final Thoughts
If you’re dreaming of a dessert packed with bright cherry flavor, sturdy slices, and irresistible homemade aroma, put this Homemade Cherry Pie (With Thick Filling) at the top of your list. Even if it’s your first time, you’ll feel like a pie-making pro when you pull this gem from the oven. Try it soon and let every blissful bite transport you to cozy, cherry-filled days!

